3d Bracket & Plate designs used in the Drift Studebaker Project and other Projects:
In order to view these files you will need the Bend Tech Software, and in order to view most of my designs you will need the Pro version. visit their website for more info: www.bench-tech.com
|
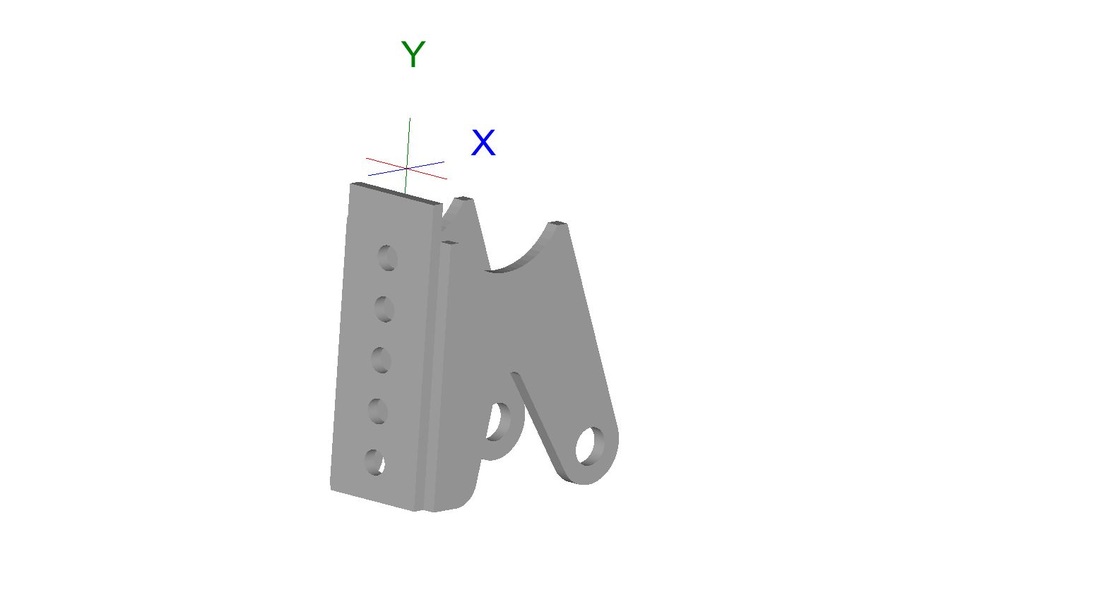
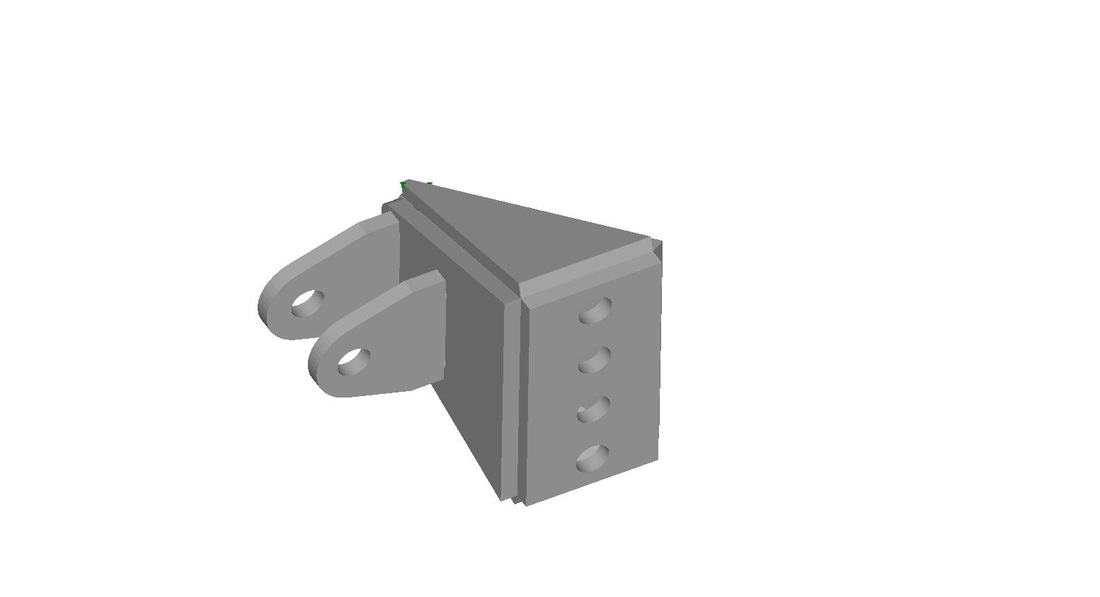
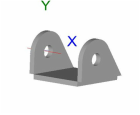
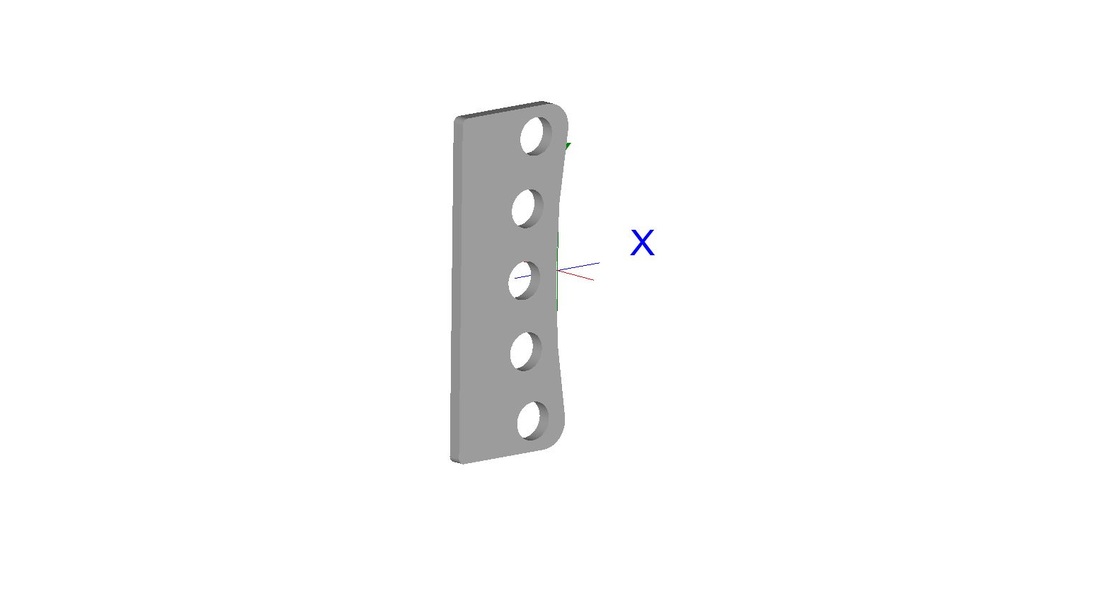
This is a lower link bracket made for a 3" axle tube and meant for a heim joint and two spacers with a total width of 2". It has .625" holes spaced out 1" for the lower coil over shock mount detailed in the next line. the Bend tech file is manipulated so there is no bend radius to the plate. Each piece, or flange, would need to be pulled out individually and cut and then welded together on the outside corner of the piece. Click Here is where used this bracket in the truck. And Click Here for the .dxf version with each flange already separated.
|
| |||
|
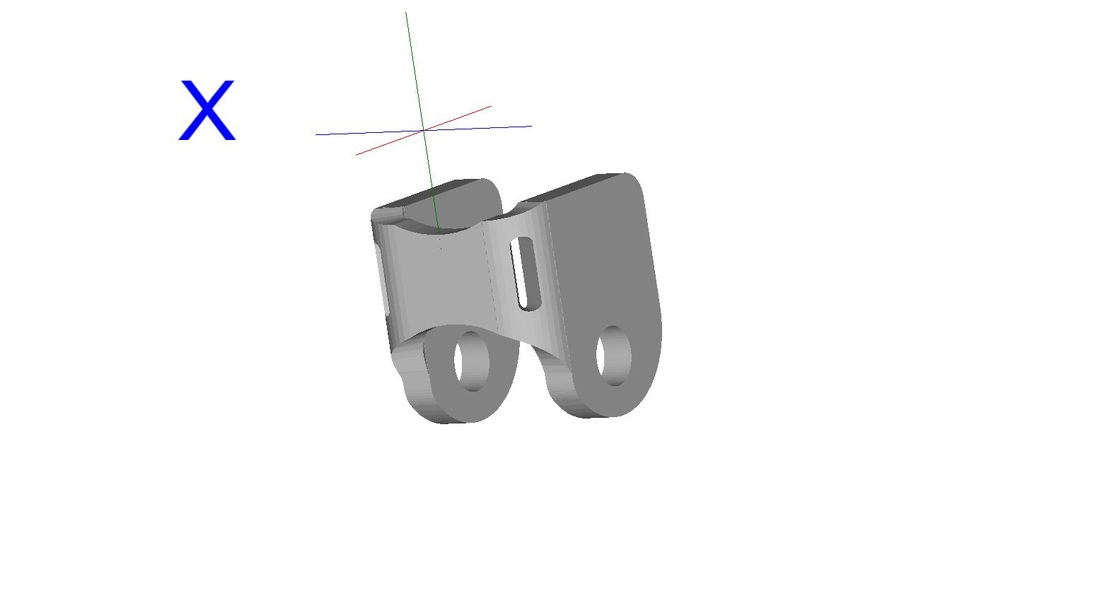
This is the rear suspension coil over mount that bolts to the bracket above. This also has .625" holes spaced out 1" to accommodate multiple bolts and different ride height settings. like the design above this is also set up where you would have to separate out the different pieces, or flanges, in order to cut them out and then weld them together on the outside corners. In my real live version i welded nuts on the inside (not shown in the design because of software limitations) before welding it all together. This design also has tab and slots for easy placement of the shock bracket for welding. There are 2 3d file options to download, one is the Bend Tech Version, the other was designed using AutoDesk Fusion 360. but it should work in most 3d cad programs. Click Here to see the real life version. And Click Here for the .dxf version with each flange already separated.
|
| |||||
|
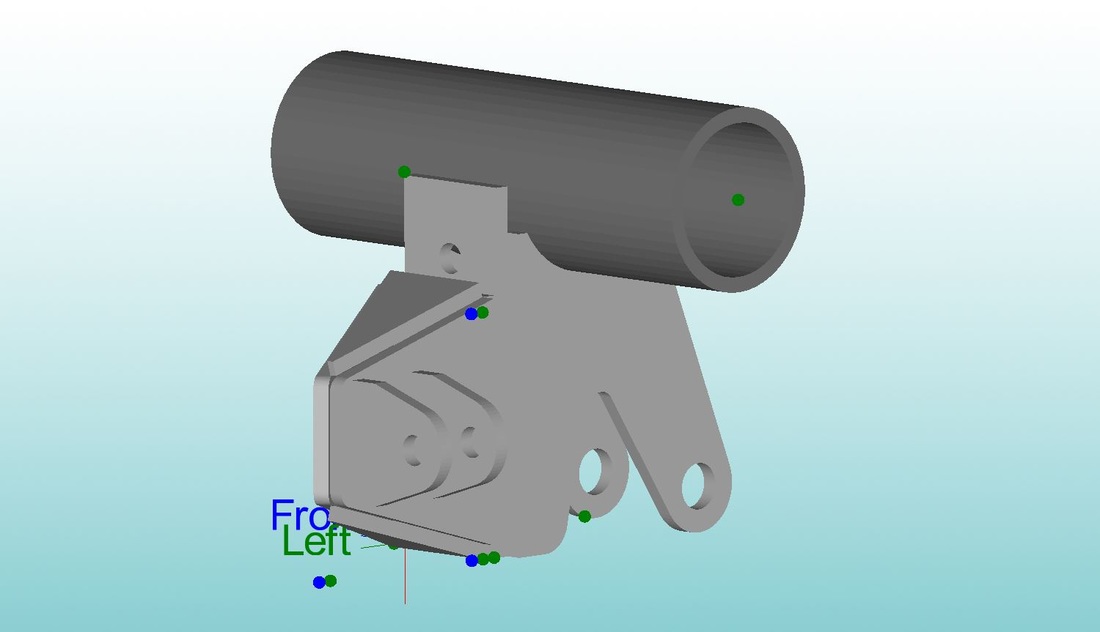
Assembly of the two above designs to show how they fit on a 3" axle tube and how they work with each other. I think this is a great design for having adjustable ride height, while still providing a strong double shear bracket for the coil over that will space the coil spring away from the axle tube for good clearance. Click Here to see the real life finished assembly.
|
| |||
|
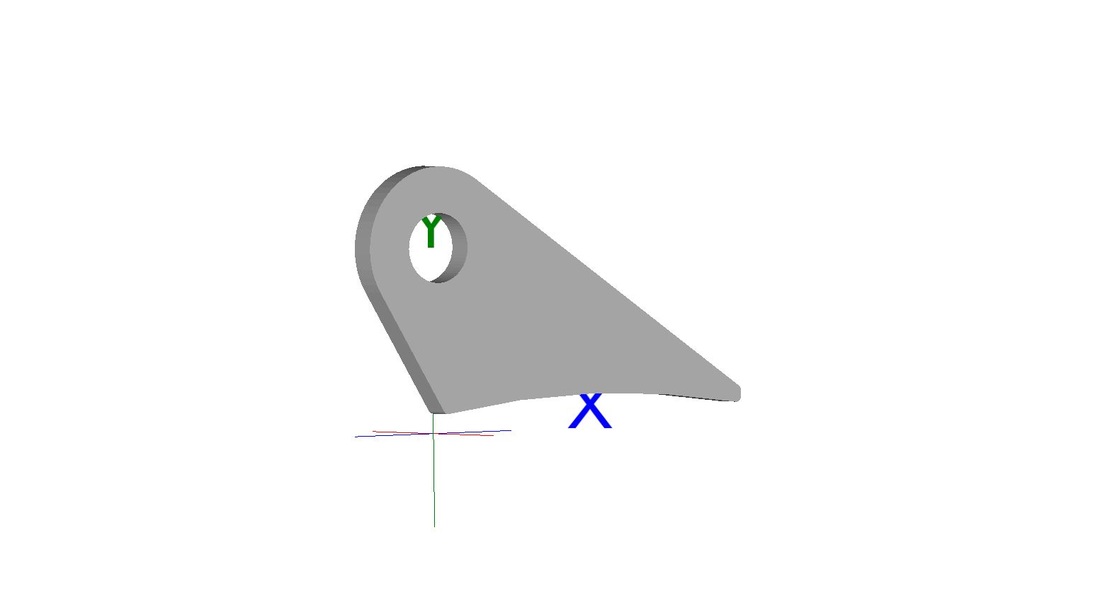
This is the upper coil over shock mount bracket fo the rear suspension. This is meant to be welded on to a 1.75" diameter tube with relief cuts to mate it property. This is also the first .25" thick plate bracket I made to be bent to a specific inside with to fit the 1" bearing on the coil over. it has relief cuts in order to facilitate bending without a press brake. Click Here to see the how the real life version turned out.
|
| |||
|
These are the brackets made for mounting the steering rack. They have an inner width of 2.58" which will fit the urethane bushing mounts of my AGR rack. Again the individual flanges will need to be cut separate and welded together on the outside corner. They are used in conjunction with other angled brackets to achieve the right placement and angle of the where the steering linkage connects. Click Here to see where the real life version is used.
|
| ||||||
|
This bracket was made for mounting the top triangulated 4 link bars of the rear suspension on the frame side. They have multiple holes in order to accommodate suspension tuning. There are 4 total in the Drift Stude 2 on each side. a gusset was welded on after the fact and not included in the digital design. Click Here to see the real life version
|
| |||
|
I used this bracket at an angle on the top of the Ford 9 housing for the top bars of the triangulated 4 link. It is mounted at an approximate 40 degree angle and matches the curve of the center section at that angle. Click Here to see where it was used in real life.
|
| |||
|
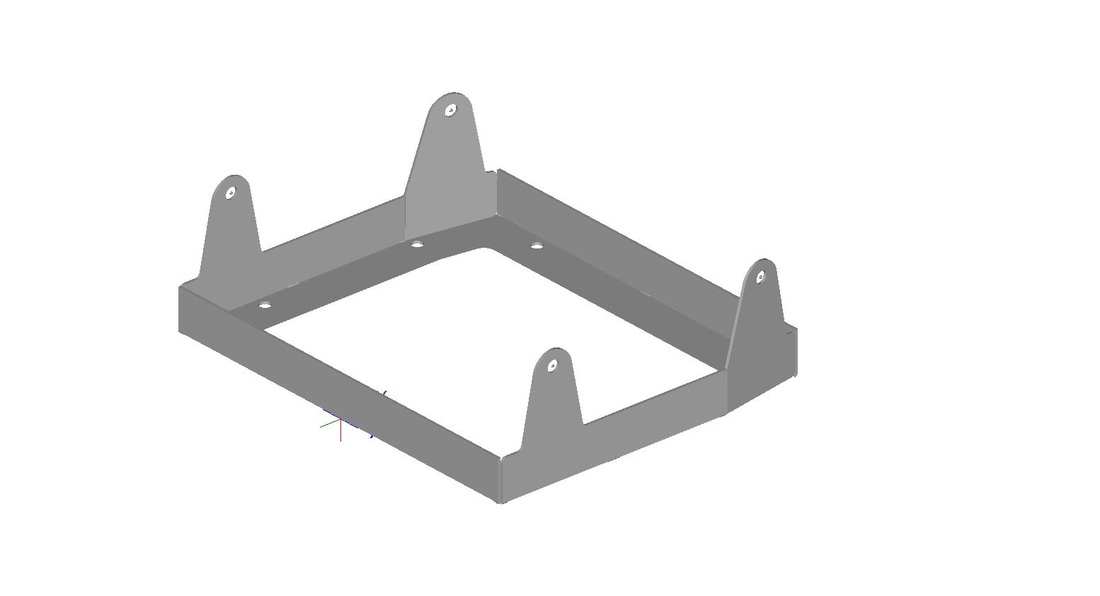
This bracket is used to bold my UltaShield Racing seat to the floor. It was a fun bracket to design and used relief cuts at the bend points so it can be bent up without a press brake. Just weld the outside corners after bending.
|
| |||
