|
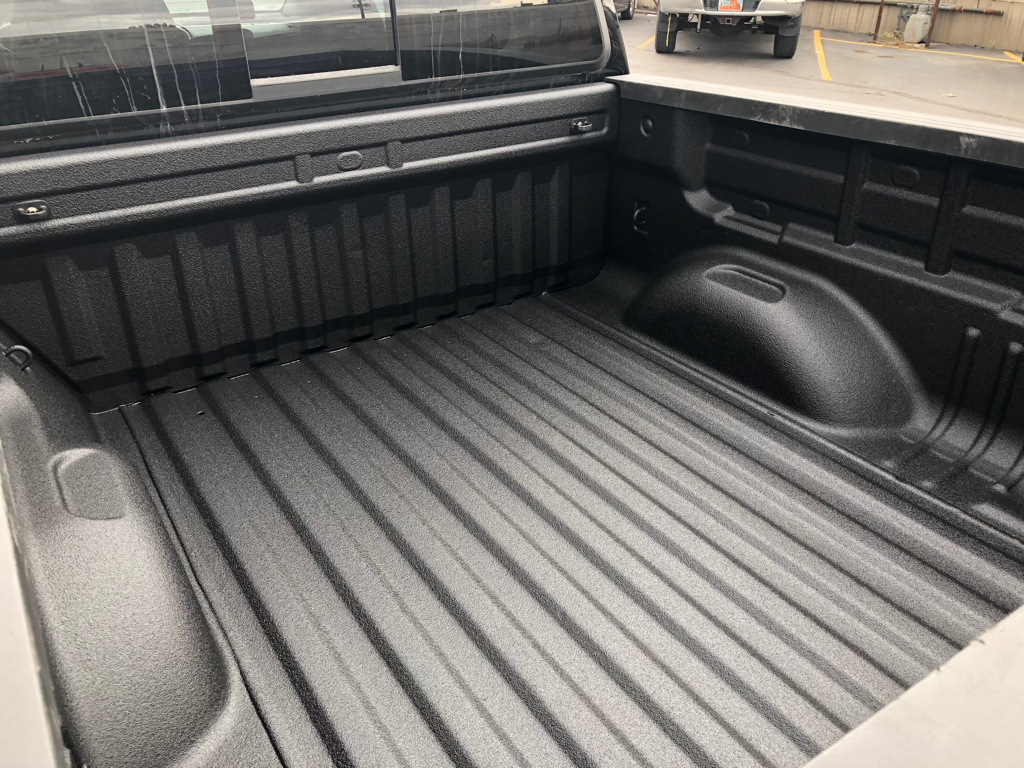
This post is arriving a little later than planned... man why are the holidays so hectic? Early in November I decided that one of the first things to get done was a little bed protection for my regular daily driven car. That came in the form of a spray in bed liner from our local Rhino Linings shop. They did an amazing job and now the bed won’t look like a war zone after loading the usual suspects like dirt bikes, gravel, metal, and yard equipment... Once the lining in the bed was complete it was time to get a jump on making a christmas gift for my dad. I will wait to reveal the finished product until after christmas in the December post but this may give you an idea. this was an important step in my manual machining abilities. up until this point I had never done any single point threading for anything that was going to be used in something final. I decided to quite being a baby and see if I could do it on an actual part and not mess it up. I was happy with the end result but I did learn two things from my experience. One, this was probably a little too thin for the length of thread needed. it cut really well, but the middle of the threaded section was always a little tighter than the ends meaning the part was flexing in the middle even with the tail stock center supporting it. I had to chase the middle with the threading die to make it all uniform. It it probably best to single point thread longer lengths like this on thicker stock. The second lesson was that this takes forever I could have done this part in an eighth the time if I had used the threading die in the lathe. But if you don't have the right size die, this is a much cheaper alternative. Before thankgiving hit I was also able to start on another project for my 3 year old daughter. She has been obsessed with my nut and bolt supply in my garage and loves threading the nuts onto the bolts and pretending to fix things with them. I figured a good way to stop her from raiding my supply would be to build her a bolt together box that she could build and take apart at will with a single tool and the same bolts for every piece. on top of that she could also store a collection of nuts and bolts in it when done.
The first step was to create a design in fusion 360, which meant it would be a little more complicated of a design than it needed to be... but hey it will be cool. then onto the actual fabrication. My progress so far is documented in the timelapse video above. layout and rough cutting on the bandsaw went well other than a dull blade in the middle of it all. squaring up cutting to final size also went well, though next time i will probably do all the cutting on the mill to save time. the last bit of progress on the box was in the form of the top section that will have the sides bolted to it. this also went well, though I did not clear the chips as often as i should have and it resulted in a less than stellar finish. overall I think the time-lapse above covers about 8 or 9 hours worth of work over a couple of nights, though some of the more boring parts are not shown. more content to come in December, and even some drift stude updates.
1 Comment
|
Download the
following Designs used in this build: Archives
February 2018
|

