|
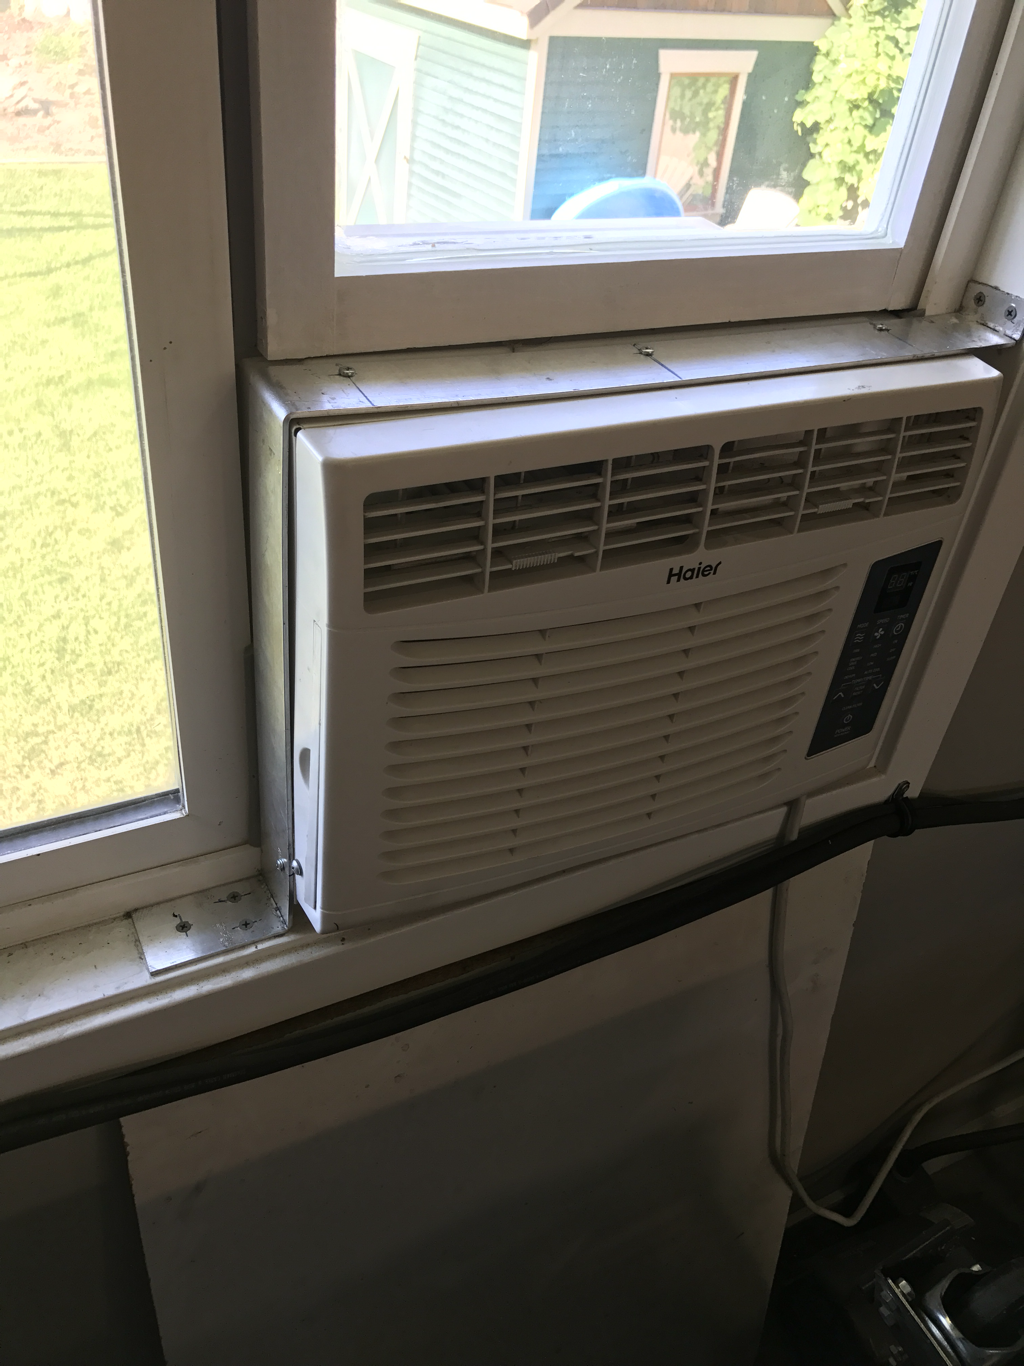
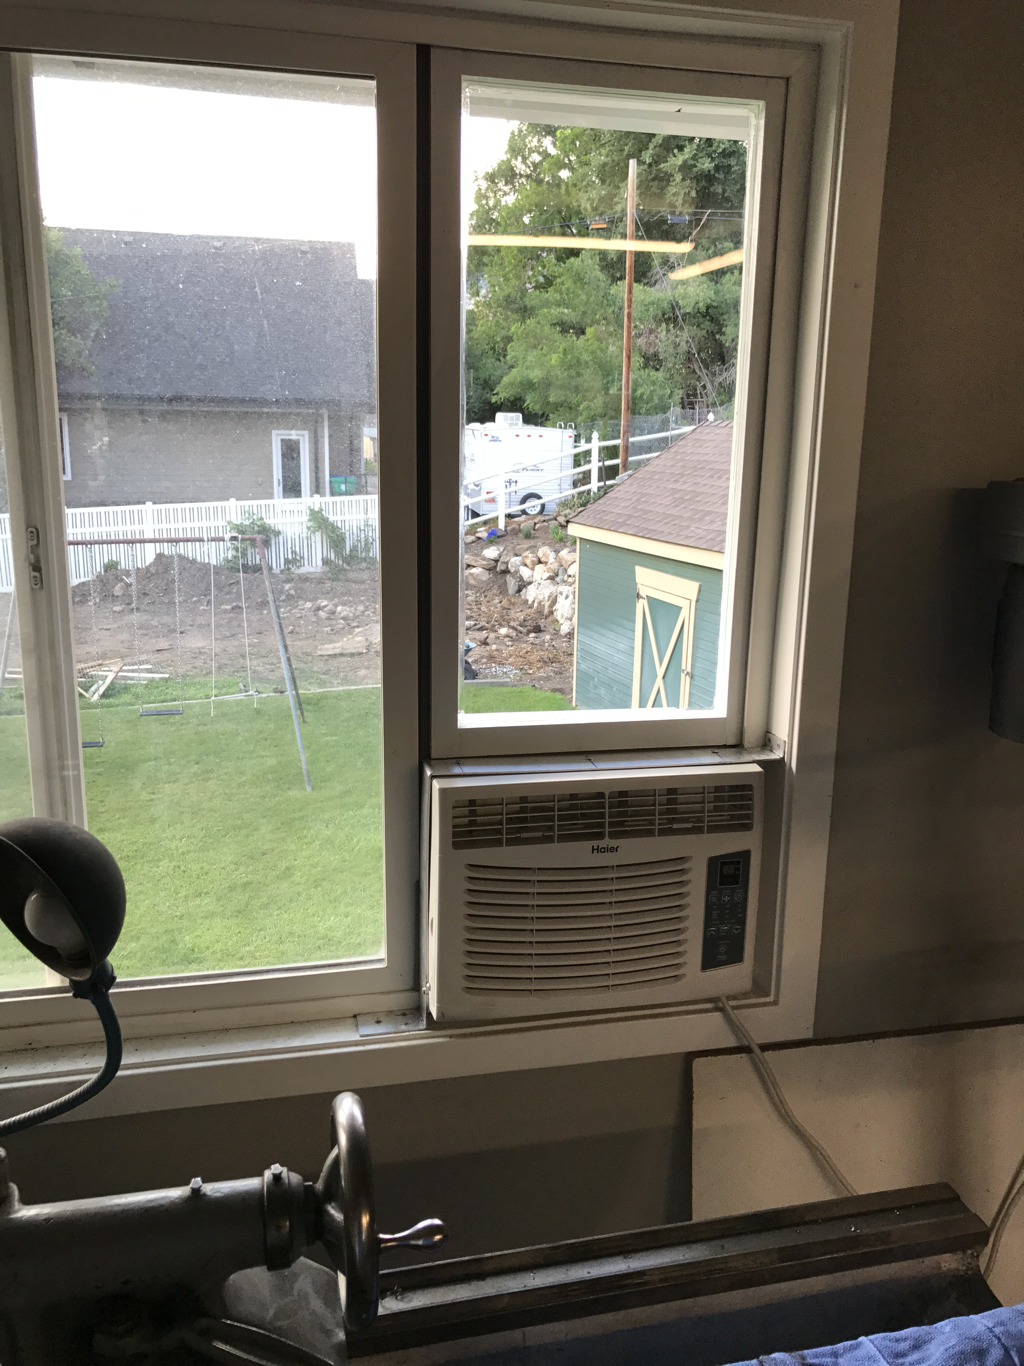
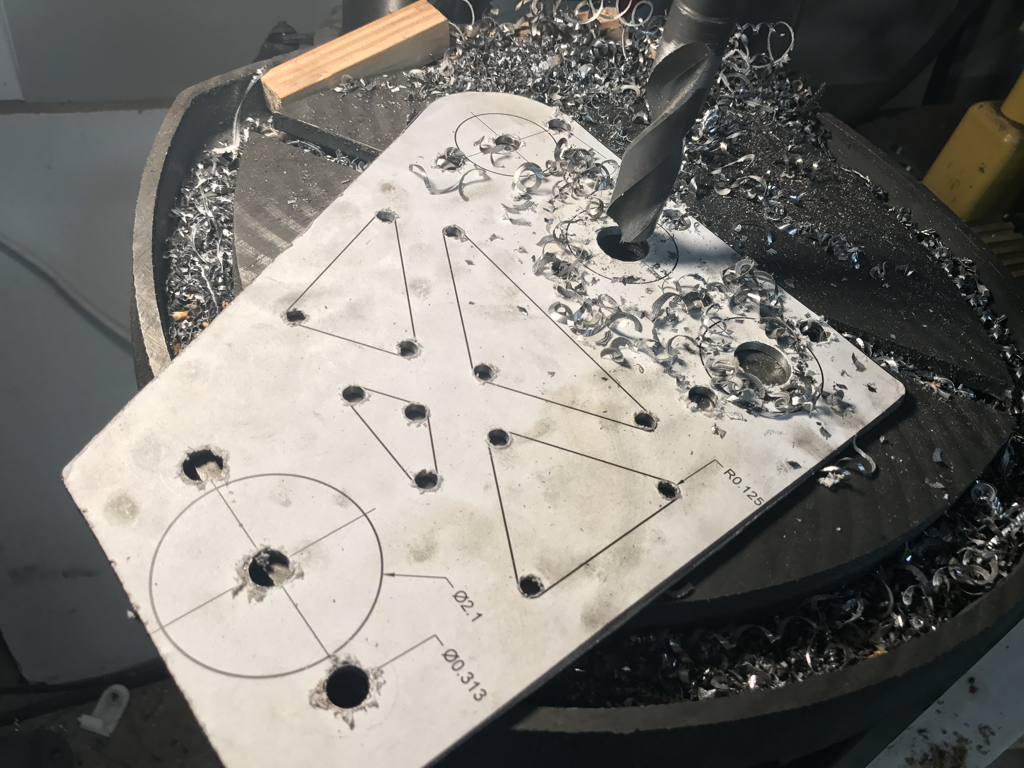
First things first, it was getting pretty hot here in Utah come the end of June so I had resolved to put in a little air flow to the garage via a windo air conditioner unit. I was able to get this one for nothin, as it was my sisters old unit she had had in an old apartment. I whipped up a quick aluminum strap from scrap and screwed it down. Next up I had to spend a bit of money and build a window frame. My wood working skills are far from good, so I opted to build a frame for a single pane of glass, my mortise and tenon joints sucked, so i opted to just to flat cuts and glue 3 sides and screw in the 4th so I could set the glass in a recess before final assembly with some clear cault to seal the glass. Overall it didn't turn out half bad, and some weather stripping helped seal all the gaps. now that the shop had a little air flow in the 100 degree temps it was time to get working on the relocated steering colum. I had started redesigning the mount for the colum and pedal assembly in Fusion 360 in the last post as seen here. Rather than calling up my buddy to plasma cut a single part, i opted to do this one the semi old fashioned way by printing out a 1:1 scale paper template and transferring all of the elements to a plate of steel. This was accomplished by gluing the paper to the metal, cutting the outside shape on the band saw, center punching each radius, then drilling the appropriate holes. The big circles were drilled to .75" to fit by knockout punch set. The lightening triangles in the middle get the radius corners drilled and then the ill finish the cutting with a die grinder. Overall this makes for a pretty accurate bracket...
0 Comments
|
Download the
following Designs used in this build: Archives
February 2018
|


