|
Saturday, 09/15/2012. Today was an exciting day as far as the project goes... It was a day I was really looking forward to for two reasons. First, a bunch of my old friends, some of which I don't see on a regular basis, were coming over to help on the truck and help me overdose on hamburgers, hot dogs, and Mountain Dew. And second, because it was time to bend the front main and rear main roll cage hoop. No doubt it was going to be an awesome day. 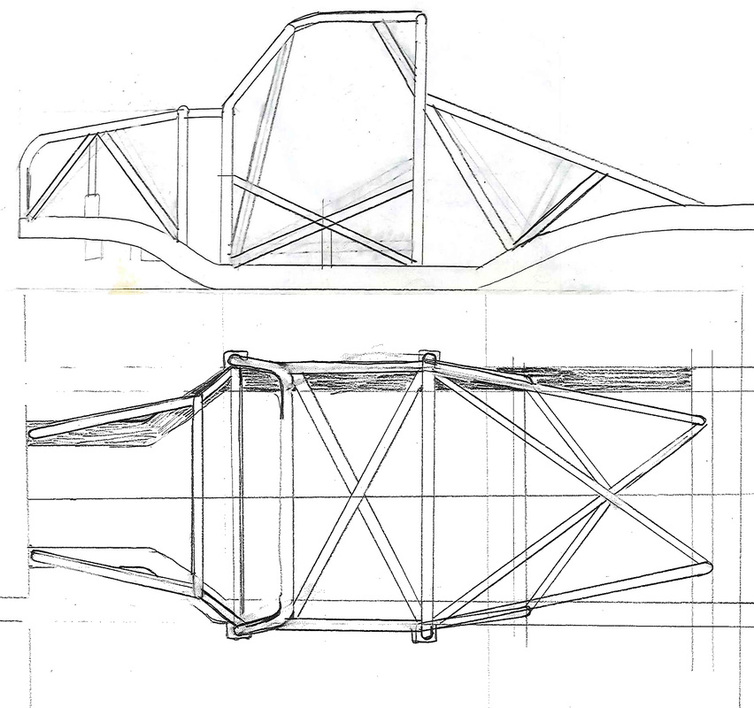 I went over the drawings with everyone, so we were on the same page as far as the master plan goes, which included the drawings above. nothing special nothing exact just a basic, simple, hand drawn plan. Yeah, this will be easy I thought... *disclaimer, none of us had ever bent any tubes before. 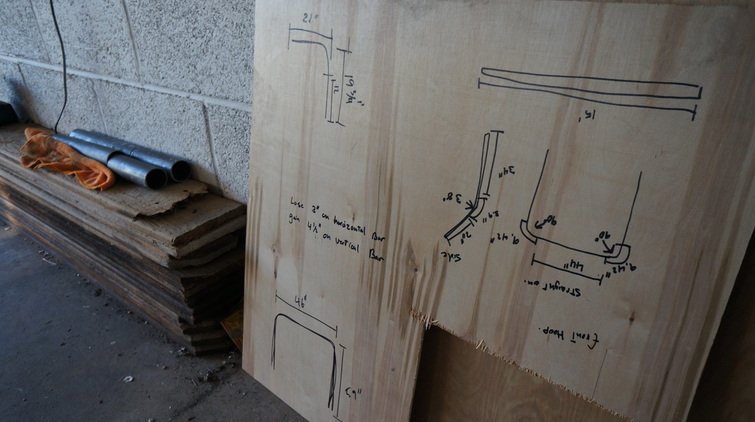 To add to my own delusions that this would be easy I started writing down measurements to use in some calculations. Measuring is good, and measuring two or three times is even better that much I know. The bends we were about to try were nothing but simple bends, 90's on the rear hoop, with 46 in spread between the vertical legs. The front, just slightly less simple. two 90's, then two 38 degree bends to match the windshield line of the cab, 43 inch spread on the legs there. 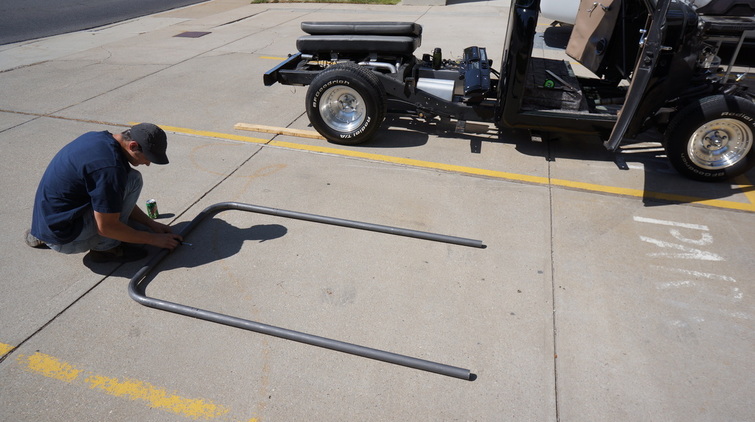 Chase was the first to arrive and we got right to work doing a test bend to see how much the tubing changes in length throughout a bend. After the test bend we found that we lose about 3 inches of width on the horizontal tube, and add about 4 inches to the vertical tube. This is very important when trying to get the width of the hoop correct. First two bends done and looking good. Our confidence levels rose to dangerous heights now. Chase is above hooking up a clamp and angle guage so we could do the next two bends on the front hoop at an exact 90 to the first to bends. 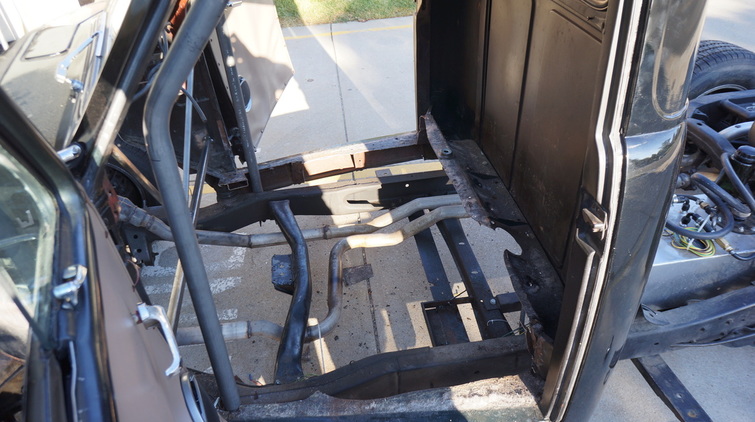 After some more measuring we made the second set of bends and well....er....yeah I screwed up the measurements. you can see from the picture that I made the bend too early and it doesn't line up as it should. At that time I had decided it would be ok and I would make it work. That is until I was in bed later that night thinking about the project and how I want everything to be perfect and well executed and not a hack job. So a new front hoop will be bent, no question. But there is a good side to this that I will get to later on. On another topic, the bracing you can see peaking out is temporary but is needed to strengthen the cab as it became pretty wobbly once the floor and fire wall were cut out. 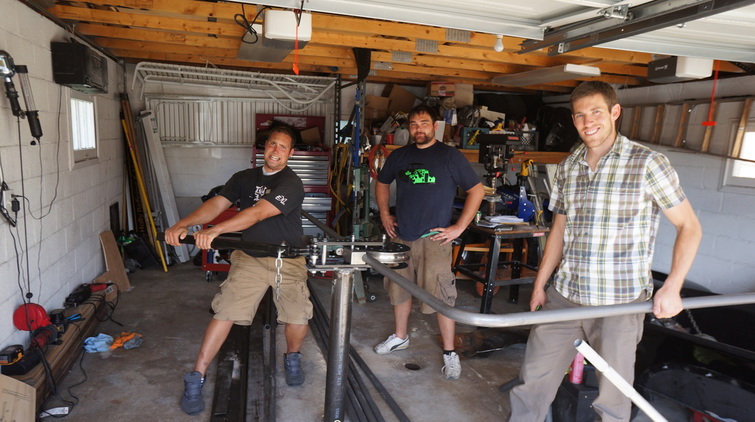 At this point we had just started the rear hoop, each of us slightly larger from the food we had just consumed. Oh and did I mention that bending tubes without any hydraulic assistance takes some muscle. Matt and I look pretty normal compared to Josh, who isn't struggling, he just looks that way. 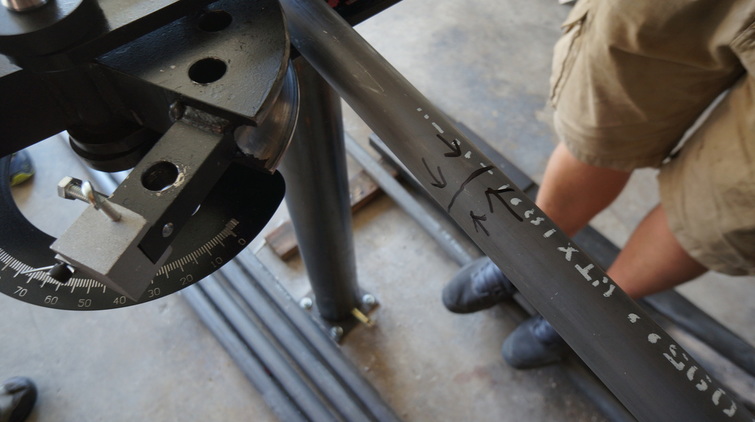 So, back to that first tube length I screwed up, well I screwed up the rear hoop also, I measured and measured and measured, but all that measuring doesn't do any good if you use the wrong mark. once we got the first rear hoop bent we noticed that one leg as a few inches longer than the other. Upon further inspection I had lined up the bending die with the wrong line and the rear hoop was 43 inches across instead of the intended 46. the good new here is that the bad front hoop needs to be 43 inches so I can use the bad rear hoop for the redo on the front. and I still will only have one bad section of tubing. We bent one more for the rear and got it right, then we called it a day as far as bending goes. I think we all learned a few lessons from my mistakes, which are to always check your measurements two or three times, and to mark your lines clearly like above. Steel is expensive, and while I can save some of the bad hoop for shorter sections, it still will have some waste. 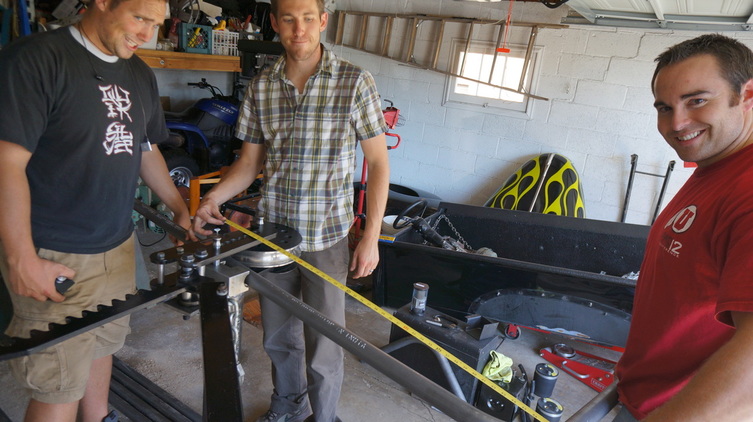 Brent, Matt, and Josh(told you his face is stuck like that) measuring the second go at the rear hoop. 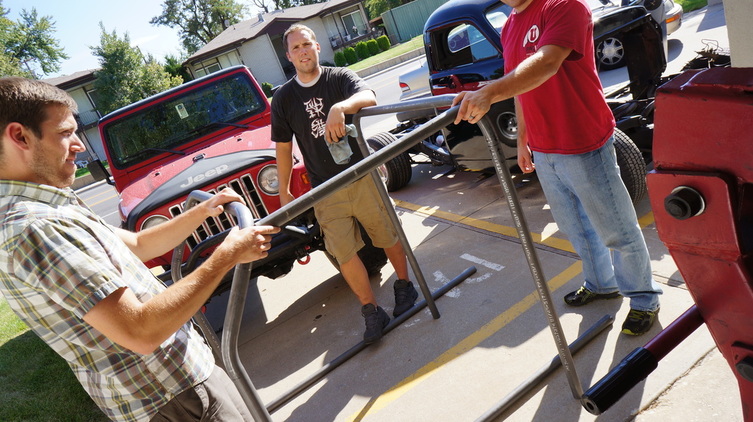 Roughly how the main hoops will look when they're done. A big thanks goes out to Brent, Chase, Josh and Matt for the help! More updates coming next week.
0 Comments
Leave a Reply. |
Download the
following Designs used in this build: Archives
February 2018
|
