|
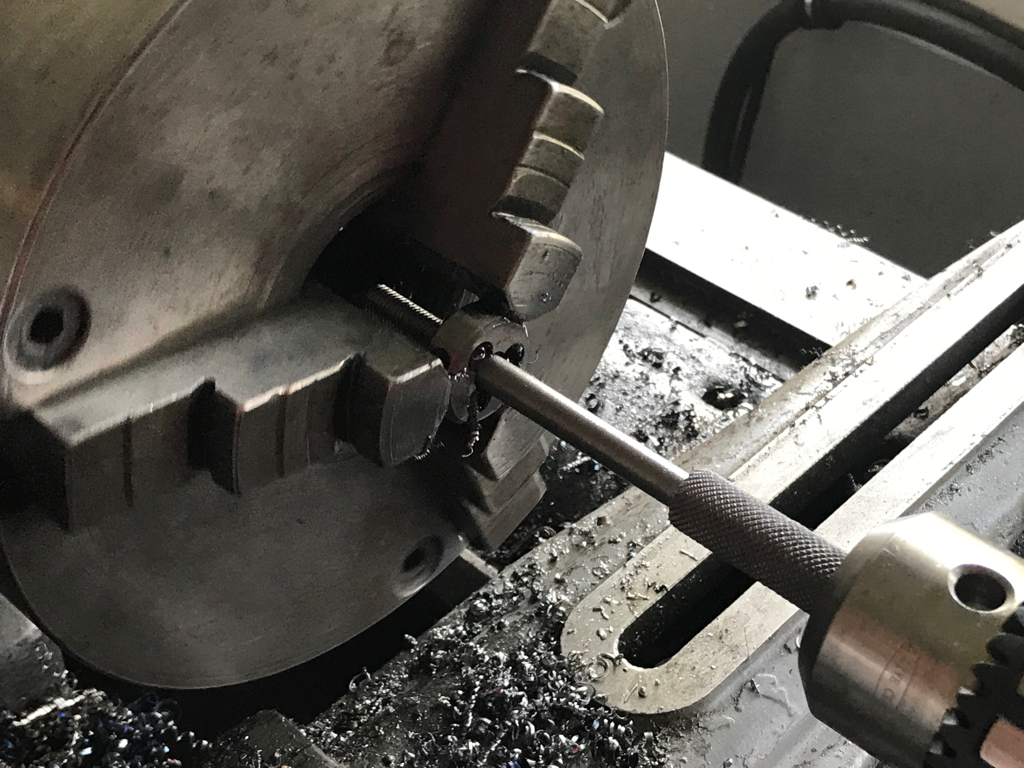
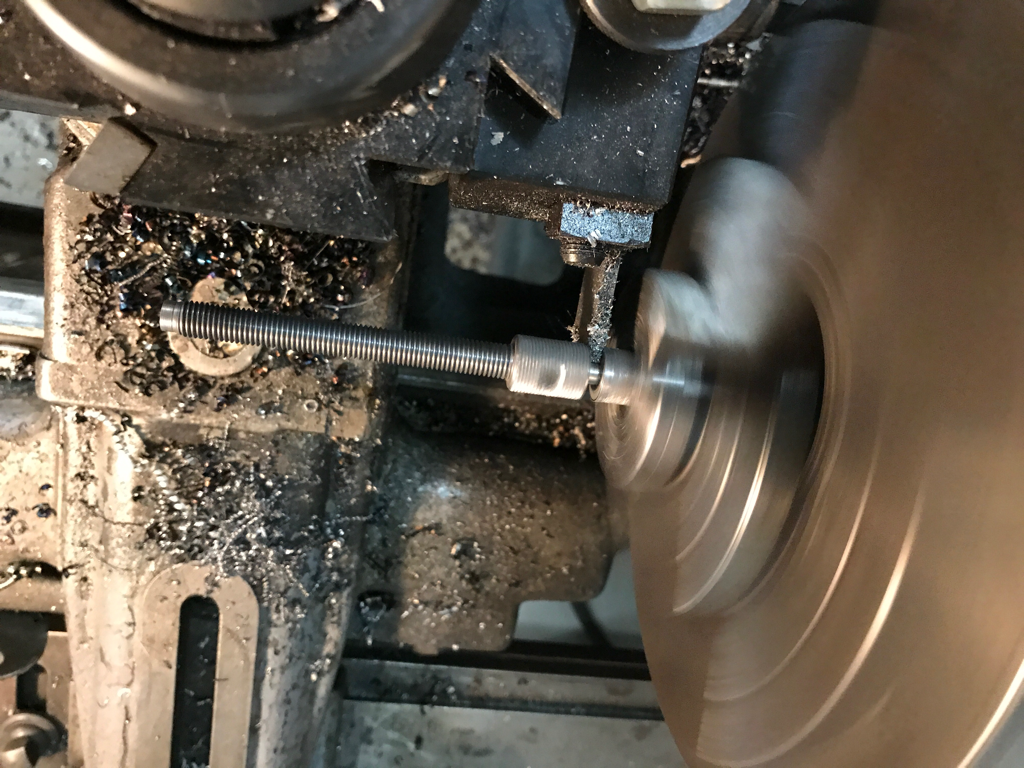
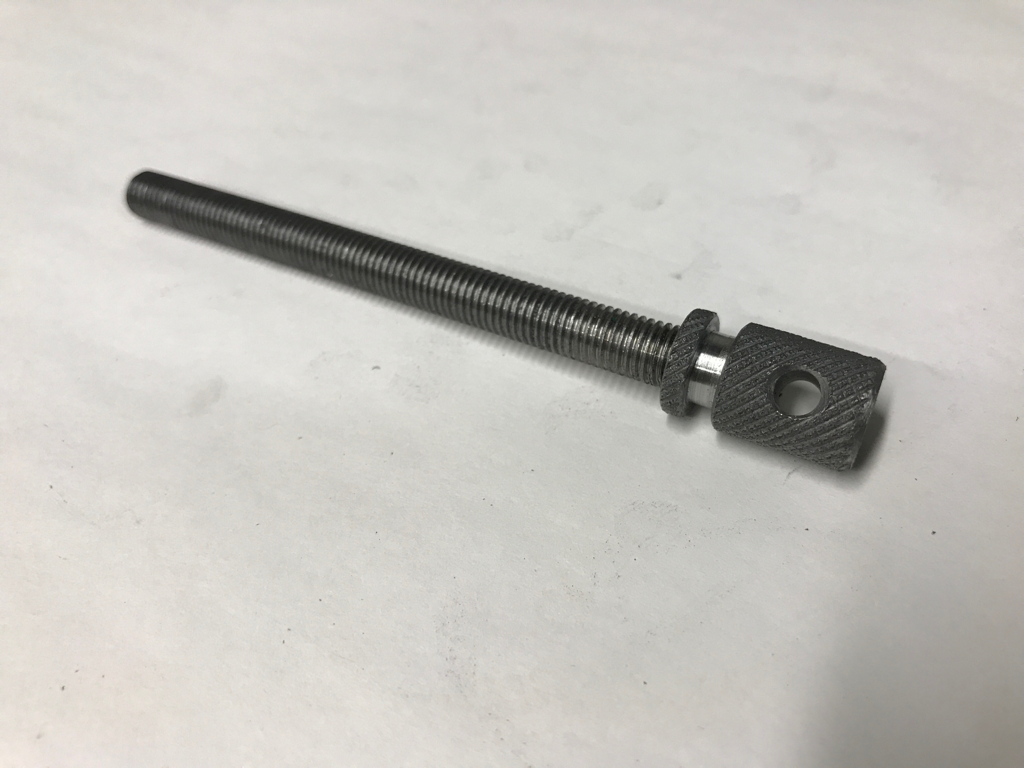
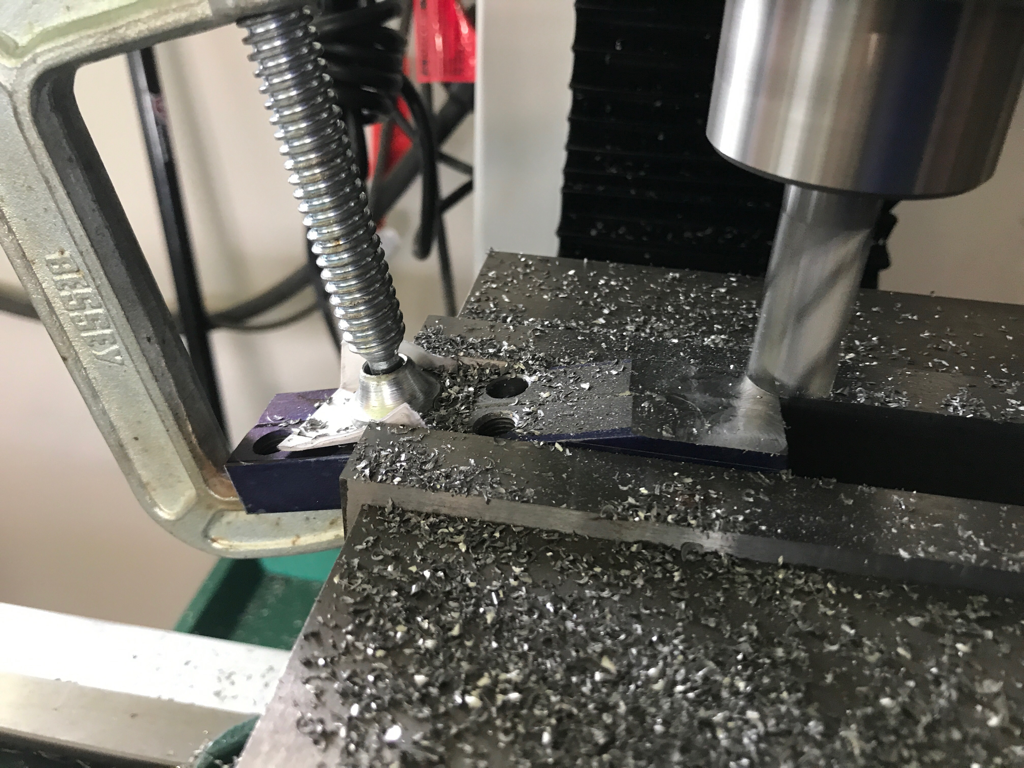
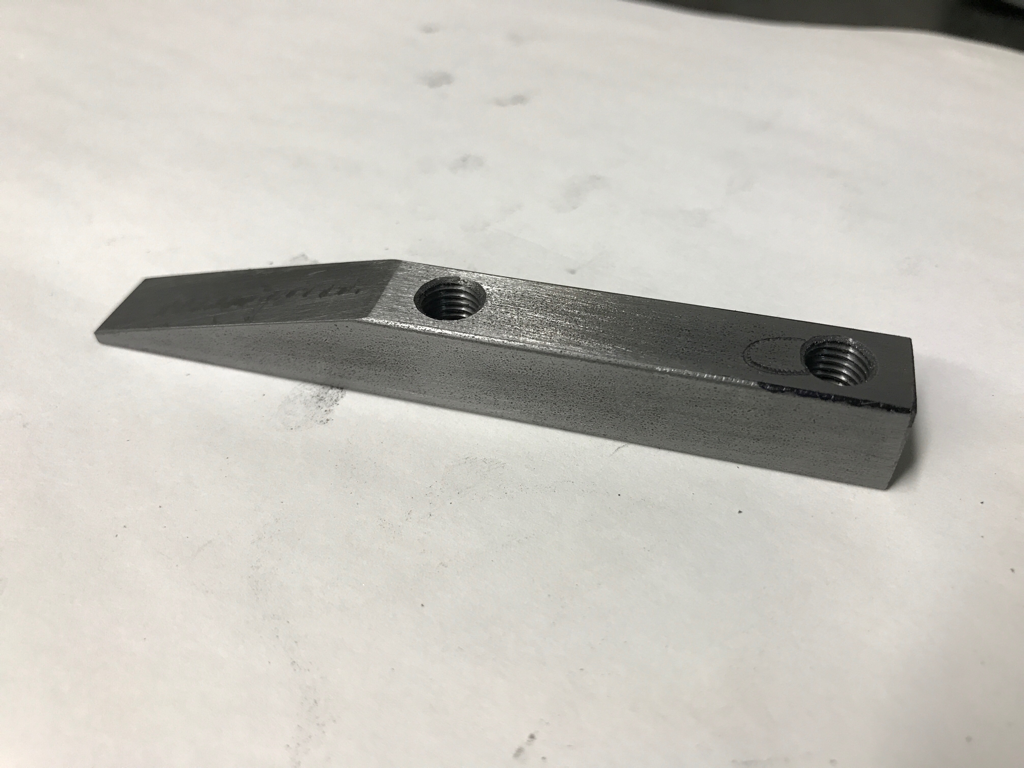
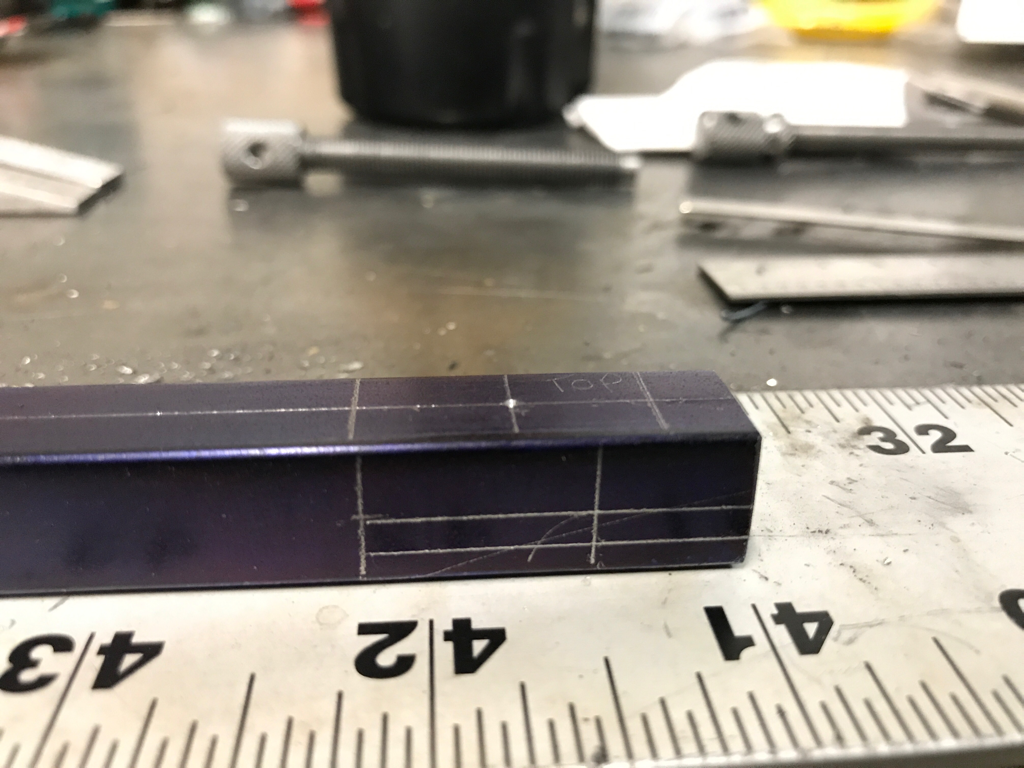
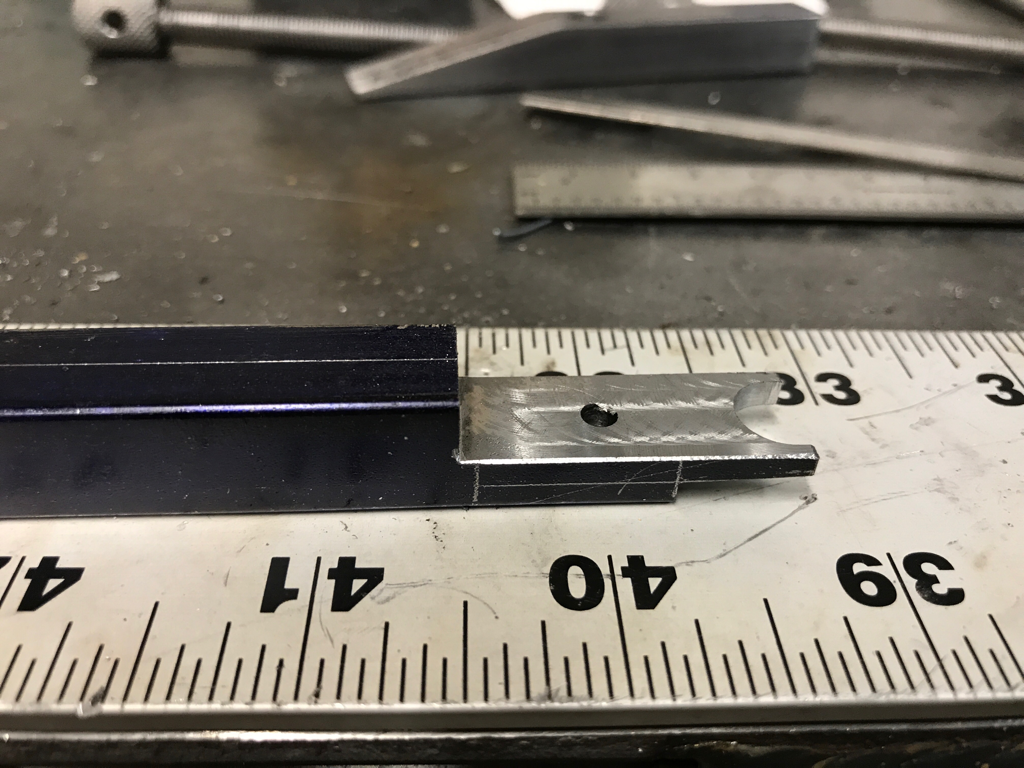
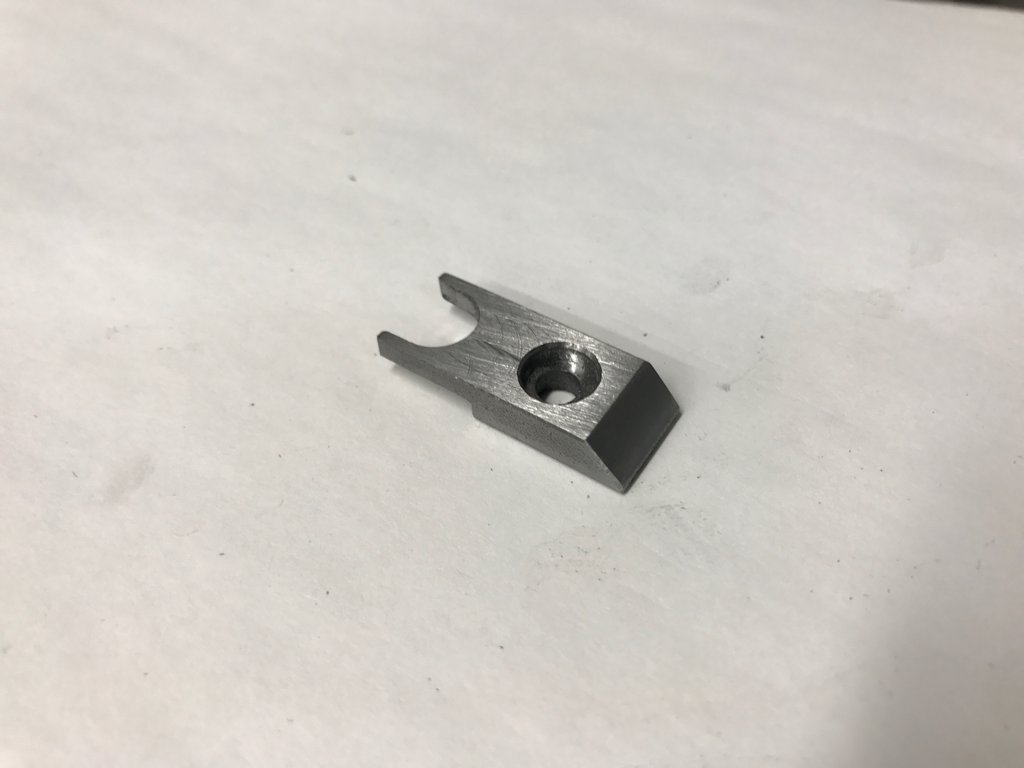
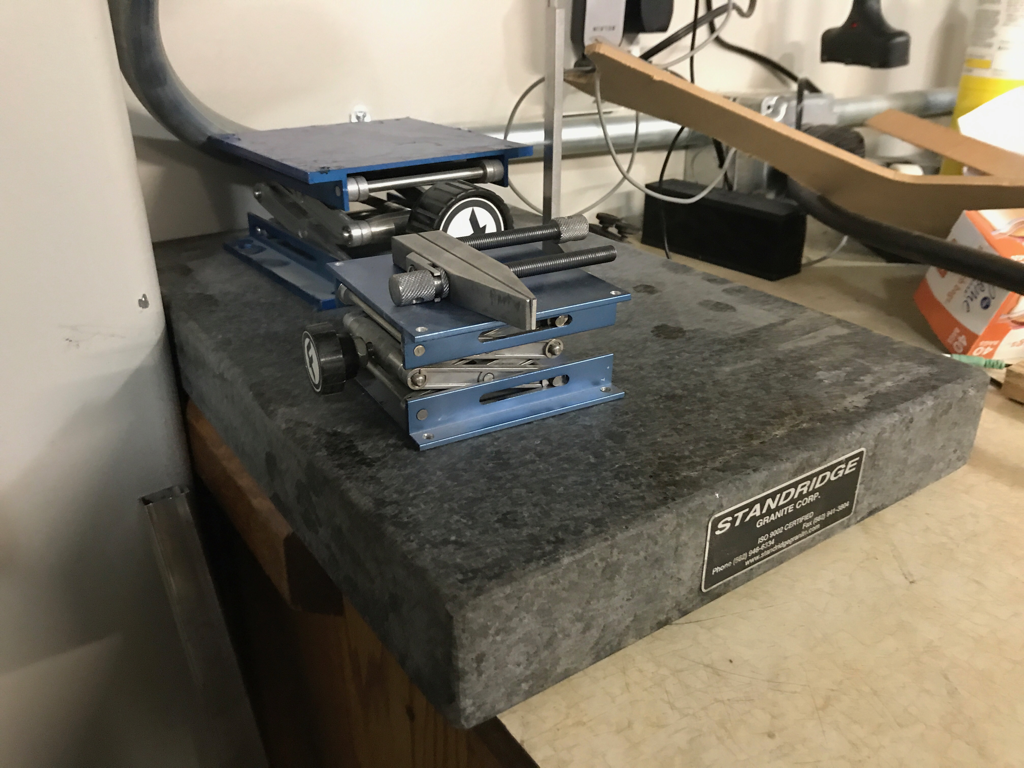
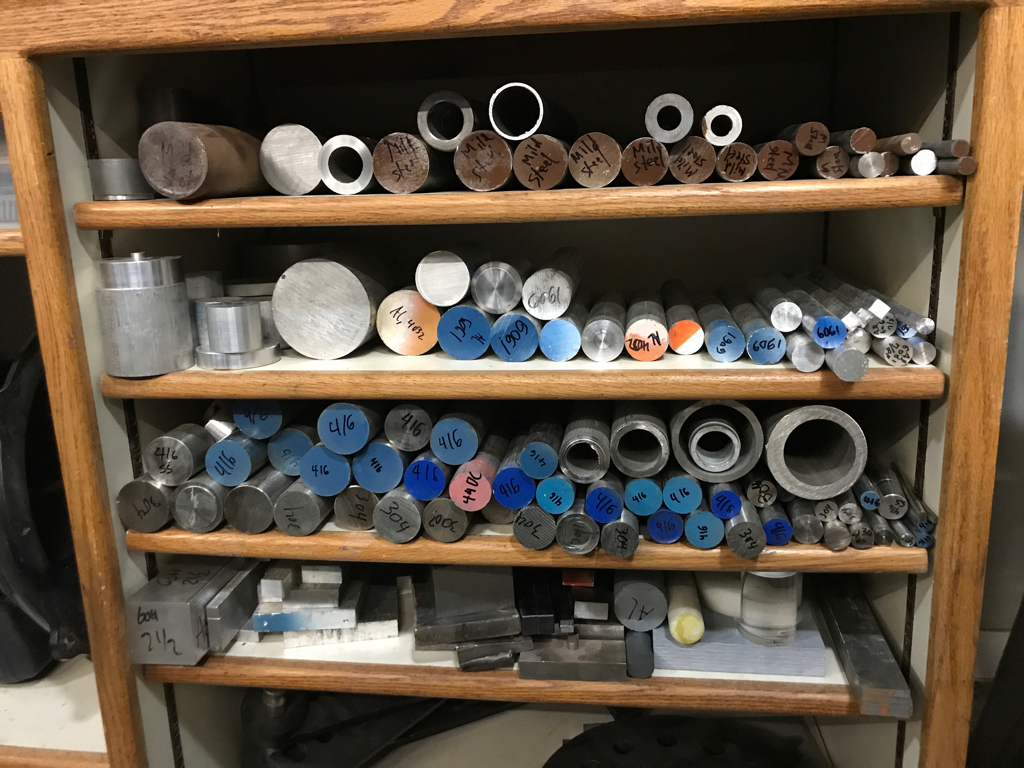
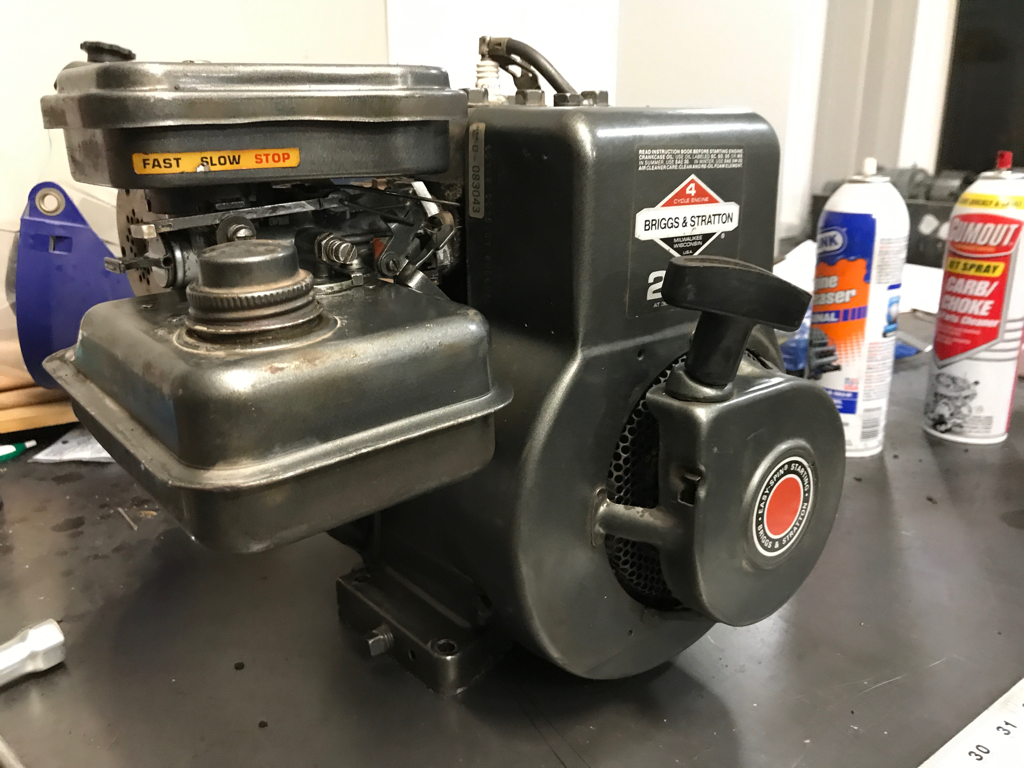
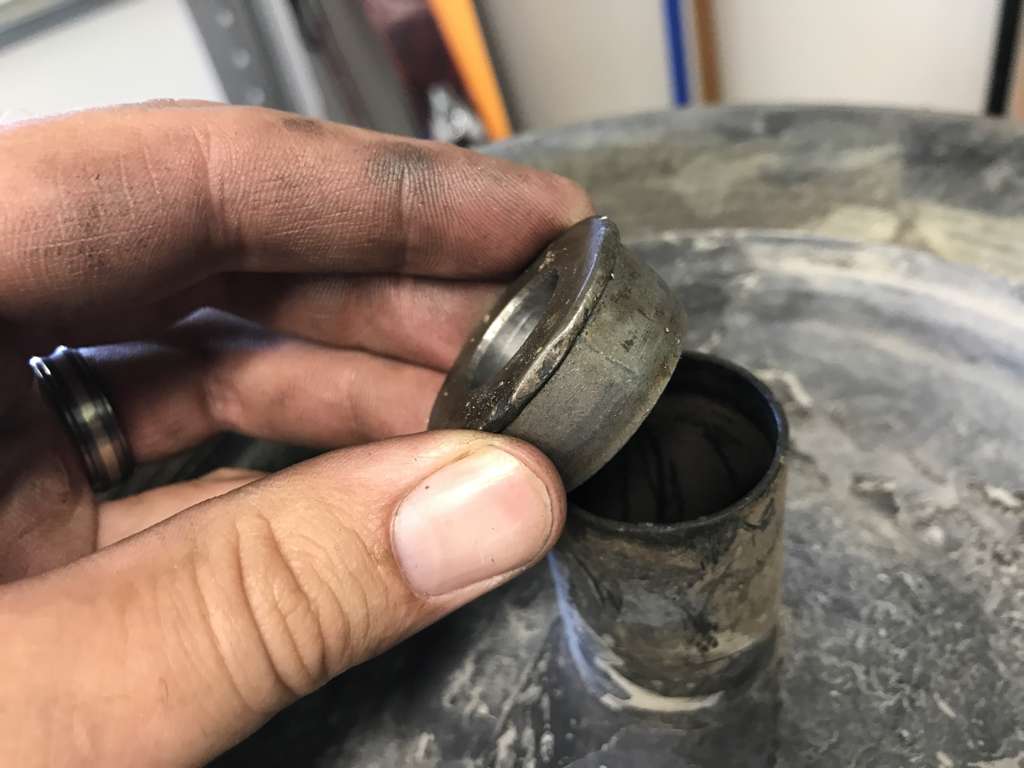
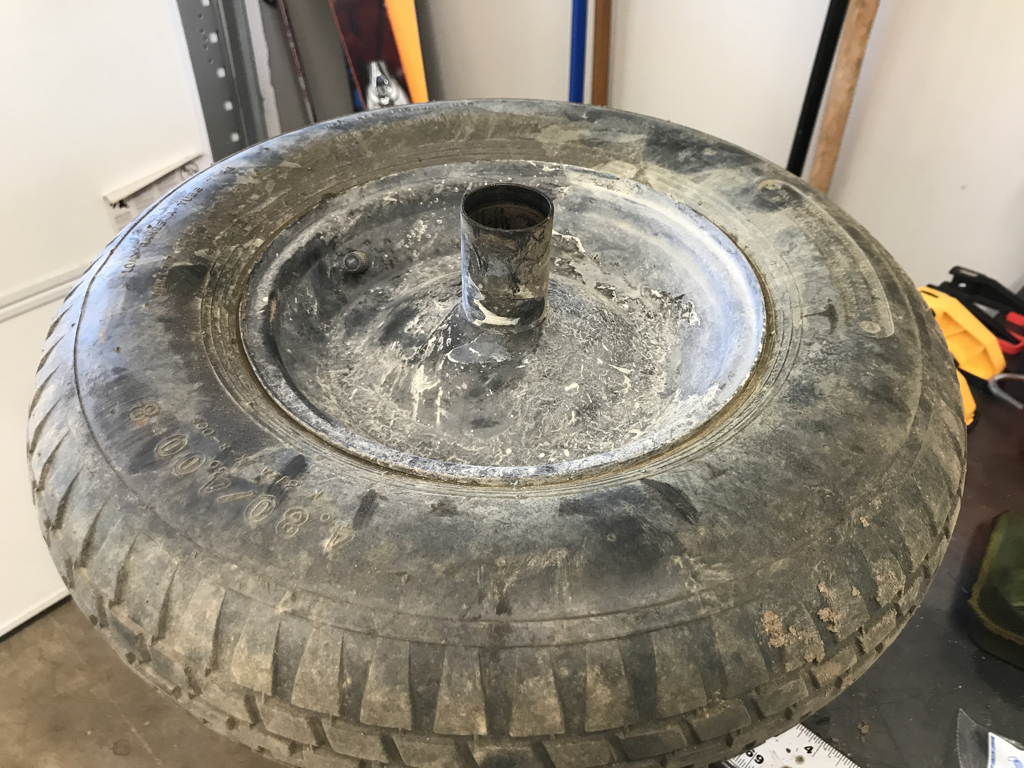
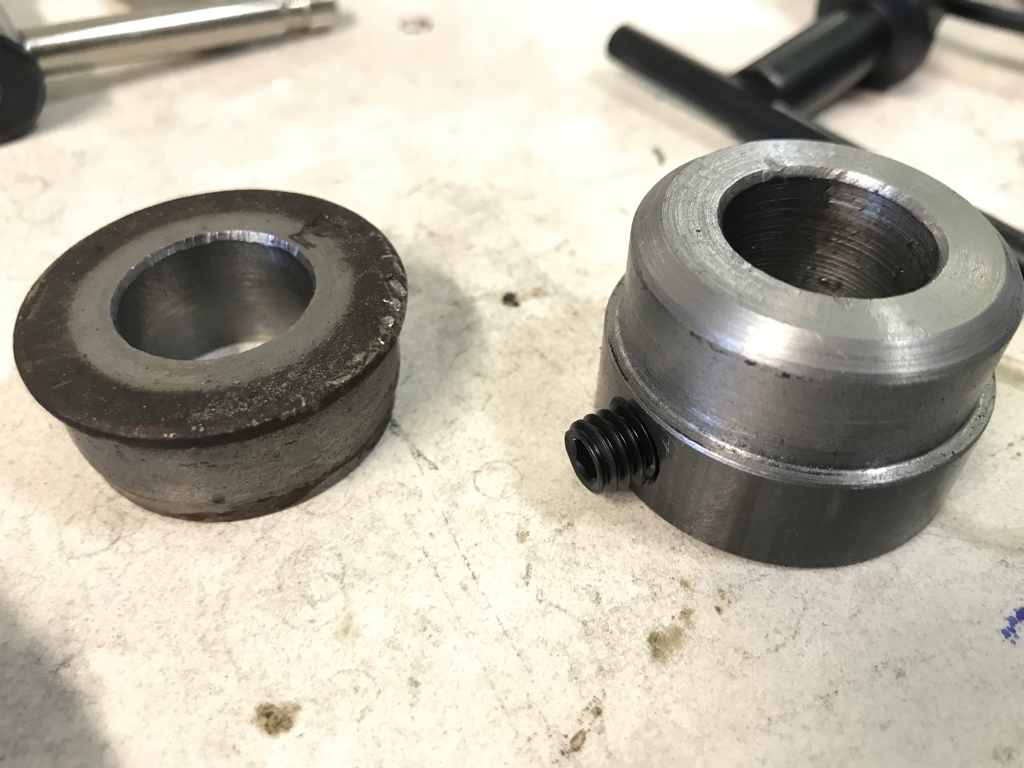
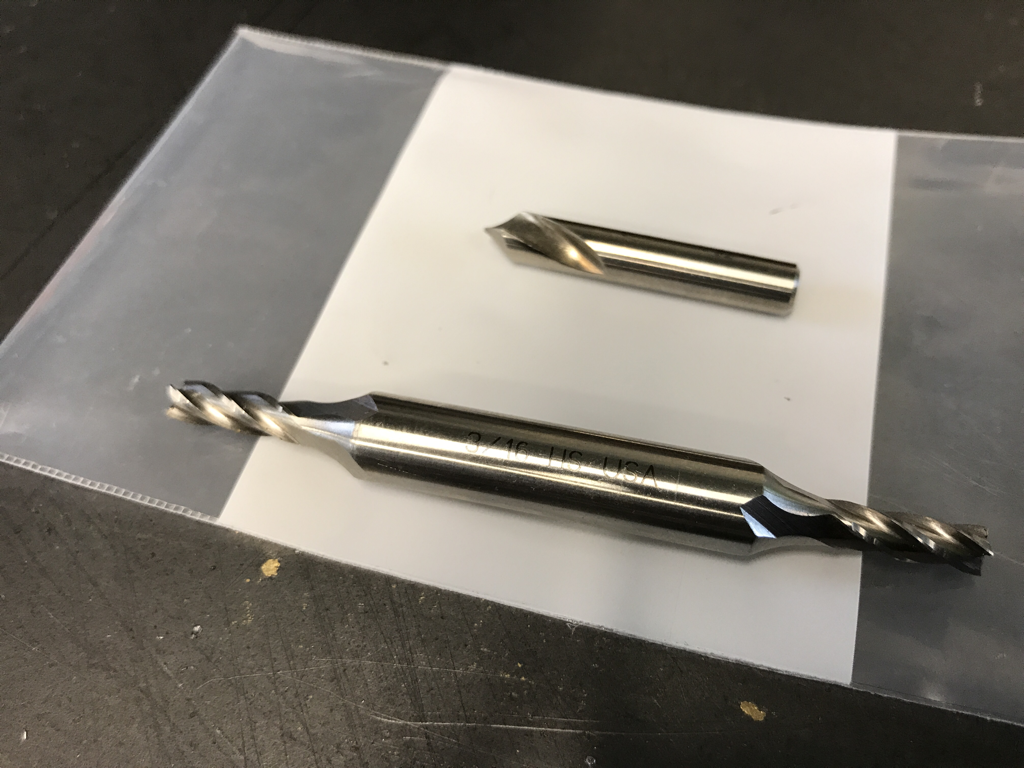
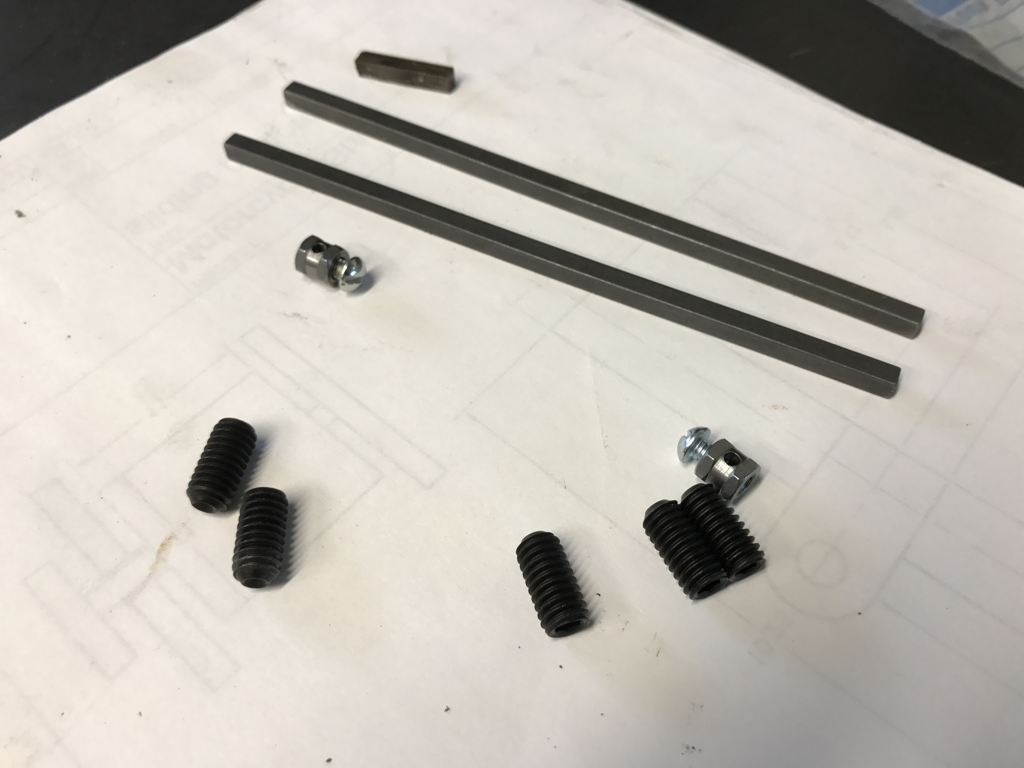
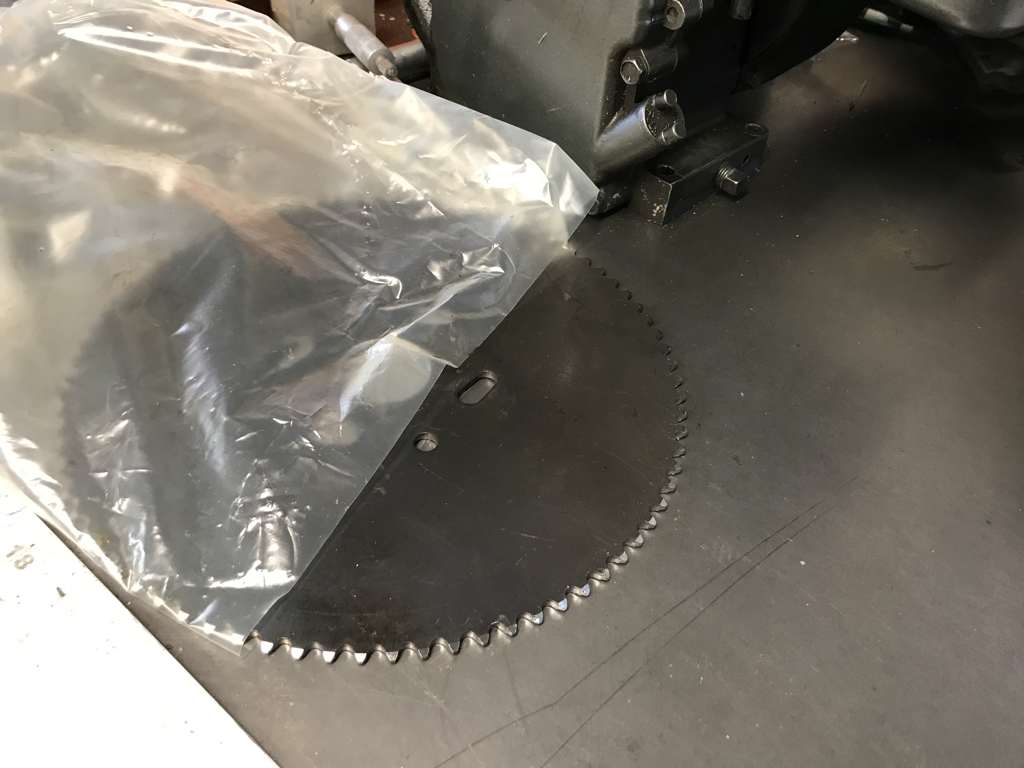
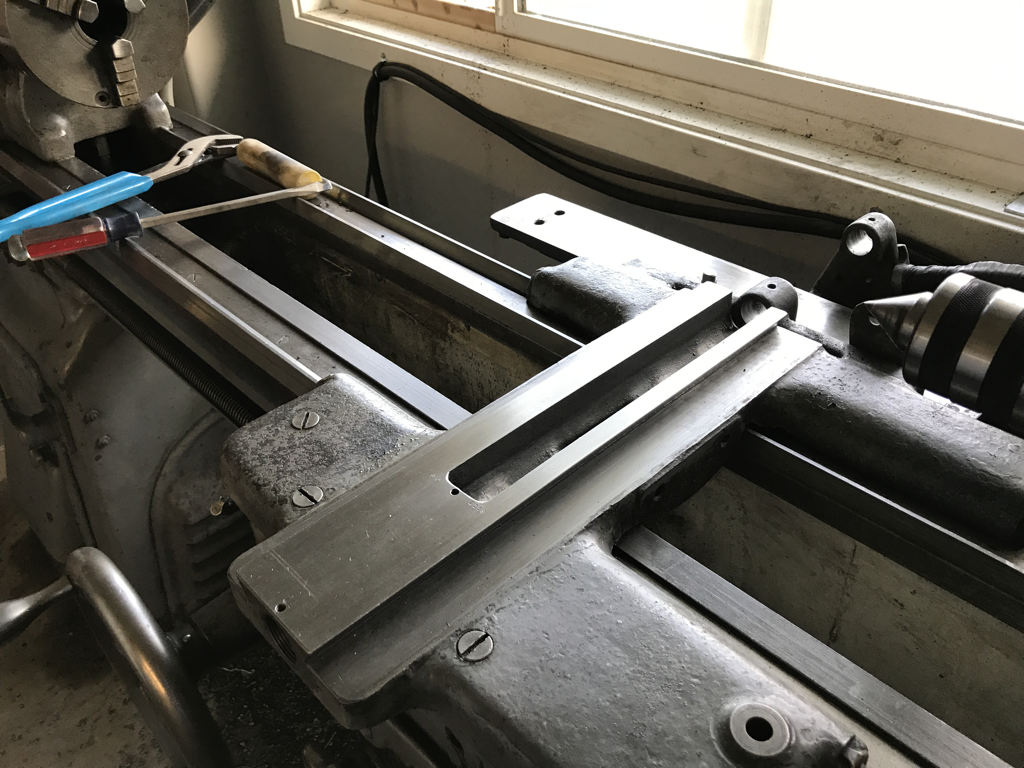
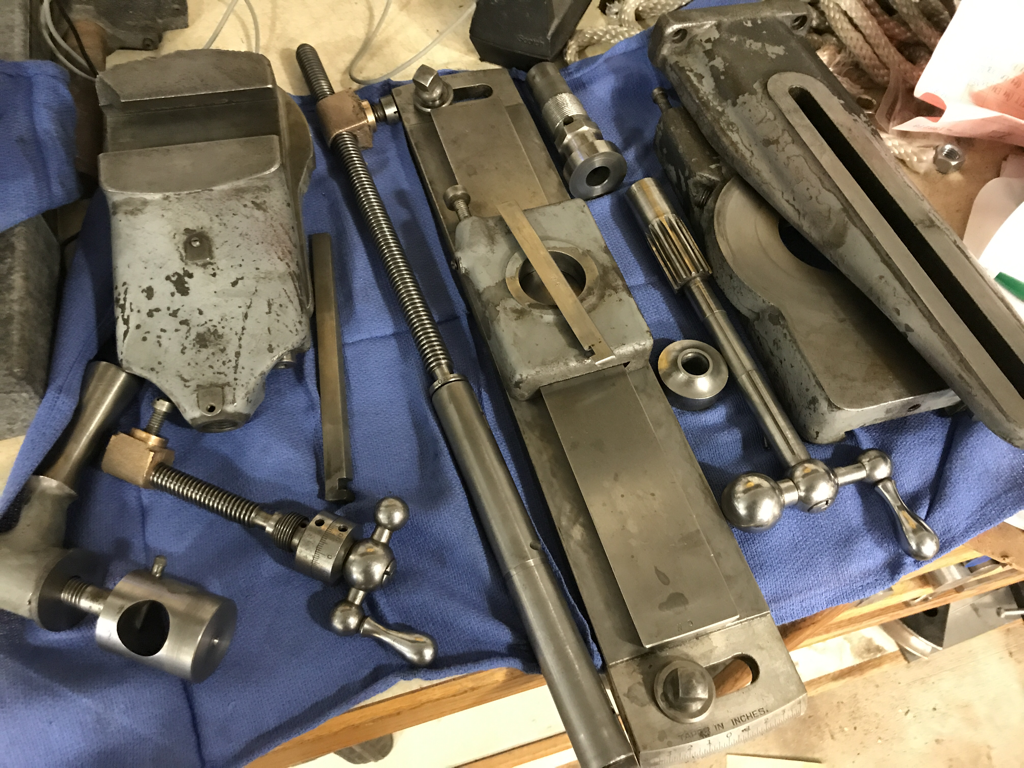
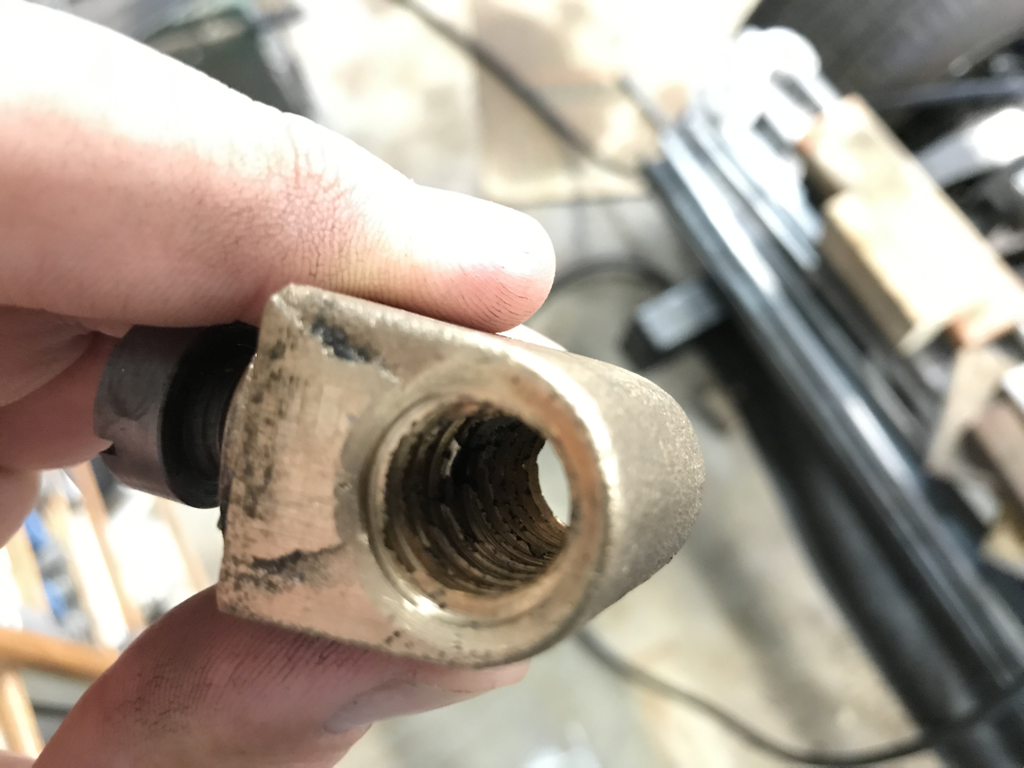
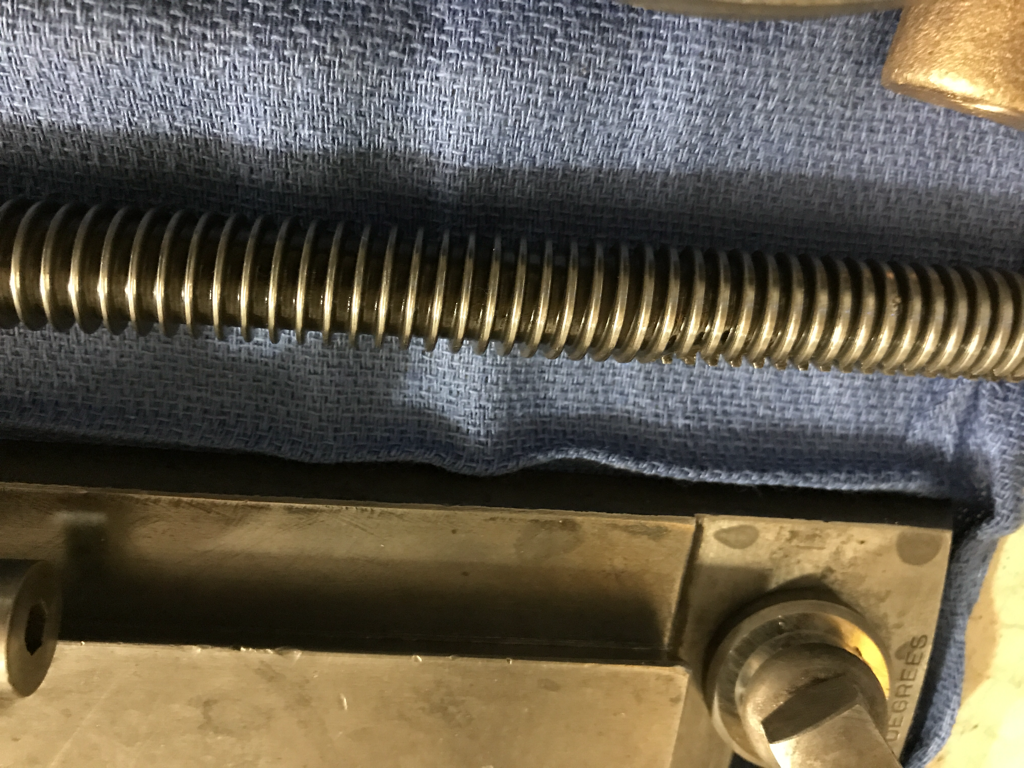
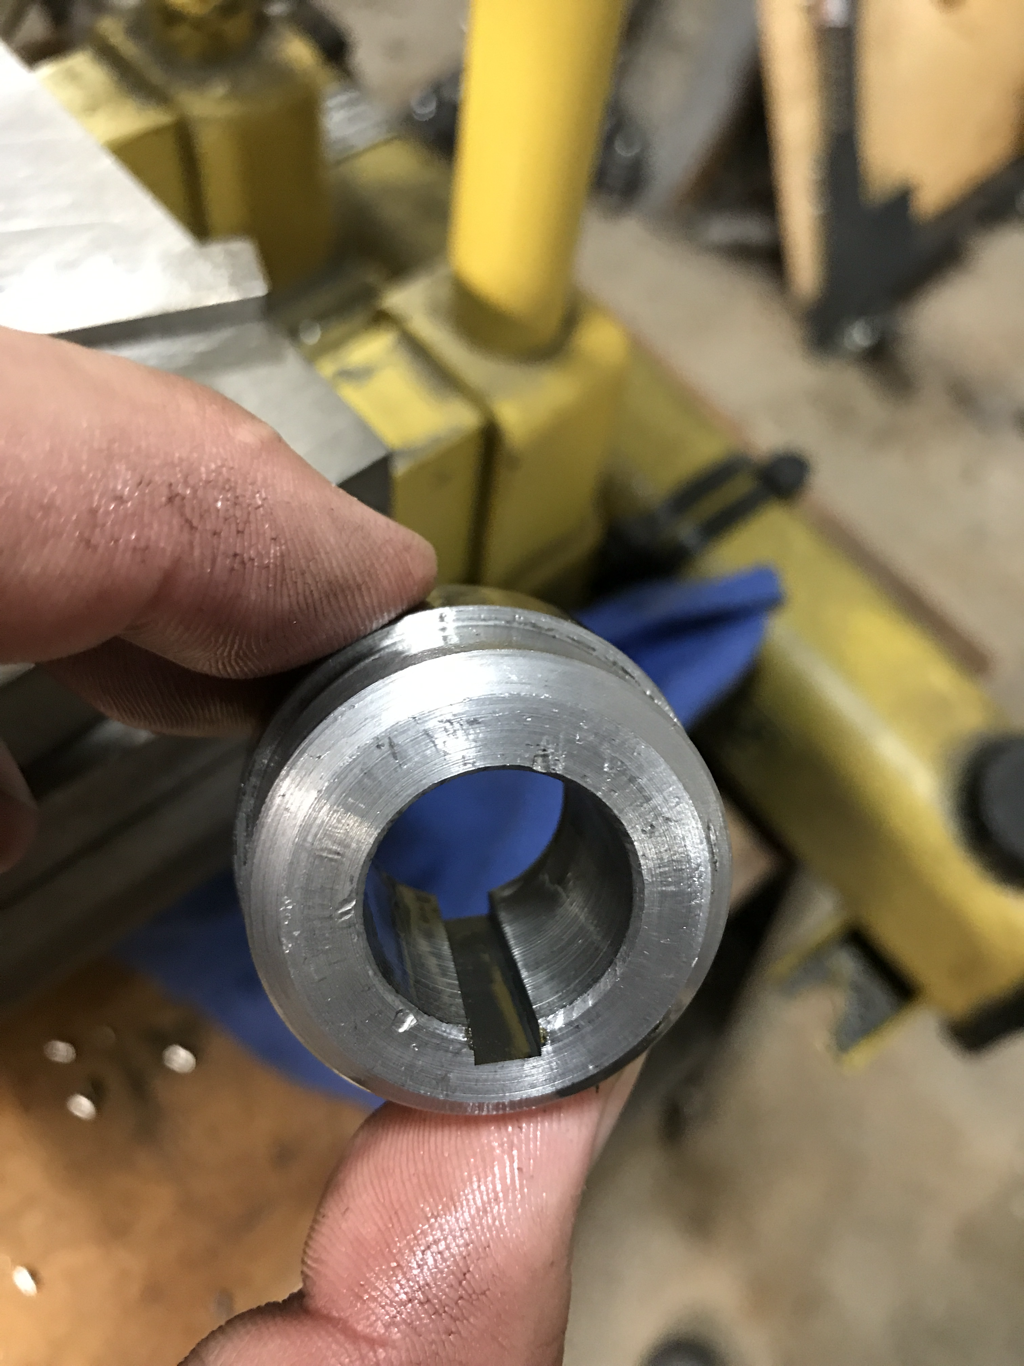
At the end of July I teased that I was going to work on my skills as a machinist by doing a few tool projects. Early in August it was time to finish the tool makers clamp. In keeping with that promise I kept up on making the tool makers clamp. The Next step: threading the knurled screws. I opted to use a die rather than single point thread as I didn't want to screw up the pieces I had made thus far because I'm not great at single point threading. I kicked the lather into its lowest back gear setting and chucked the rod in the tail stock drill chuck. And let the die/chuck drag the screw inward as it cut the threads. It worked like a charm. Next up I drilled cross holes for increased leverage when tightening... though I doubt ill need them. Turning down the threaded end of one and Parting off to length came next. The second screw needed a relief cut into it so it could be held in place while rotating on one of the clamp arms. It'll all make sense in a moment but for now the two screws are done. moving onto the clamp arms. In this picture I had already drilled and tapped where appropriate, and i was starting to mill the angle onto the end. this is where I made my only mistake. While my mill can cut steel it doesn't like to do it in very large cuts. It needs to all be done lightly. I got a little agreesive on the last pass and the end mill started to chatter a bit, leaving a finish that was less than desireable. But... you gotta make mistakes in order to lear. Chatter marks seen above next up was the little clamp to hold one screw in place while turning. This the only place a deviated a little from the plan, purely to make it look a little better and to accommodated form some dimension changes in the screw because of my limited tooling sizing for the groove I cut into the screw. I got to use some layout die that I have had forever and I really like the stuff. It helps to speed things along when exact dimensions are not necessary, and for this I felt that doing a setup with the DRO would take too long. I used the bandsaw to get rid of the bulk of the material, and then milled to my lines. Taking a little extra off towards the back so I could cut it off in the saw when finished and then mill the final piece to the line again. Here is the finished screw clamp. Complete with chamfered end, and screw recess. Before I show the finished product I wanted to show some video I took of some of the process. I intend to do a little more video of my projects in the future... here is a turning shot of the screws, threading the screws and milling the angle on the clamp arms. Here is the finished product. It turned out so good I think I will make some of these as gifts for my dad and brothers. a few days after the clamp was finished I received an email from one of my commercial insurance clients. The same one that I had purchased the aluminum stock from in the previous post. He said that he needed to be out of his space by the end of the month and that I could come get anything that had not sold yet for free. Of course I jumped at the chance and ended up with some great freebies. Above is a 12x18 granite surface stone. Certified flat to + or -.0005. And some nifty little mini scissor lifts... I'm not sure what ill use them for but they were cool little mechanical things. I also grabbed all of the other metal that I could not afforded when I purchased the aluminum. I organized it on my wood workbench above. Now I am stocked to the hilt with 304 stainless, 416 stainless, mild steel rounds, 6061 aluminum block, graphite and carbon rounds, and some steel flat bar. Not pictured are some .5 thick stainless plates, a couple of rods of 625 Inconel, and some drill rod. And last I did grab a few C clamps, safety glasses, and face shields. Overall this would have cost a small fortune from the remnants place here in Salt Lake City. Many of the stainless pieces are 12" or longer also. Needless to say I am very happy with my freebies. Also mentioned in my last post was another freebie given to me by my grandpa. A trailer sprayer pump and tank with motor. I am happy to announce that I have started the powered wheelbarrow project and the first step was to make sure the motor was running. It required a good degreasing and a carburetor cleaning, but after a few pulls it started right up. Pretty amazing considering I don't remember this thing running anytime in the last 15-20 years. Next step in the wheelbarrow project was to figure out how to connect the wheelbarrow wheels so they turn in tandem with an axle rather than their current setup which is to simply spin on the axle. The old wheels had these hardened steel bushings seen above that were pressed into the sheet metal part of the wheel. I am going to remake them from mild steel, but add the following features: a larger shoulder, bore them out to .75" rather than .625" add a set screw or two and add a key way to connect them to the rotating axle. Once the machining is does I will use the larger shoulder to weld the bushings directly to the steel wheel. here is the entire wheelbarrow wheel in all of its 15" of glory. here is an comparison between the new one and the old one. The key way has not been cut yet on the new one, but my key way broach and bushing should be arriving soon. Here are a couple of new tools I purchased to use in the mill. While I bought them specifically for the motorized wheelbarrow project, I am sure they will come in handy for other projects as well: above we have a double end 3/16 end mill, and a 90 degree 1/4" spot drill. here are a few things that the local Ace Hardware had in stock, cable stays, set screws, and 3/16" keyway stock. Here is a #35 pitch 9'5/8" 80 tooth sprocket that will be mounted to the axle. I will need to make a hub with a keyway for this as well, that will be made from some of my newly acquired 6061 aluminum round stock. When paired with my clutch, and sprocket on the engine side(soon to arrive in the mail). I should have a 7.27 to 1 gear reduction. I am hoping that makes the wheel barrow slow enough to walk behind while still providing enough torque to carry a 100-200lbs worth of load up the hill on the side of my house. I also purchased a few new measuring tools. 1 analog caliper, and 1 analog dial test indicator. The caliper is meant to be a backup for when my digital calipers run out of battery juice. The dial test indicator is a unit that I can chuck up in a collet to tram the vice on the mill. I have a magnetic base one that works as well, but it can be a bit tricky getting the mag base into the right spot for the setup. I have had pretty good results with some of these no name brand stuff. Definitely accurate enough for what I do, and a lot easier not eh pocket book. I also got a little restless waiting for parts to show up so I decided i would disassemble the cross slide, compound, and taper attachment on the mill and give them a good cleaning, which I don't think had been done in many many many years. Here are about 75% of the parts cleaned and ready to be reassembled. I still have to remove the top part of the carriage and clean that, and then it will go back together. While the lathe is apart I double checked everything, and the only parts showing excessive wear are the crossslide acme threaded rod and the cross slide nut. They will need to be replaced soon but for now they will work. I will just have to deal with the .120 + worth of backlash. You can see the brass cross slide nut above, and the threads are chipped and wearing away. Probably from inadequate oiling during its long life. Here is the cross slide threads. It's pretty evident that where that nut rides most of the time is showing more wear than other parts. All of those threads above should be the same width at the peak... but hey ill replace them soon and it will be good as new. That's kinda what I expected when I purchased a 70 + year old machine. on 8/30 the rest of my parts and tools showed up in the mail, so that meant it was time to put them to work and finish off the wheel hubs with a nice 3/16 keyway using my new high speed steel broach. Here is my setup using some of the stainless steel plates I got from my client on my 10 ton Enerpac Press. the chips that come off of the cutter are pretty cool. here is the finished product, ready to go with a perfect keyway Here is a quick little time-lapse of the broaching process. overall each one takes about 1.5 minutes.
and with that consider yourself up to date. I will do an earlier post if the wheelbarrow gets done early.
1 Comment
11/8/2022 09:53:21 pm
First time reading this blog, thanks for sharing
Reply
Leave a Reply. |
Download the
following Designs used in this build: Archives
February 2018
|
