|
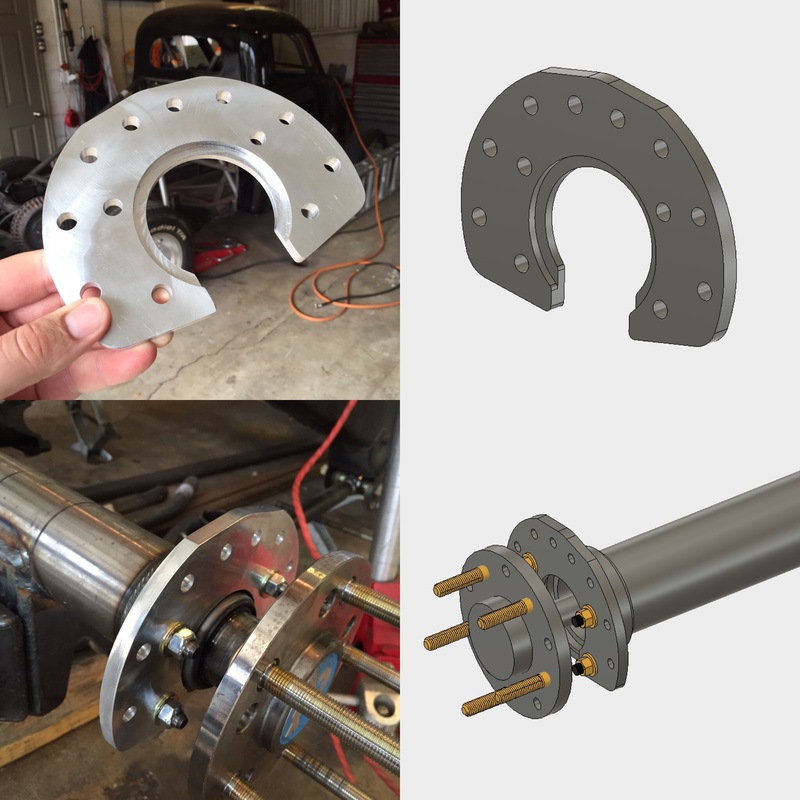
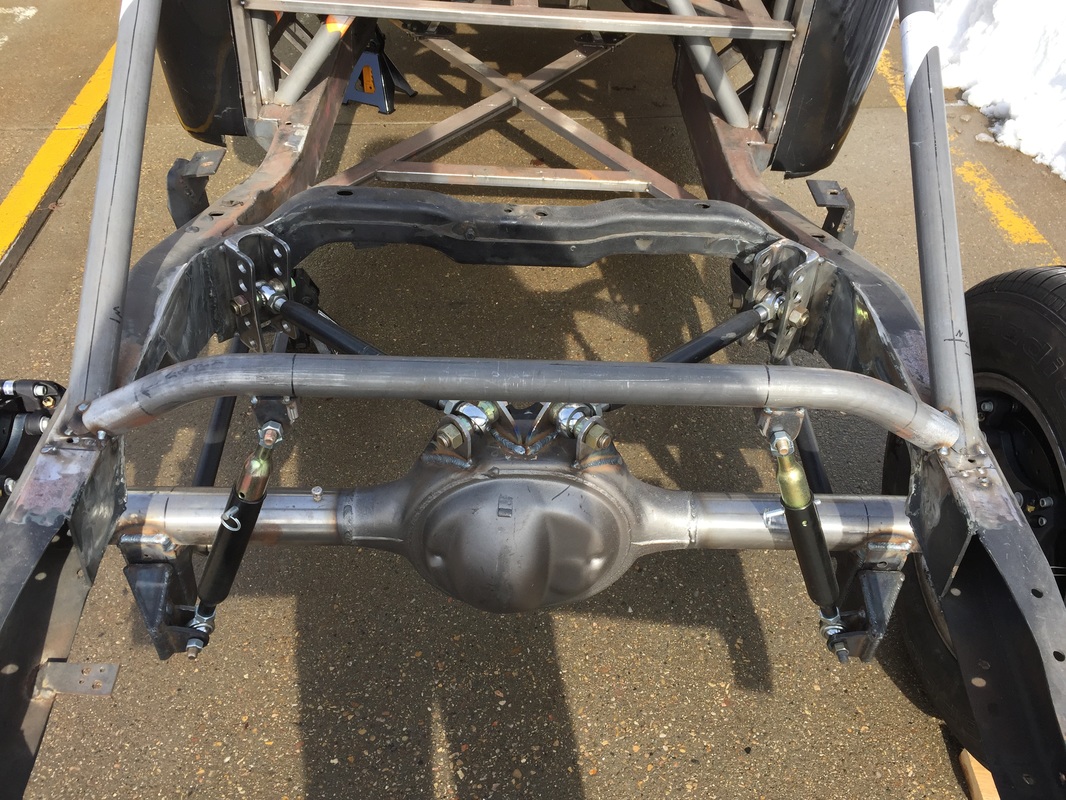
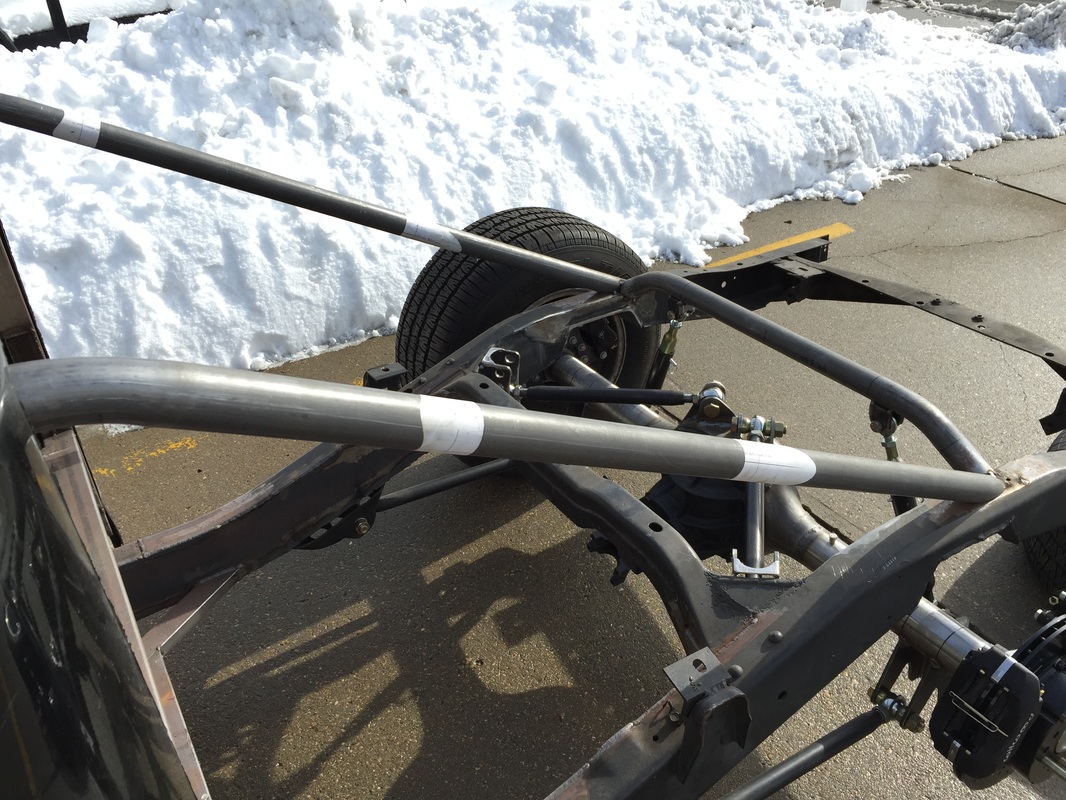
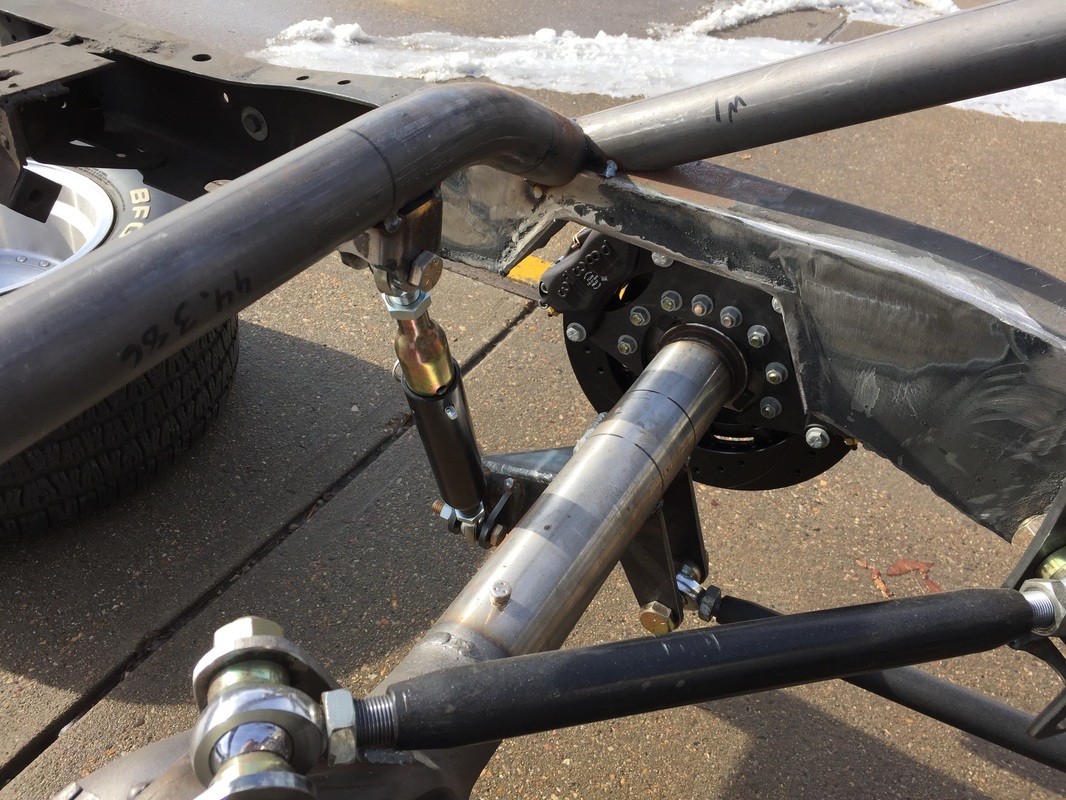
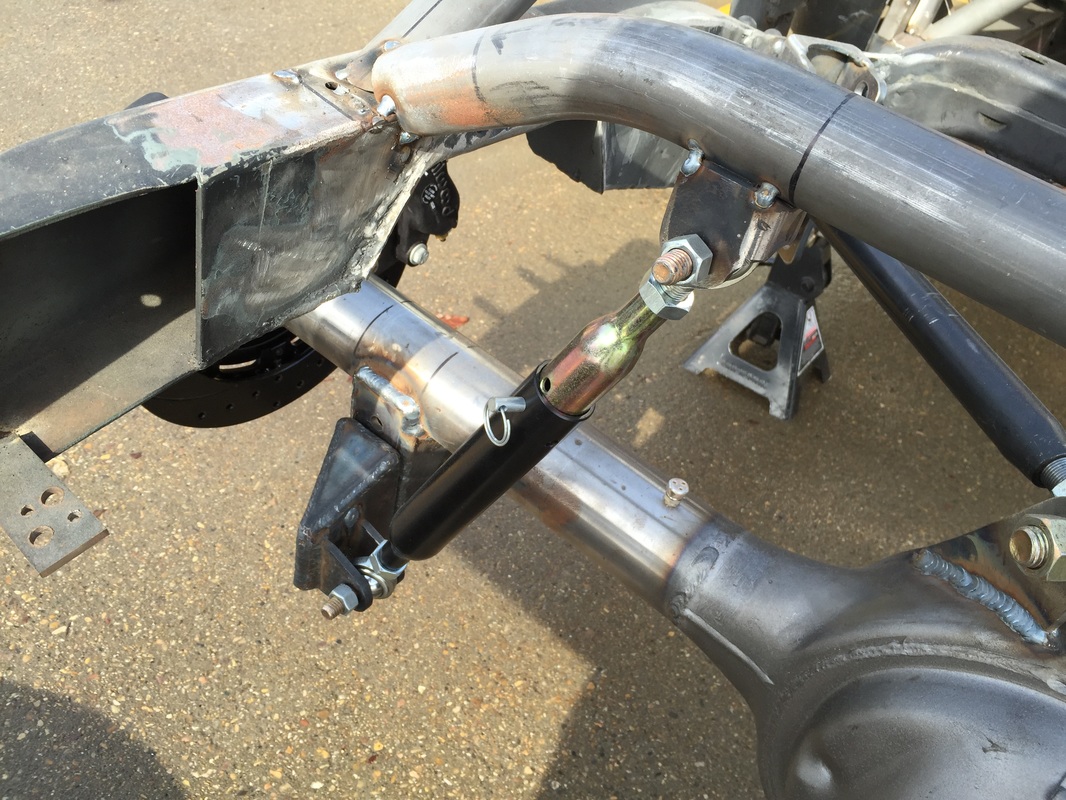
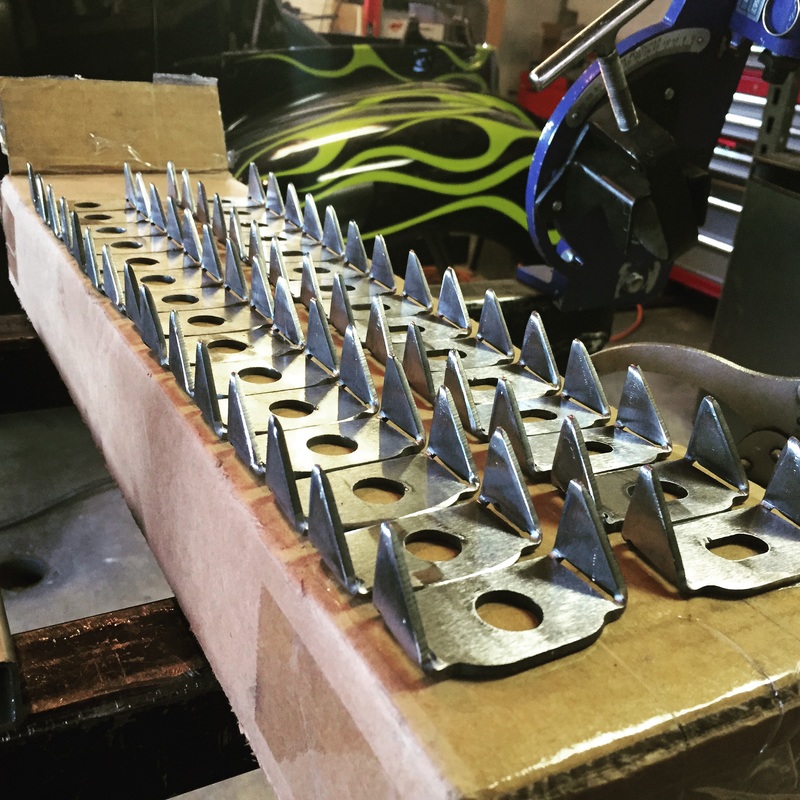
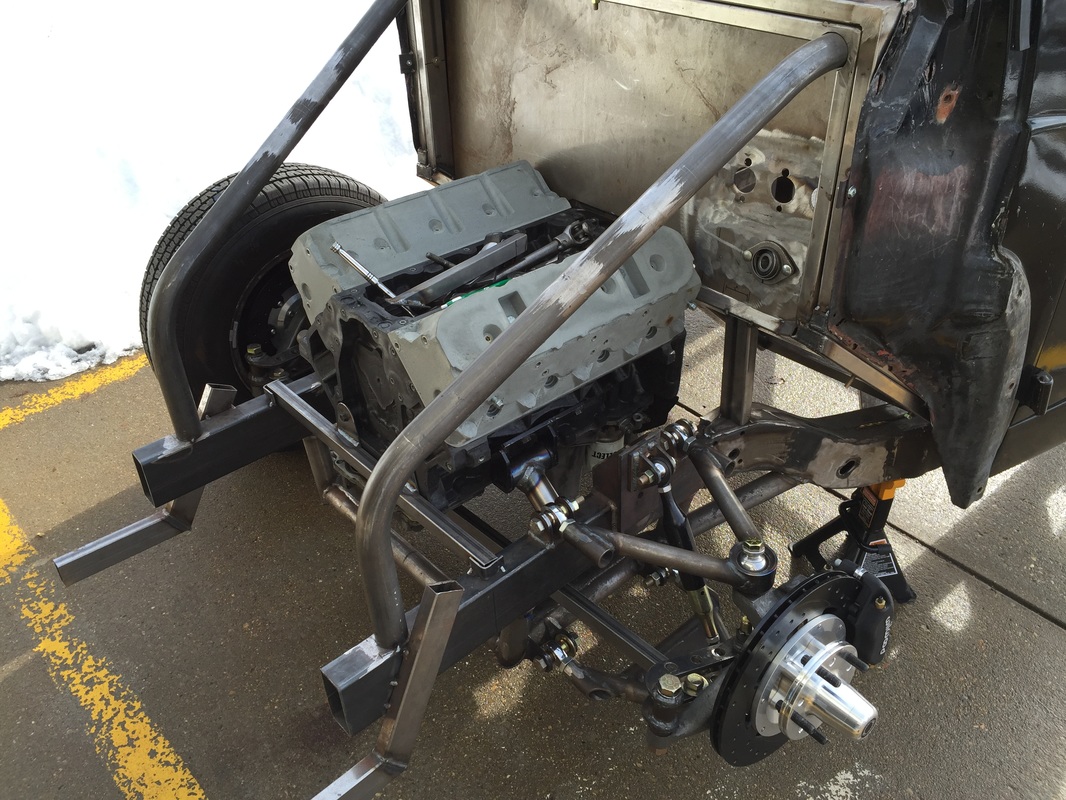
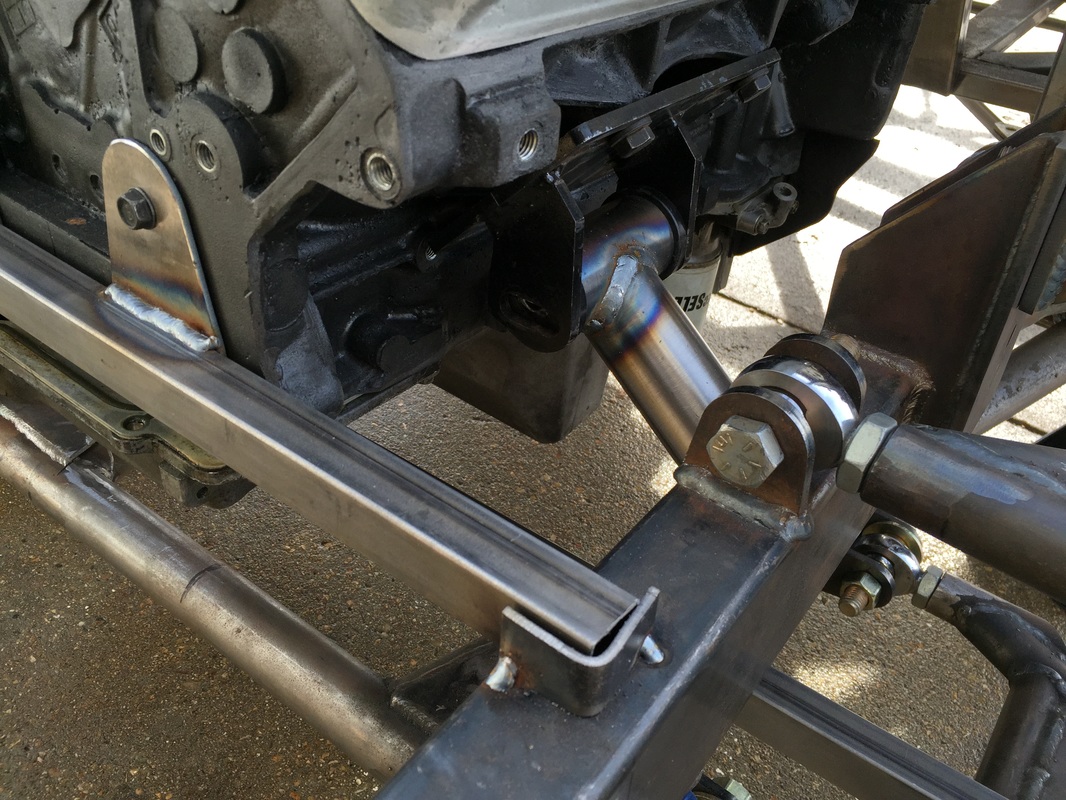
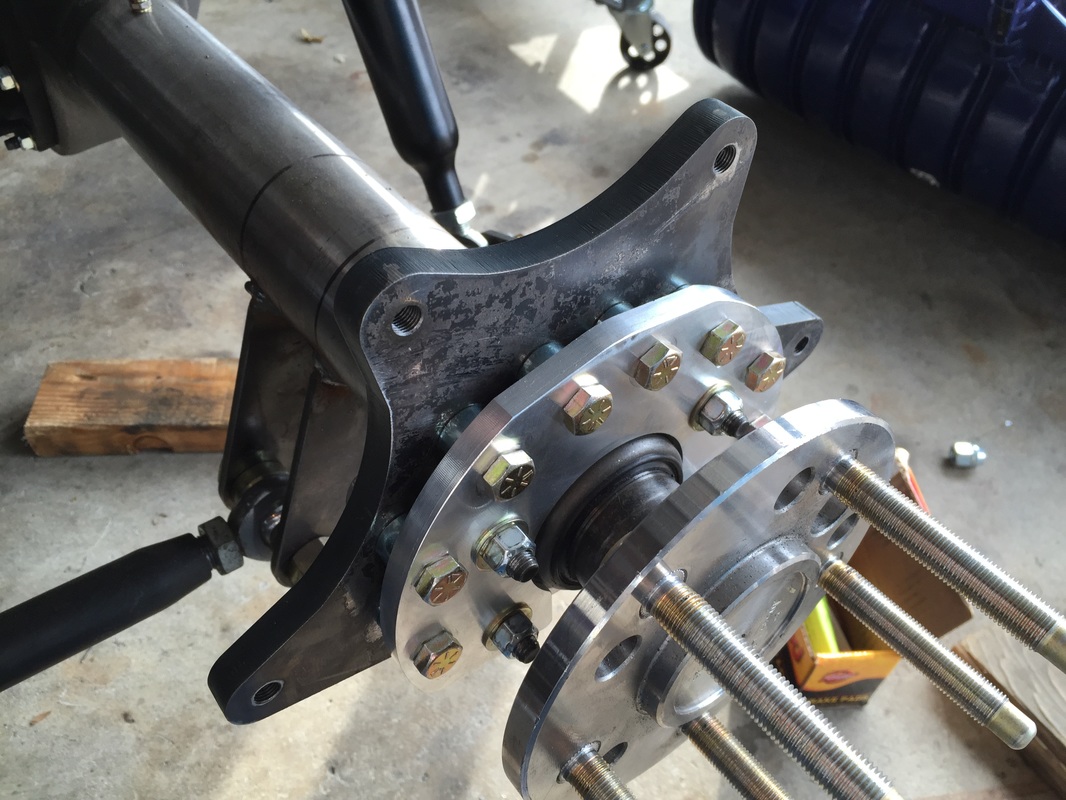
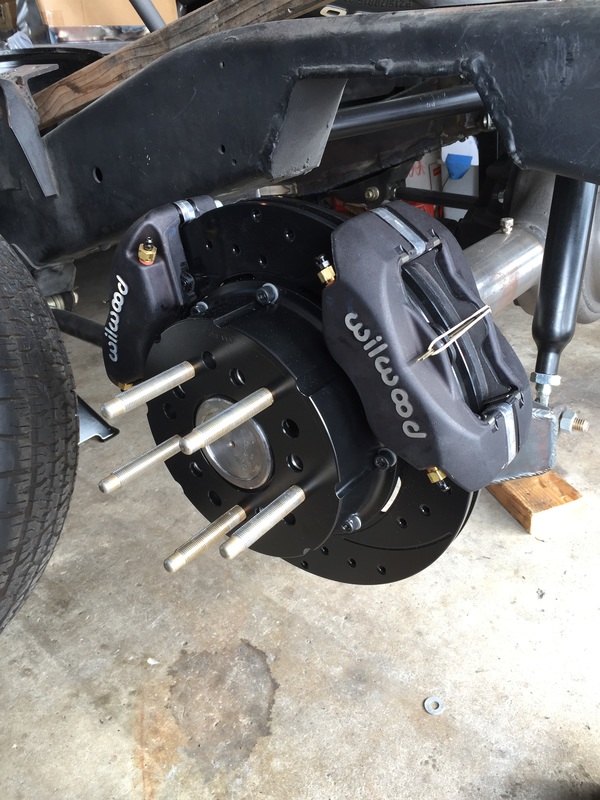
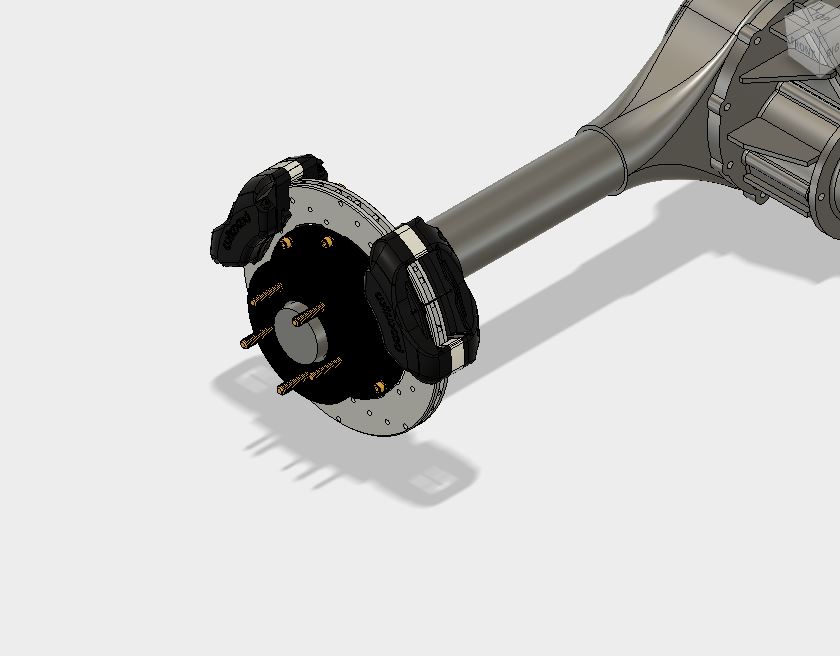
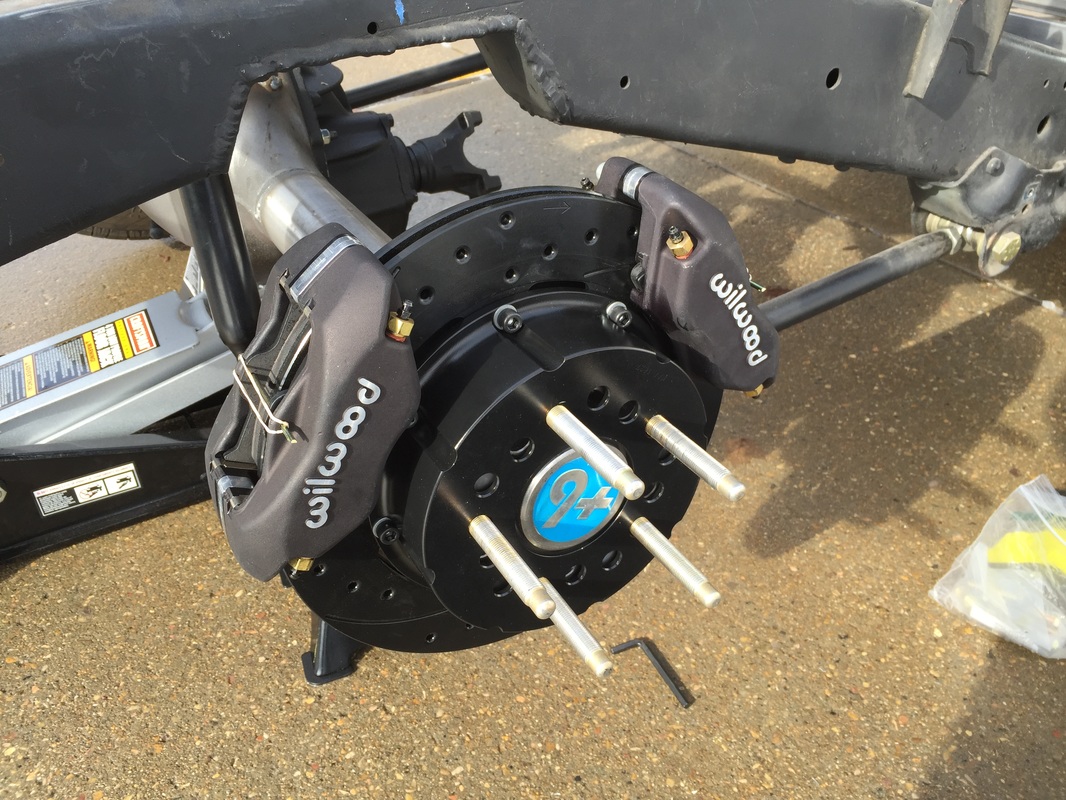
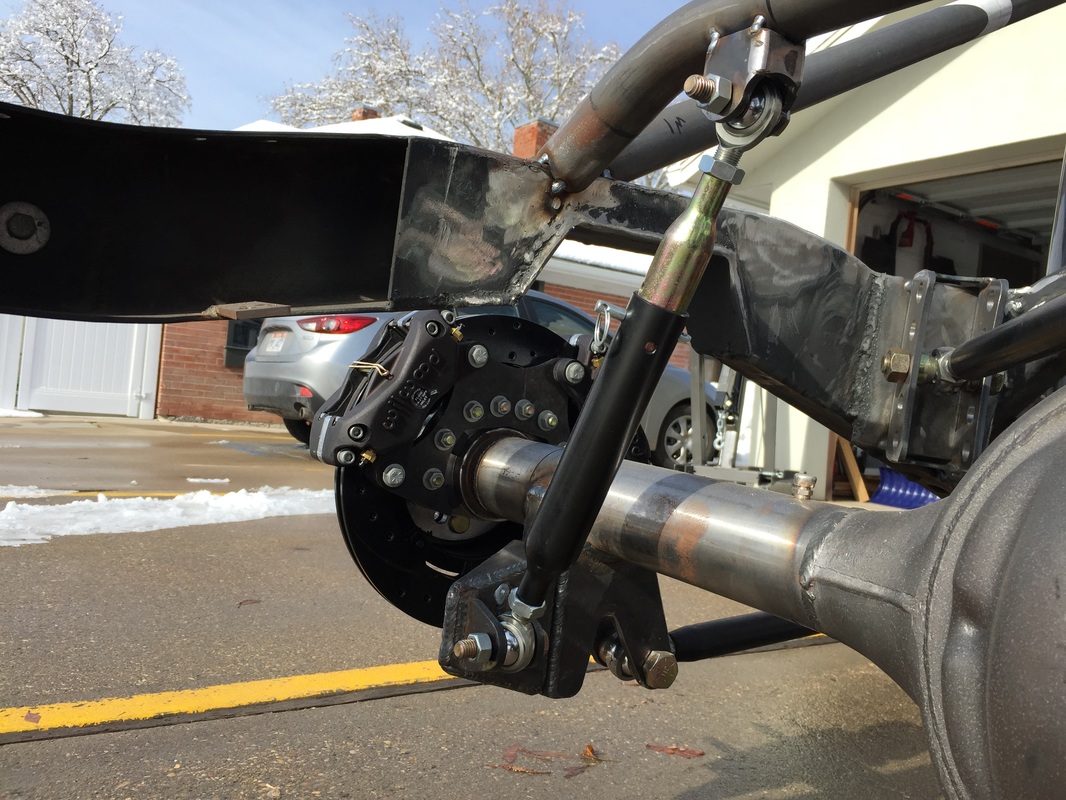
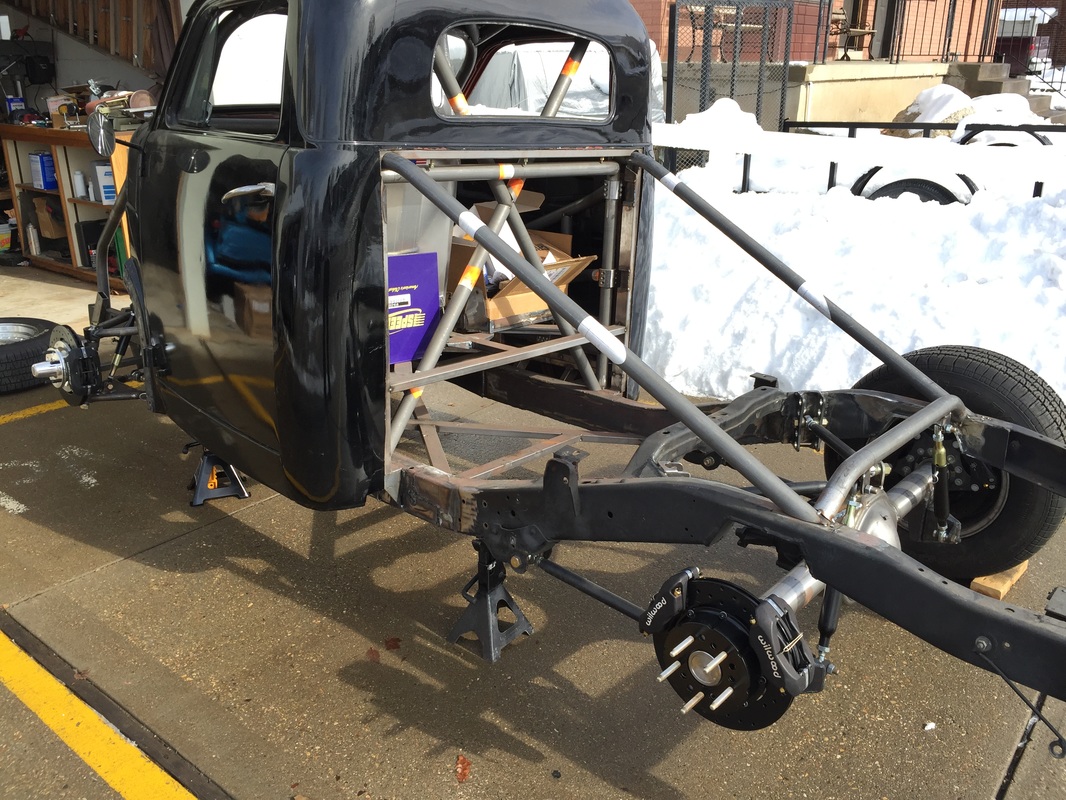
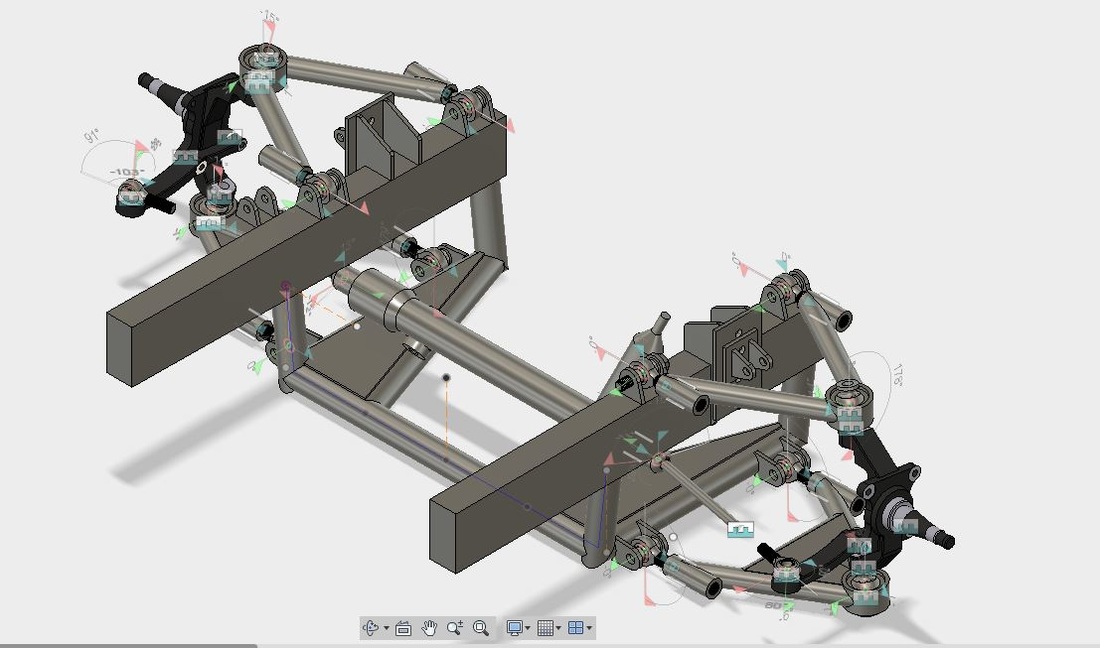
The progress on the Drift Stude build has slowed to a craw, but I am happy to report that it is still moving along a little bit at a time. In Nov 2015 my wife and I bought a new home after selling our condo, and money of course does not grow on trees, so this and other projects had to get put on the back burner. Luckily I had and still have a small stock pile of parts that will end up in the stude so I can keep moving along for a few more months while I save for other parts. First on the list was to get the brake brackets made based on my cad designs: I had Saunders Machine Works do the machining on the bracket above for me after designing the entire rear brake bracket setup in Fusion 360. The owner of Saunders Machine Works, John Suanders, also runs a pretty successful YouTube channel NYC CNC where he does a lot of CAD tutorials using fusion 360, and other machining oriented videos. Overall very informative and entertaining. check out the YouTube channel here and his business website here. He did an awesome job on the brackets, and they were reasonable on price and he was able to cut them based off of the fusion 360 file I sent him. The whole thing couldn't have been more painless. I would highly recommend him if you need anything made! while the brake brackets were being machined I knocked out the upper rear coil over mounts. Overall a pretty simple design but a pain the but to execute... Part of the reason for the hardship was that the original rear down tubes were not exactly made to the quality that they should have been. my notching on the originals was pre bend tech and was a little off and they were about an inch different in length. The fix was to redo them, and also add in a bend so they come out at 90 degrees from the cab B-pillar The end result turned out great. The other reason for the difficulty was that I wanted the placement of the cross bar to be in line with the end of the down tubes and meet the frame right on the corner. all while being in line with the lower coilover brackets coming off of the axle. Even with Bend Tech it was difficult to get it all to transition from design to finished product easily. the brackets for the coilover had been cut out for almost 6 months just waiting to be bent, welded up and tacked into place. The brackets themselves were again designed by me to fit 1.75" tubing and bend to just the right width apart to fit the bearing mount coilovers nicely. I am happy to report that it worked really well. the bracket design can be found in the 3D bracket design library here. Also during that time I started finishing the body mount brackets. These, like the coilover brackets above were cut out a long time ago and just needed to be bent, welded up, and have the weld nuts stuck on the bottom bracket. This made me glad I am not a production welder for a living. Its pretty boring work. These have not been installed to date, but will be in the near future and of course pictures will follow. As part of the "redo the steering geometry" initiative I have mentioned a few times, I have also started to redo the front engine mounts. The new mounts were moved forward a couple of inches to hopefully allow clearance between the steering column linkage while at the same time moving the rack further towards the back of the truck in order to obtain correct Ackerman Geometry. You will also notice I purchased a foam LS engine block so I didn't have to pull out the real engine with the hoist and it goes in and out about 10 times. It so far has been money well spend. Here is a closer shot of the moved engine mounts. also, the square tubing bolted to the front of the block is there to hold the block in place while I made the new mounts. Hopefully this is the last location for the engine mounts. In late Dec 2015 I had the last of the needed brake brackets cut out. Again it was based off of my Fusion 360 design. This bracket is what both calipers bolt to and the bracket itself bolts to the machined aluminum bracket/bearing holder from earlier in this post. I had Wasatch Laser Processing, a local laser cutter here in Salt Lake City cut these out. I also had them tap the holes. I guess I'm getting a little bit lazy these days, but they turned out great and again at a reasonable price. The spacers in between the two brackets are beefy stainless round spacers ordered off the shelf from McMaster-Carr, and were part of my original design as well. You can import 3d .step files into Fusion 360 directly from Mcmaster-Carr's website, which is directly built into Fusion. I think it is a very great feature. In fact all of the hardware used in the design was imported using the McMaster-Carr feature. And here is the finished product. One caliper per rear wheel will be dedicated to the hydraulic e-brake. the other one per wheel will handle the normal stopping function. I have to say here that I am really pleased with how this turned out. everything fit just as it should from the design, and that this is the first time going from a 3d cad design to final product with multiple parties making the parts. It of course uses the same calipers (slightly different piston size, but same body)as the front brakes, and even the same rotor and pads. Here is the Cad design for the finished product... Have I mentioned I am really digging Fusion 360? Rear shot of the Drivers Side. Getting the full view of the rear brakes and the front brakes together. I am happy I can put all of my focus into fixing the front steering geometry now. The truck is tucked back in the garage as of 01/30/2016. Next on the list is to finish reverse engineering the front suspension into a fully working 3D design, of which I am almost done. Then from there I can use it to help me determine what will work best to achieve correct Ackerman, and maximum steering angles all while clearing the engine and headers. Honestly I cannot believe I didn't do this from the very beginning, it would have saved a lot of re-do's. But I am learning something new everyday I work on this thing... More on all of this in the next post.
2 Comments
Jake Forbis
9/27/2018 08:37:58 pm
Wow seriously beautiful work.
Reply
Leave a Reply. |
Download the
following Designs used in this build: Archives
February 2018
|
