|
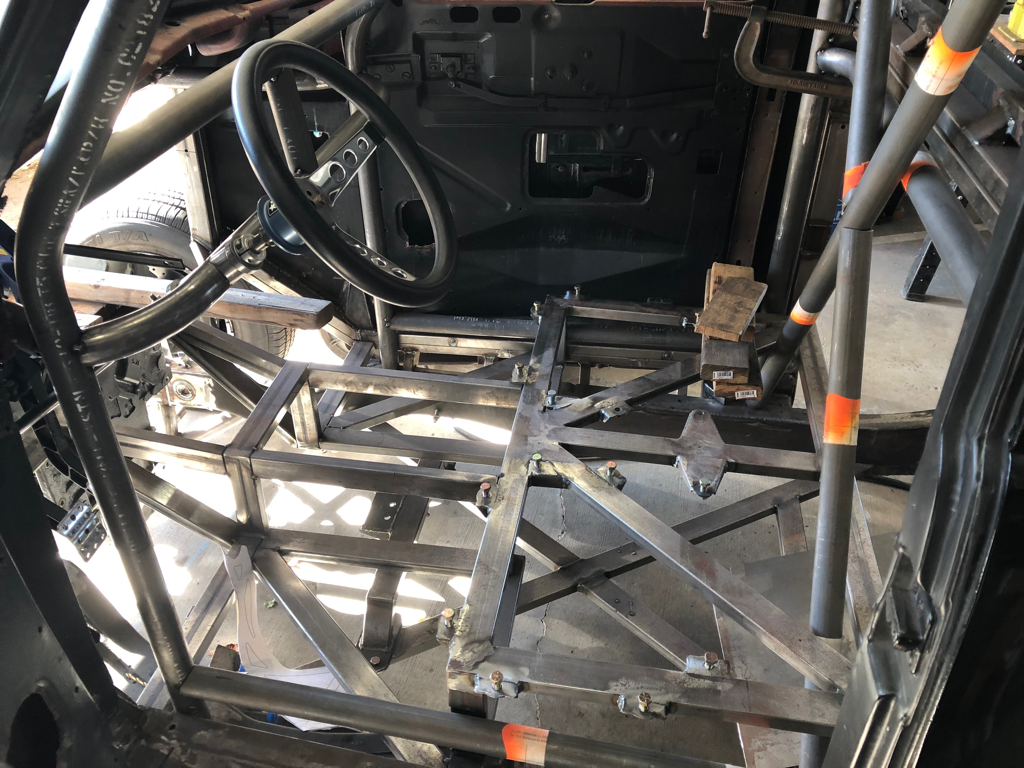
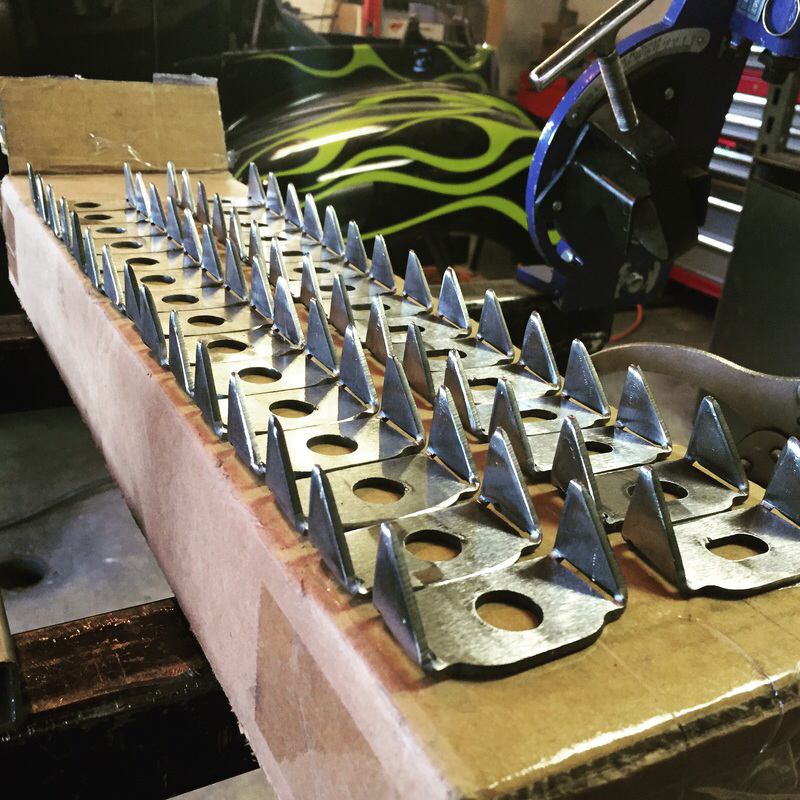
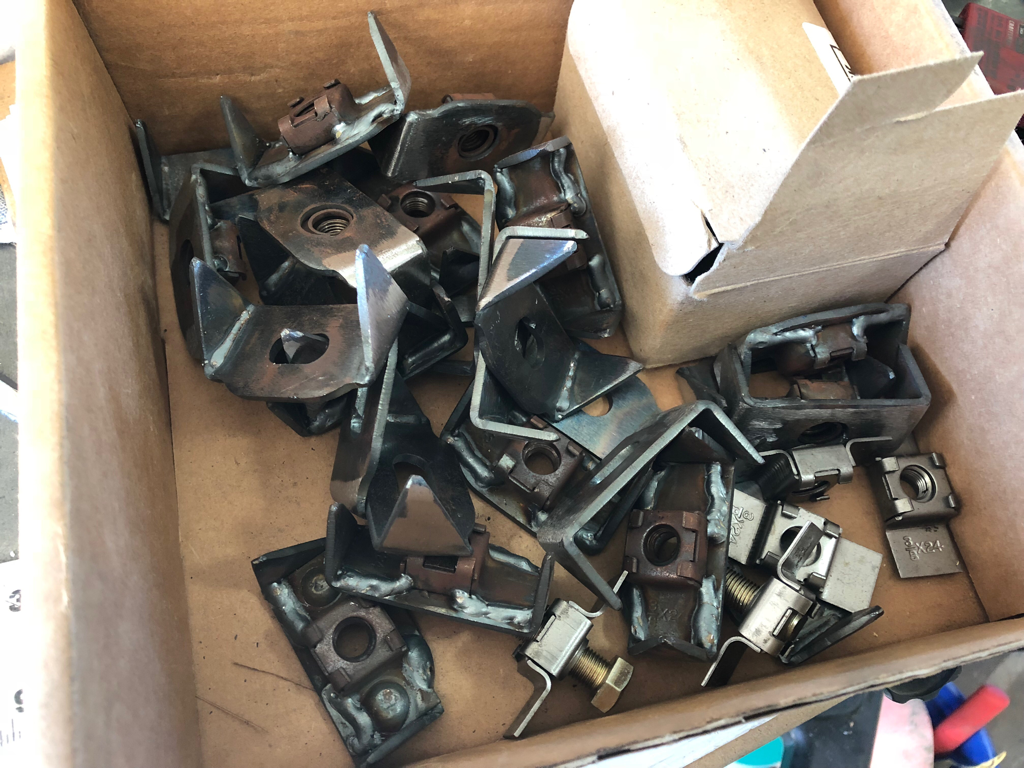
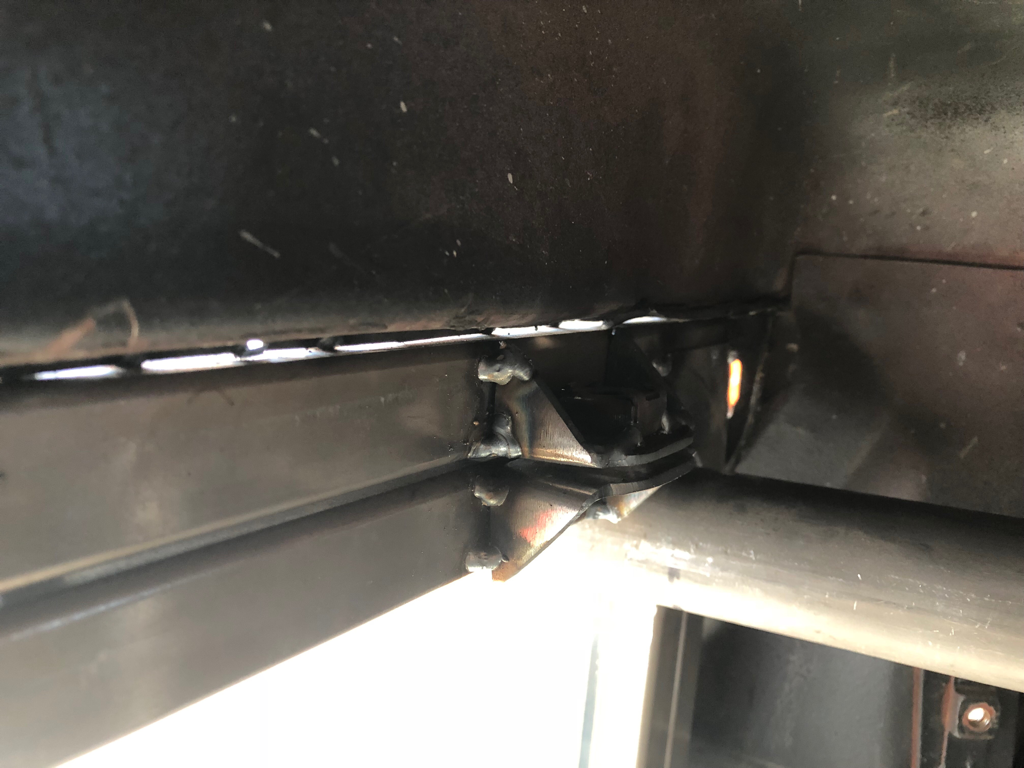
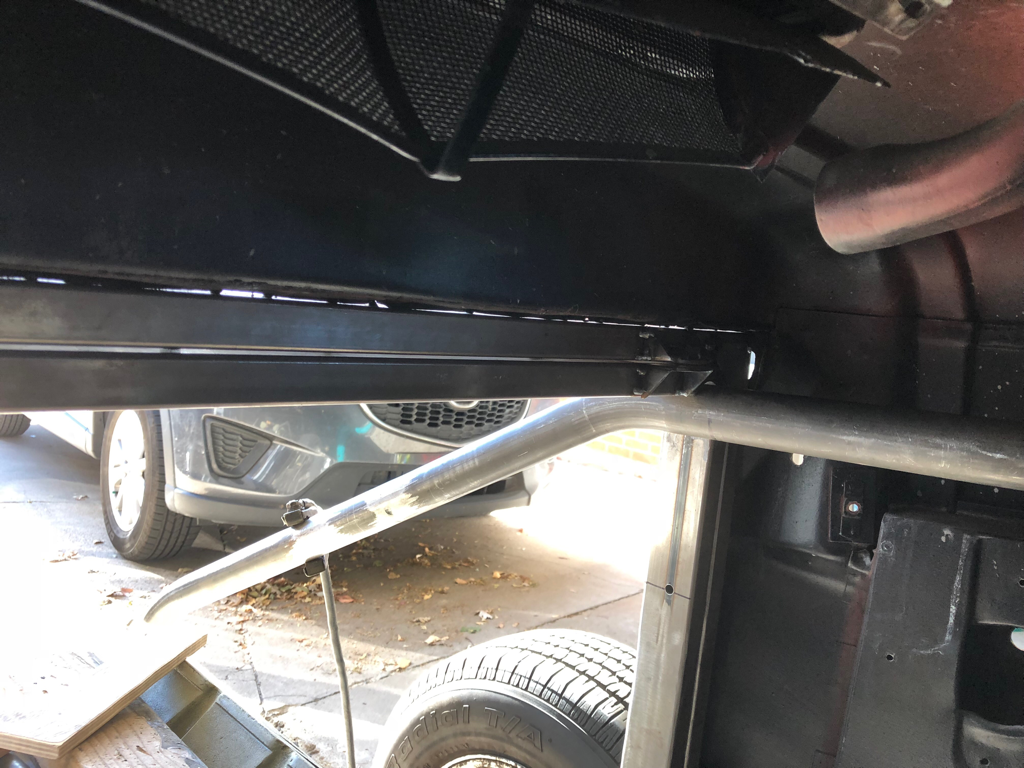
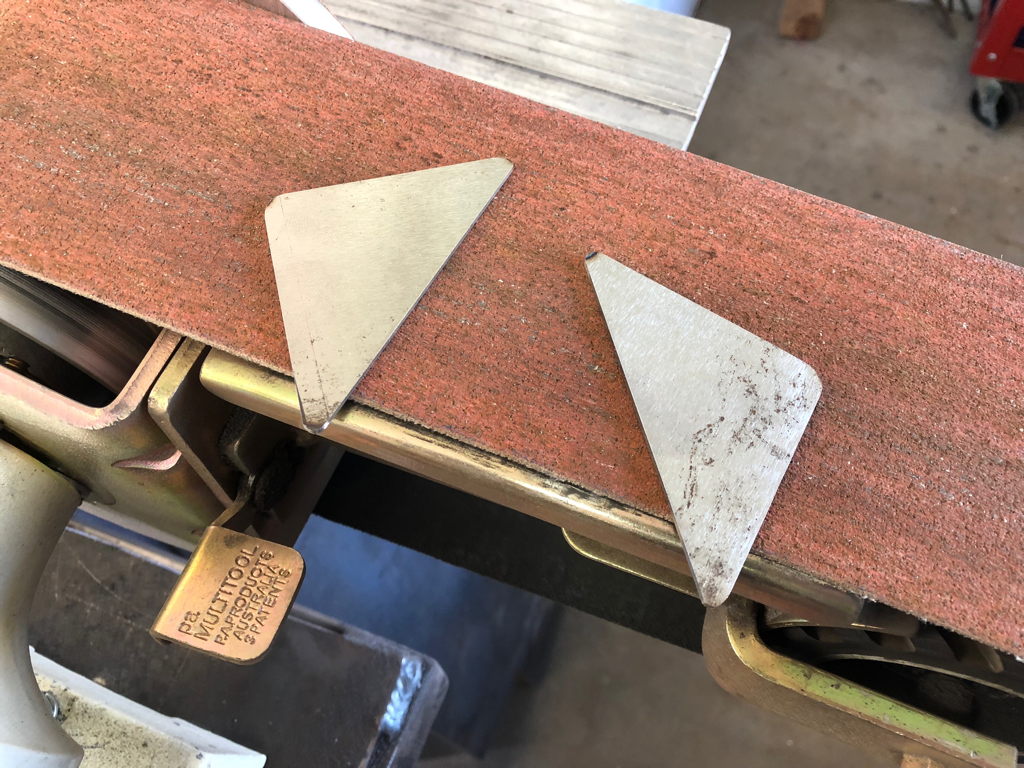
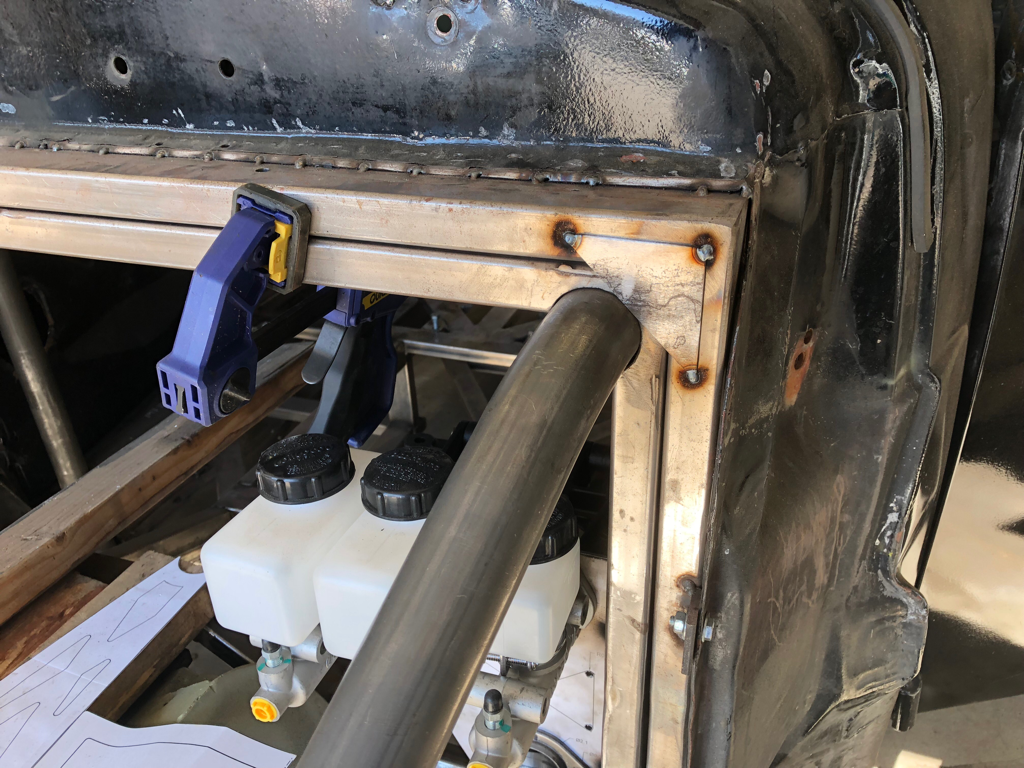
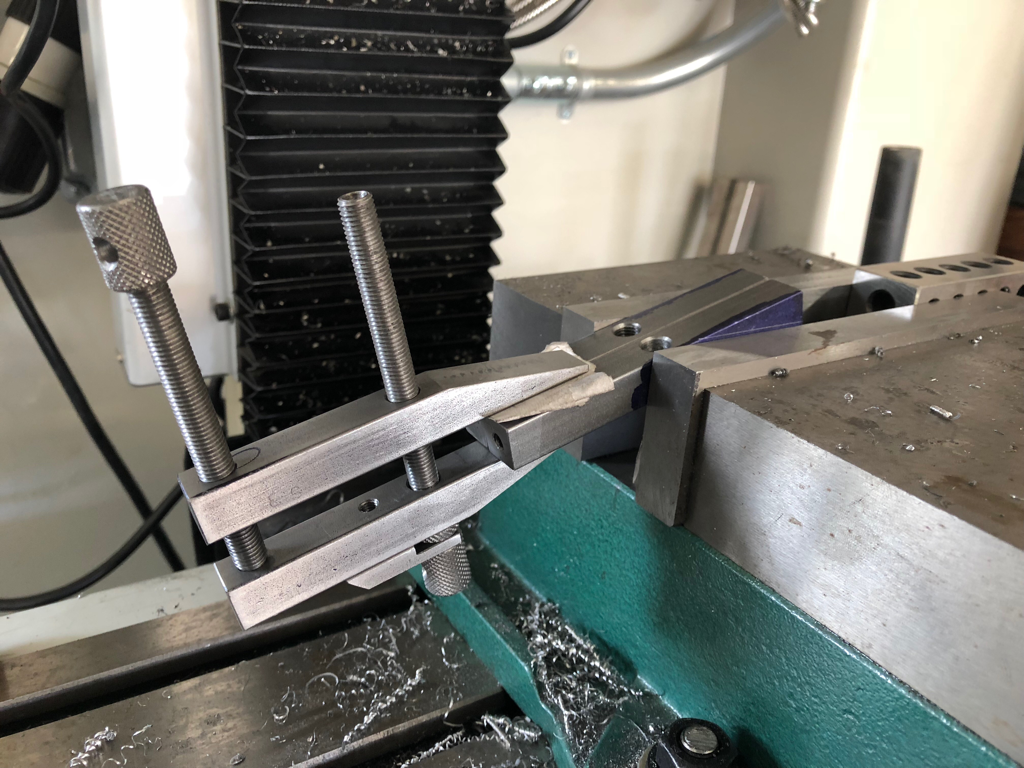
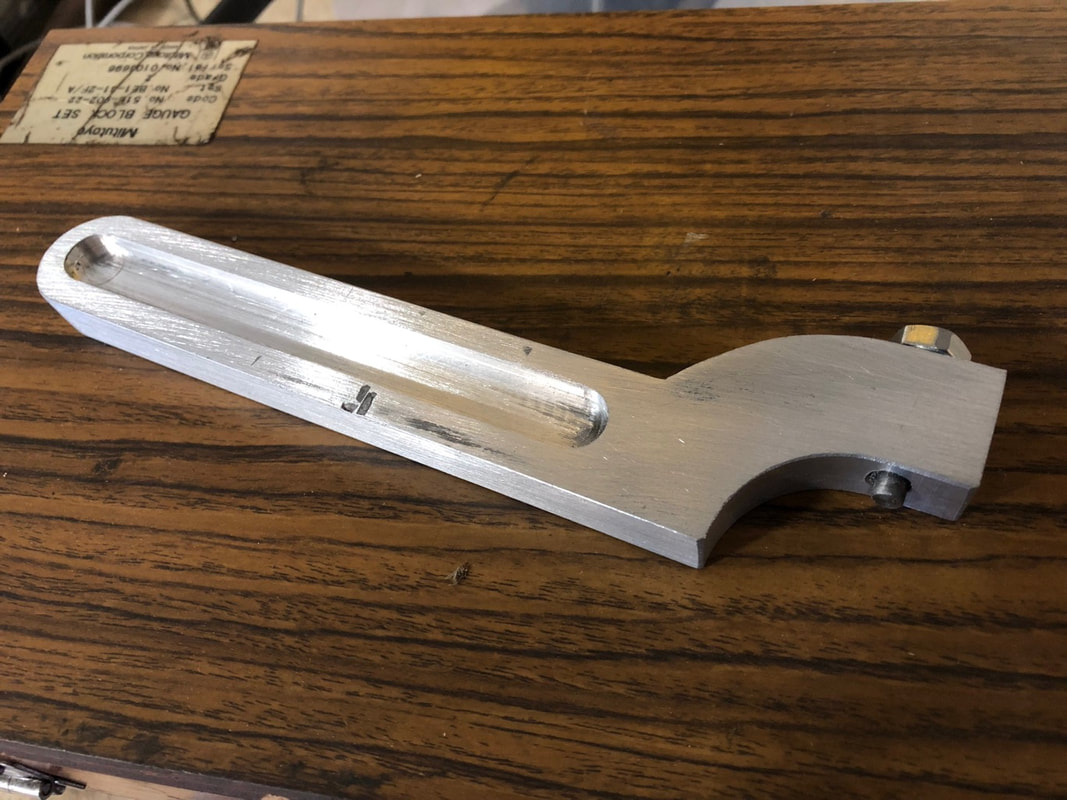
Okay I’ll admit it. I have been putting off working on the stude on purpose. The part of the stude that I wanted to do next, was related to the stuff that I have been working on lately, namely the steering linkage. Continuing on that theme would have meant that I do the headers next. But in order to do the headers the way they need to be done will require a significant purchase, one which I do not have the money for yet... so with a lack of funds the part of the truck that needed some progress was finding a better way to mount the cab to the frame. I started this project a few years back, but it just isn’t as fun as building a set of headers, so I put it off for a good long while. Once I got over the mental block, it was time to pull off the door bars, take out the seat, seat frames, and removed the bolts that had been holding the frame down. These bolts were kind of a pain to get out and are the real reason I am changing how the body mounts. First the bolts are not laid out in a way that makes them easy to get to, and second they basically sandwich two 2x1 square tubes together, and over time they will slowly collapse the tubing, as there is no solid structure around where the bolts go through. My goal is to make the bolts easy to access should I need to remove the body for any reason, and make it so a flat solid plate mounts to another flat solid plate so there is not chance of collapsing a tube. Remeber this picture? It is from Dec 2015. I had my buddy nick cut out a bunch of these brackets back then which is when I started thinking of a different way to mount the body. I bent them up and then welded the bend kerf. And then they sat around for about a year, and then I welded some nut plates on the bottom brackets and then they got tossed in a box for close to two year. here is the said box, and pictures of them with the nut plates welded on. Not my best welding ill admit, but at the time I was sick of welding up the little buggers, You can see we have top brackets with an oval hole, and bottom brackets with the nut plates. Both the top bracket and the nut plate side allow for a bit of wiggle room when it will come time to put the body back on and should make reassembly a breeze. I also whipped up a quick rectangle of 18 ga. Sheet metal to help with placing these. The sheet metal is the same gauge as the floor I will put in, and that floor will get sandwiched between the two square tubes. The upper square tube remains with the body and lower square tube remains with the frame. if that didn’t make sense above then hopefully this picture will explain it. This is the first set of mounts tacked in place up under the dash on the inside of the firewall. I think these will work well. Here is a wider angle to give you a better view. There will be three in total on that top tube, 1 on each vertical leg 2 on the bottom of each door side, and mirror the firewall side on the rear of the truck. One other thing I wanted to do was give a little guide to the body, front to back, when putting the body back on. These little triangles will get welded in the corner of each vertical support. as yo can see these will help locate things a little easier when dropping the body back on the frame. And with that you are up to date on the stude project... but more to come in November. Below are some other little garage projects that I did in Oct. I managed to find a good use for my tool makers clamp which, believe it or not, is being used to make some other tool makers clamps. I need to make another clamp for myself, and then I figured I would make another pair of them to give as gifts to someone this Christmas. I am making one slight alteration to the clamp this time around and I will have to see if it will work. More details on it later. One other quick little project I needed to do was to make a pin spanner wrench for my mill spindle. Did a quick draw up in Fusion 360 and cut it out. I used the band saw to get the rough shape cut on the .5” aluminum and then cleaned up the flat surfaces on the mill and did the recess. The inside radius on the curve was finished by using a 1.75 hole saw chucked up in the mill. It actually worked really well on the aluminum, since I do not possess an end mill of that size. And overall it turned out pretty good and saved me $30 since I had all the material on hand already. The other cool thing is that the pin is a 5/16th bolt turned down to size on the end so I could technically use it other places I might need a large spanner wrench.
Thanks for checking in. More drift stude progress to come in November.
0 Comments
Leave a Reply. |
Download the
following Designs used in this build: Archives
February 2018
|
