|
I was able to get out and work on the truck quite a bit today, but not before I had the chance to visit my friend Nics shop in Woods Cross UT, to inspire me for the days work. He is an amazing fabricator, and usually spends his time making rock crawling buggies. It just so happens that he had one at his shop that morning and I crawled around it for a half hour looking at all the different tubing bends and ways that they had made things. Even though it was built for a completely different purpose compared to what I have planned, it still was inspiring. Javelin man Josh Scholz came out to help with the days activities, and he was a big asset, helping me muscle the bed off and getting down and dirty with the days work. Its always more fun to work with a buddy. 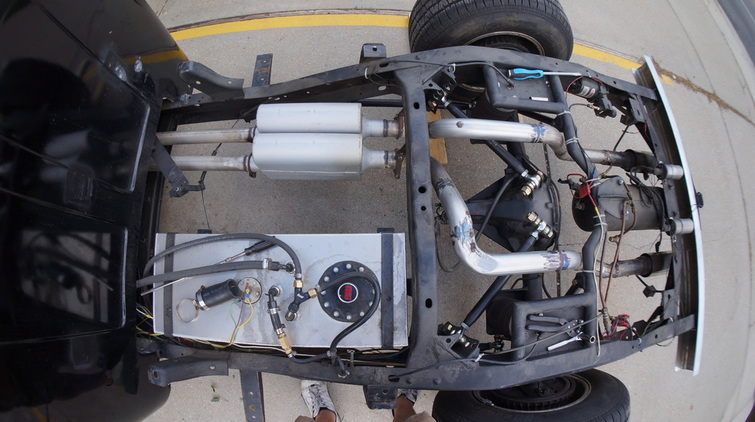 Here is how it looked once we got the bed off the frame. Aside from some coil over shocks, lack of air suspension parts, and some tubing for the chassis, this will remain unchanged. 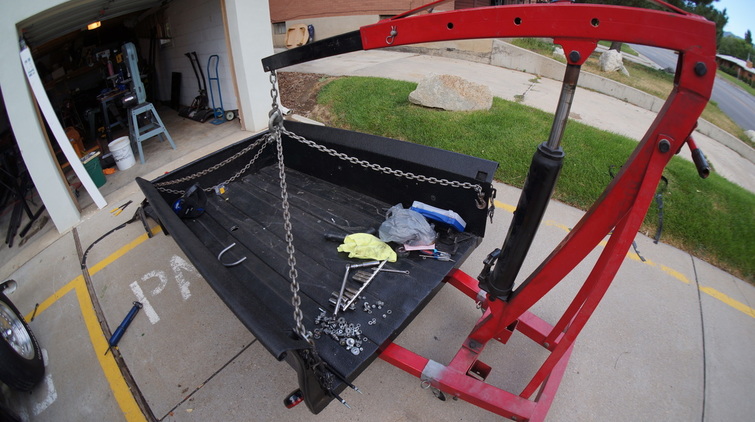 Engine hoists come in handy when it comes to lifting heavy objects, even truck beds. 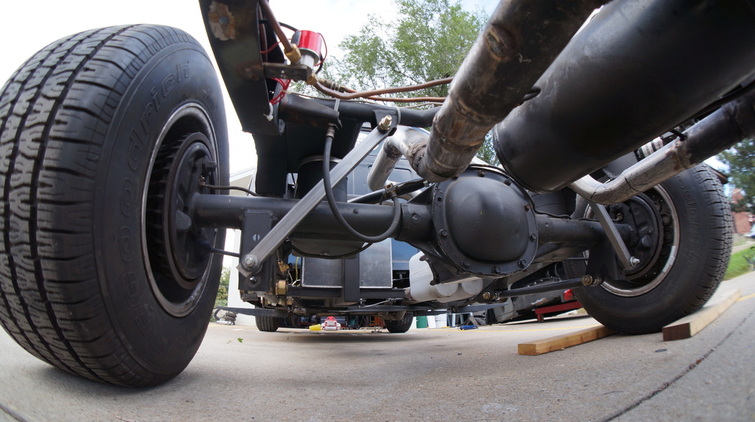 Josh and I took some square tubing and put them in place of the rear shocks. This is so I can remove all the air bags and components so they can be sold, and still have the truck up at ride height. 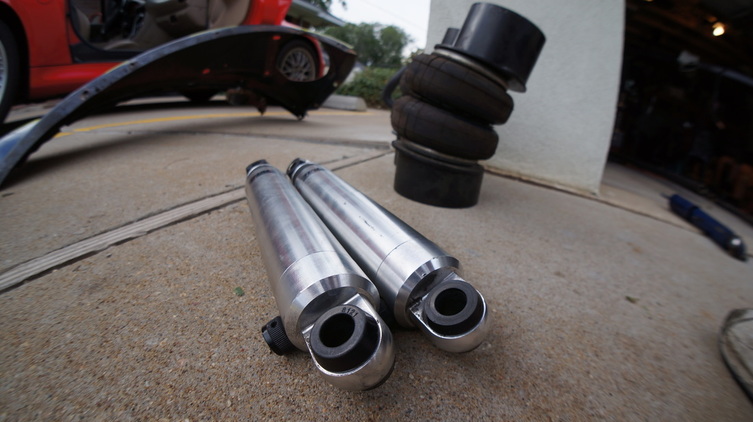 Speaking of parts to be sold... these, along with about 10 other things, will be put on KSL and Ebay in the near future 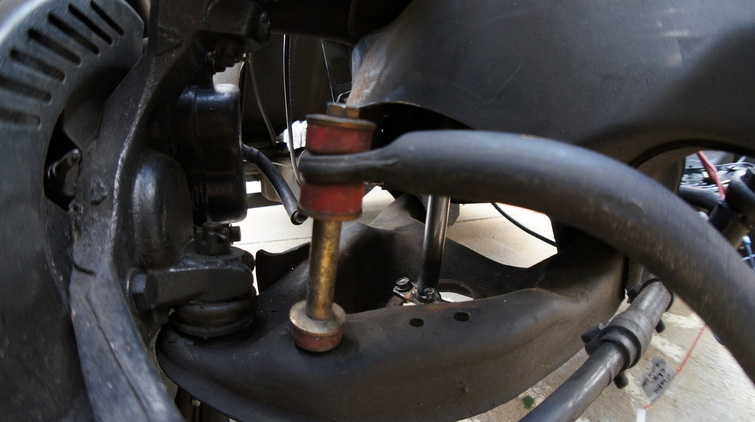 This is the bottom A arm and spring pocket. Like the rear the front had to be supported so we could remove the air bags. We did a quick 5 minute fab job and made these to hold it at ride height. 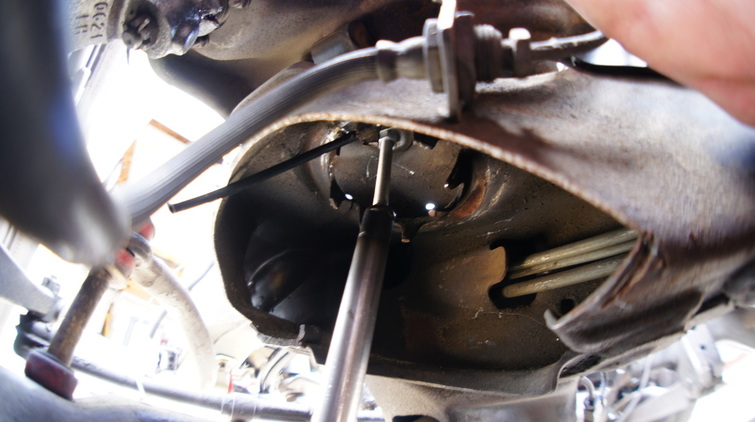 Here is the another shot of the place holders for the front. 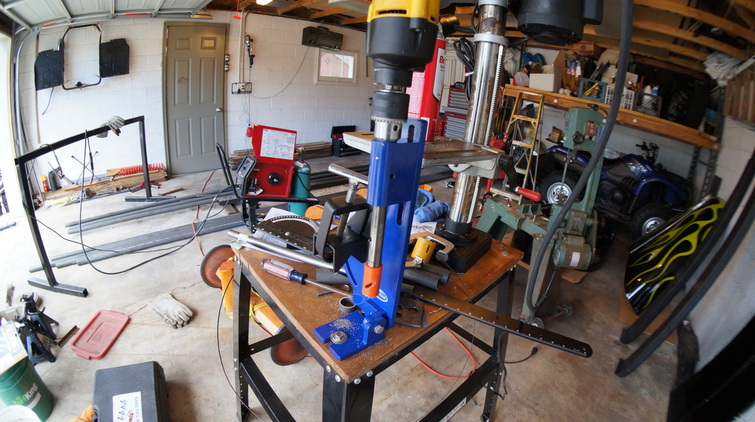 The messy garage and my tubing notcher, which we played with a bit today. 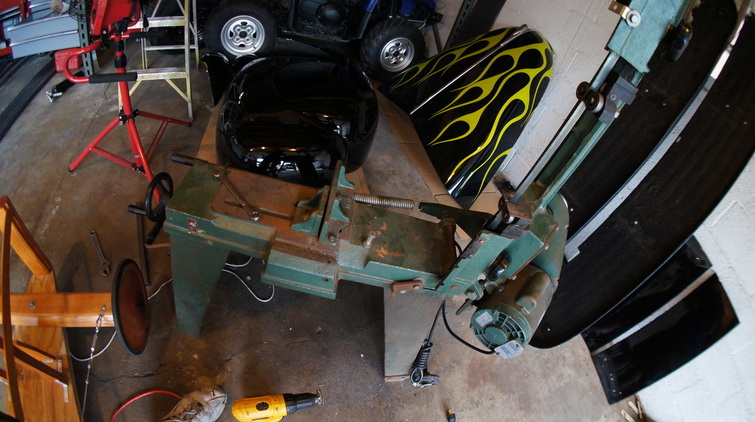 This is a metal cutting band saw and is my favorite new tool by far. It is ancient but it works great and will be a used a ton on this project. We used it for 6 cuts today alone. Ah the beauty of KSL Classifieds.... only $125. 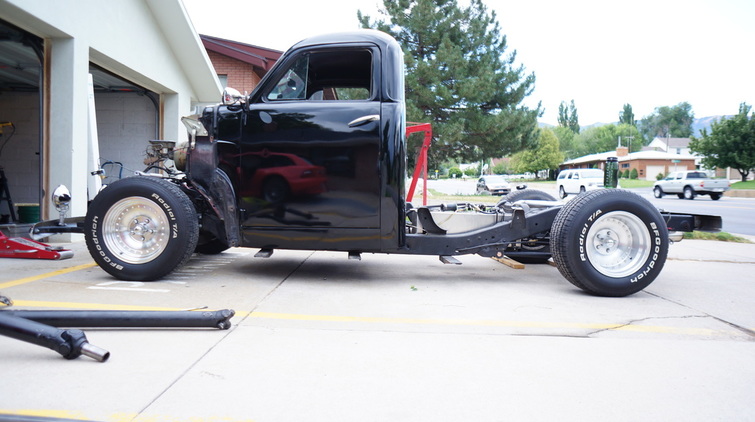 This won't be the final ride height but will help keep the truck off of the ground until I put the new suspension parts in. Next week I will tackle pulling out the interior of the cab so the floor and firewall can be removed, then the real fun begins with the cage fabrication. Stay tuned.
0 Comments
Leave a Reply. |
Download the
following Designs used in this build: Archives
February 2018
|
