|
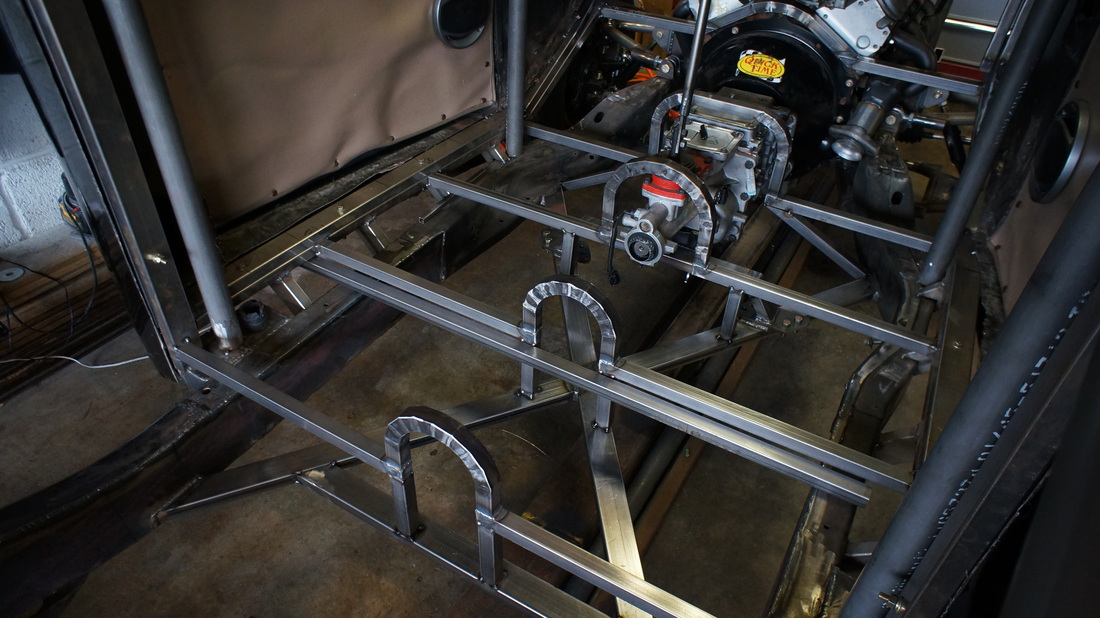
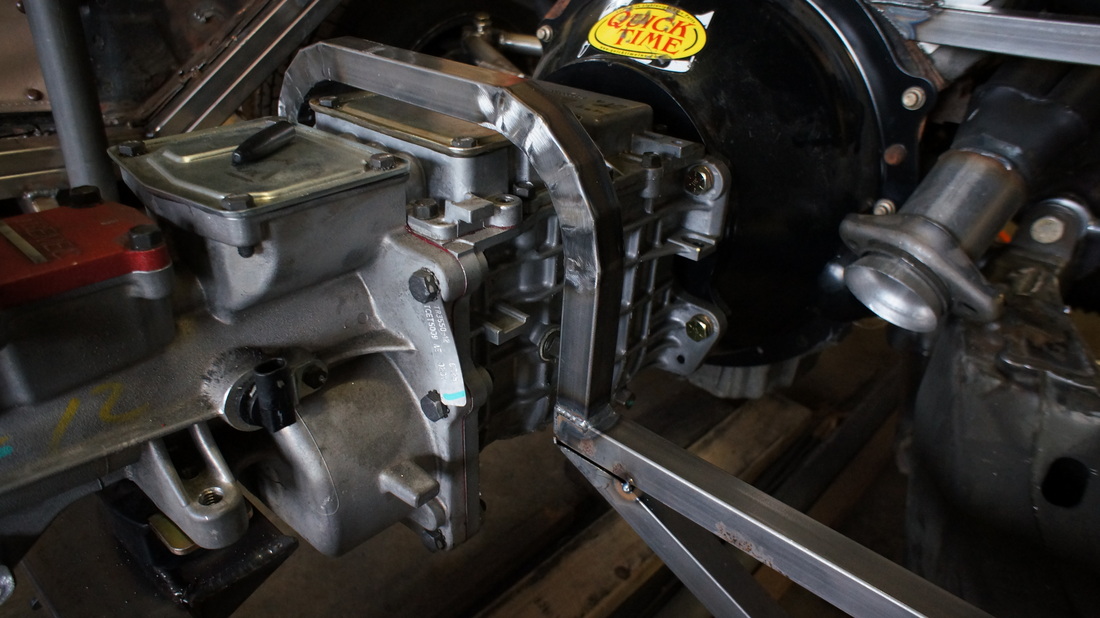
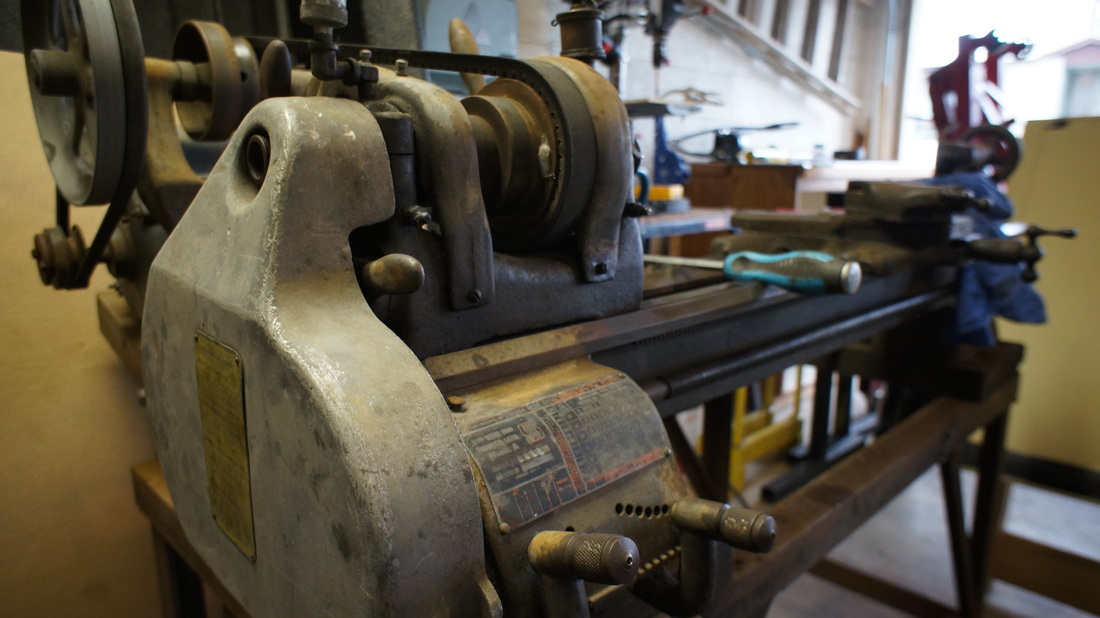
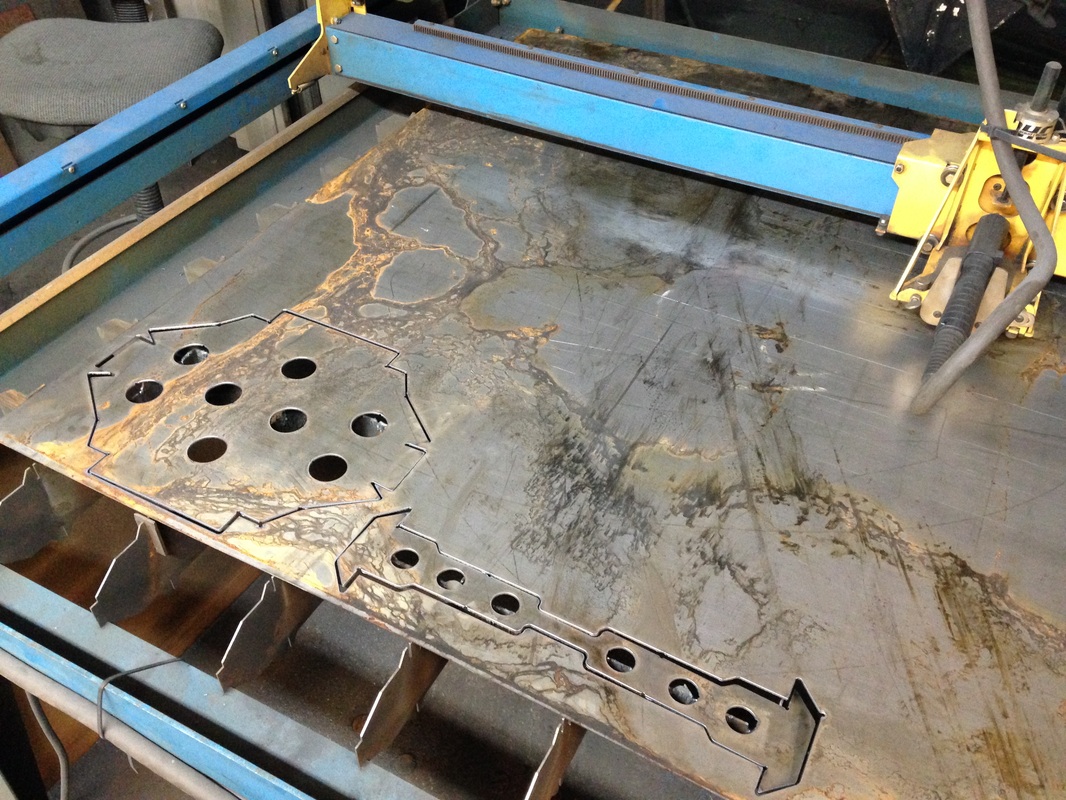
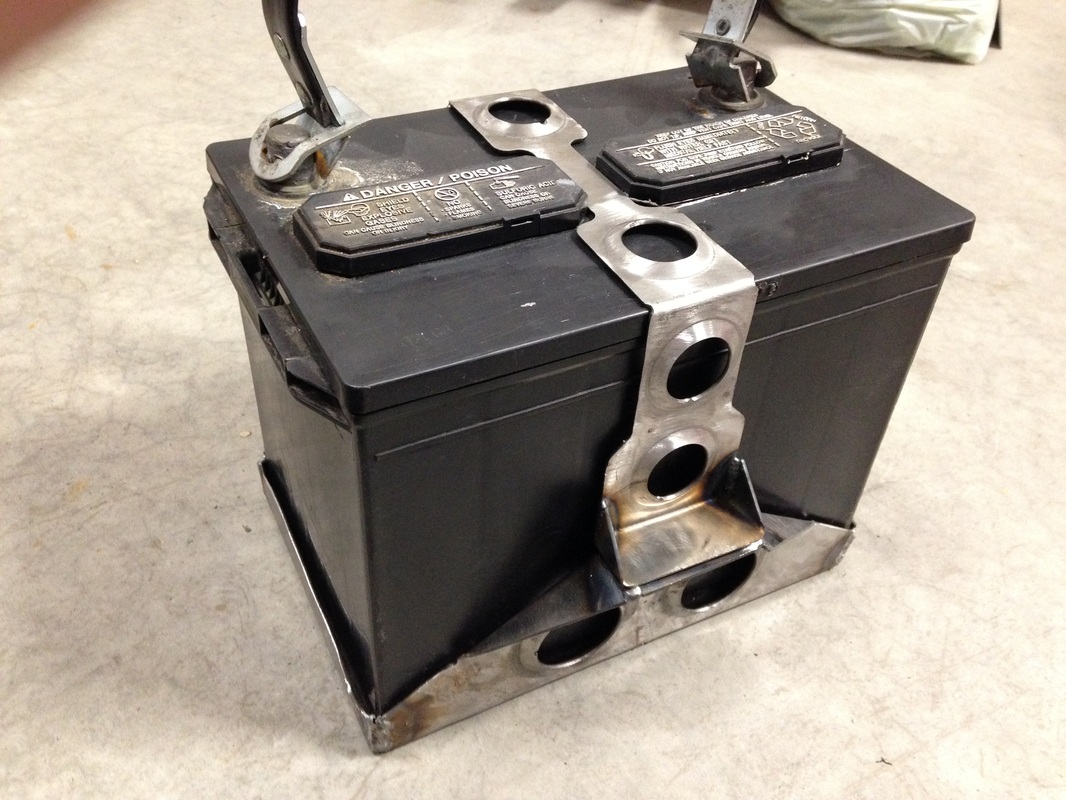
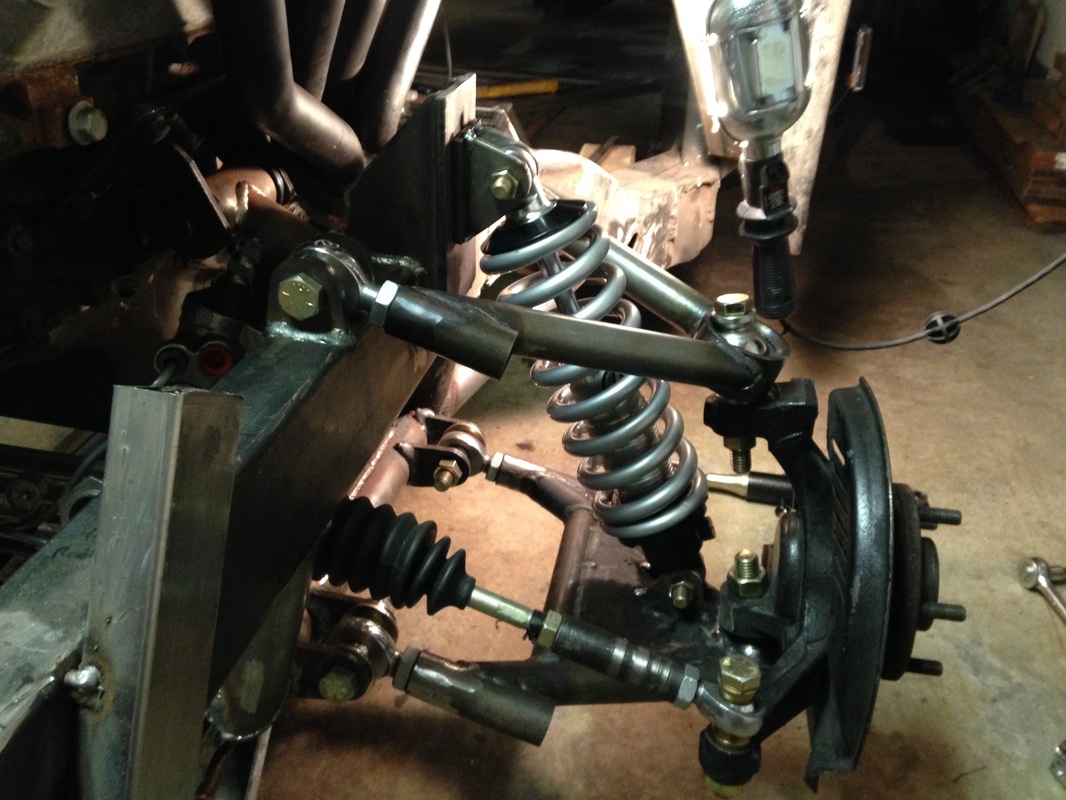
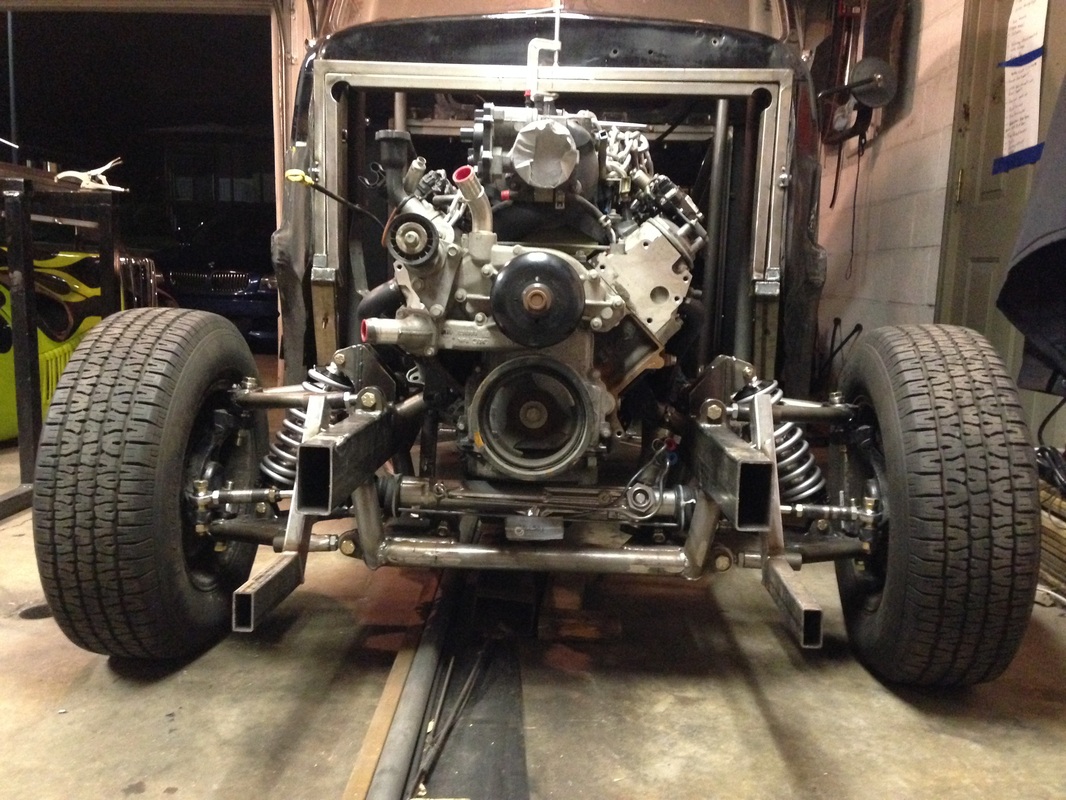
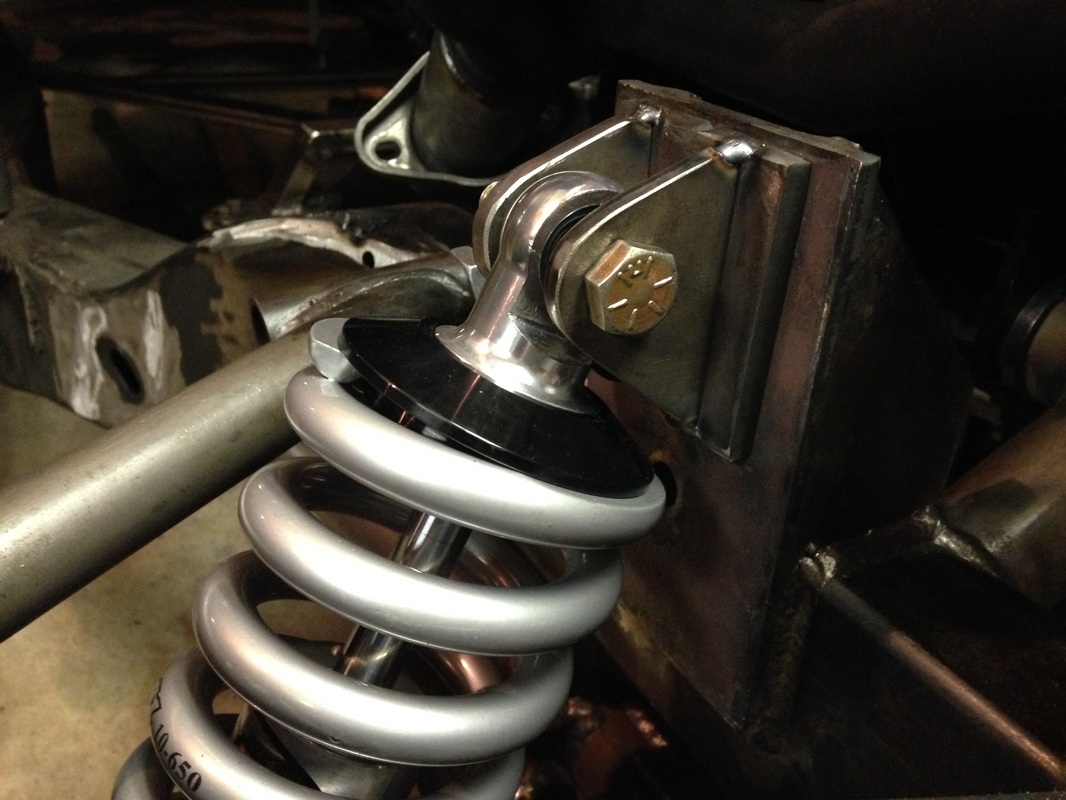
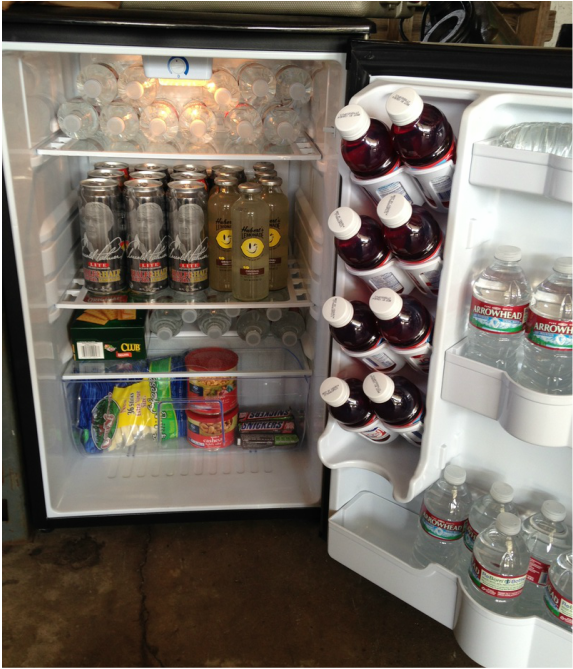
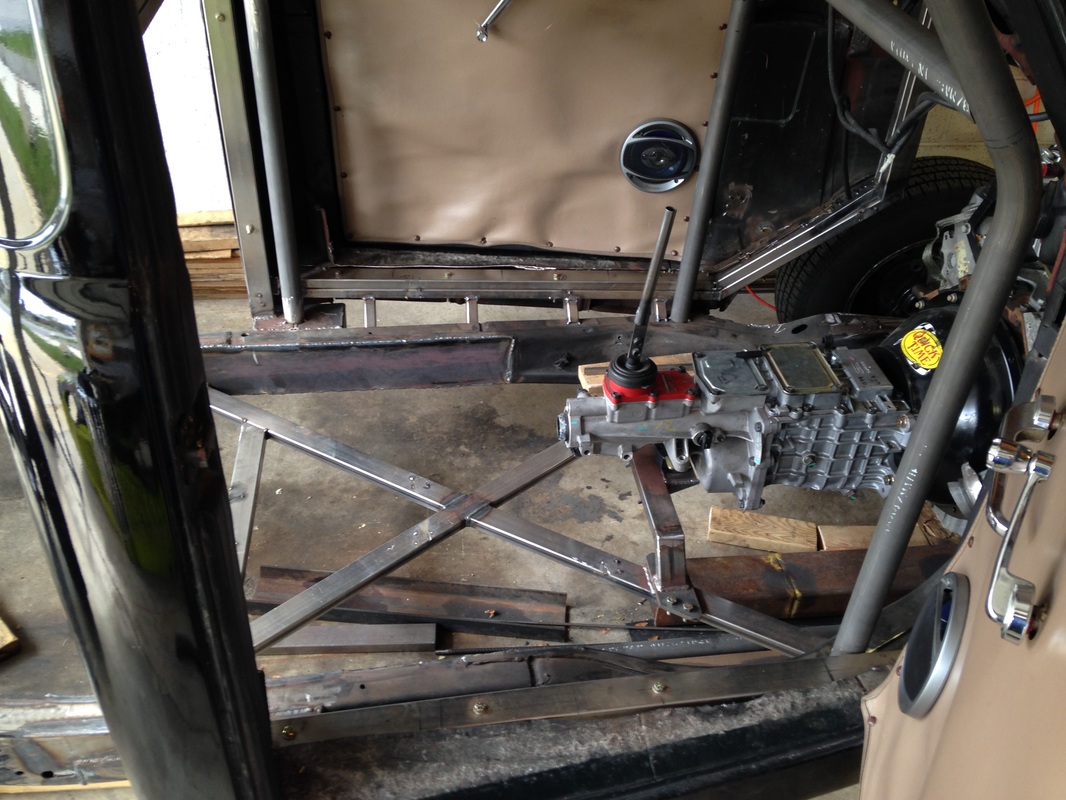
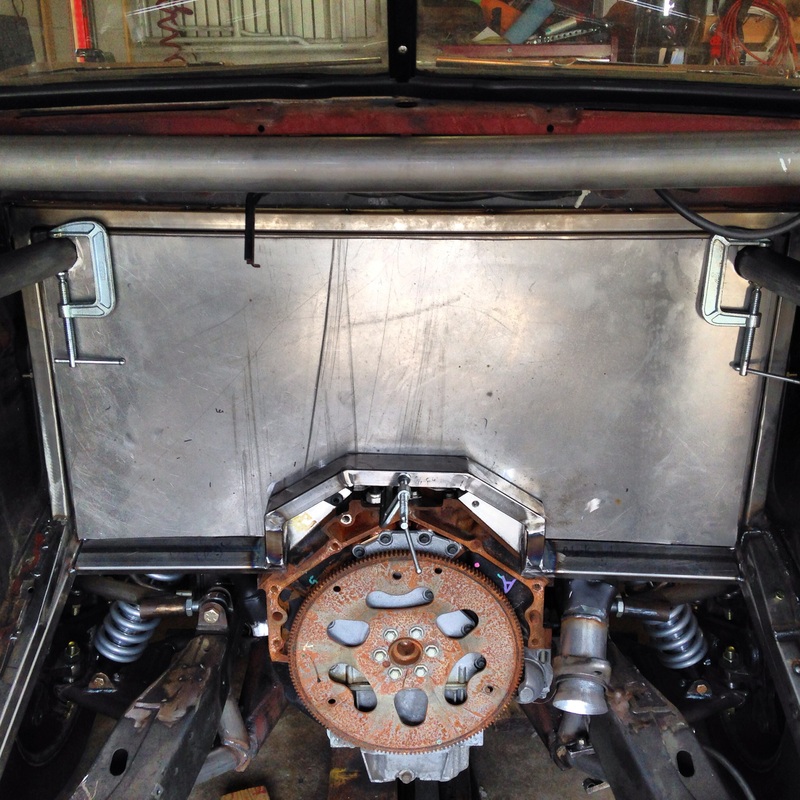
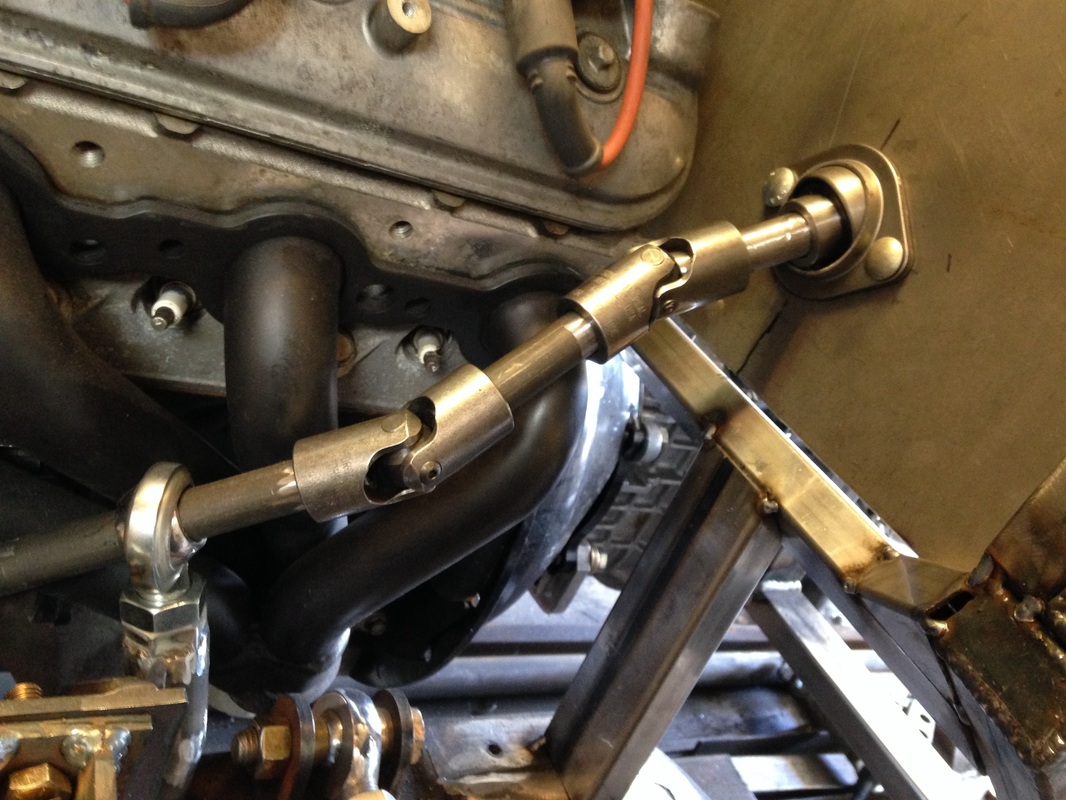
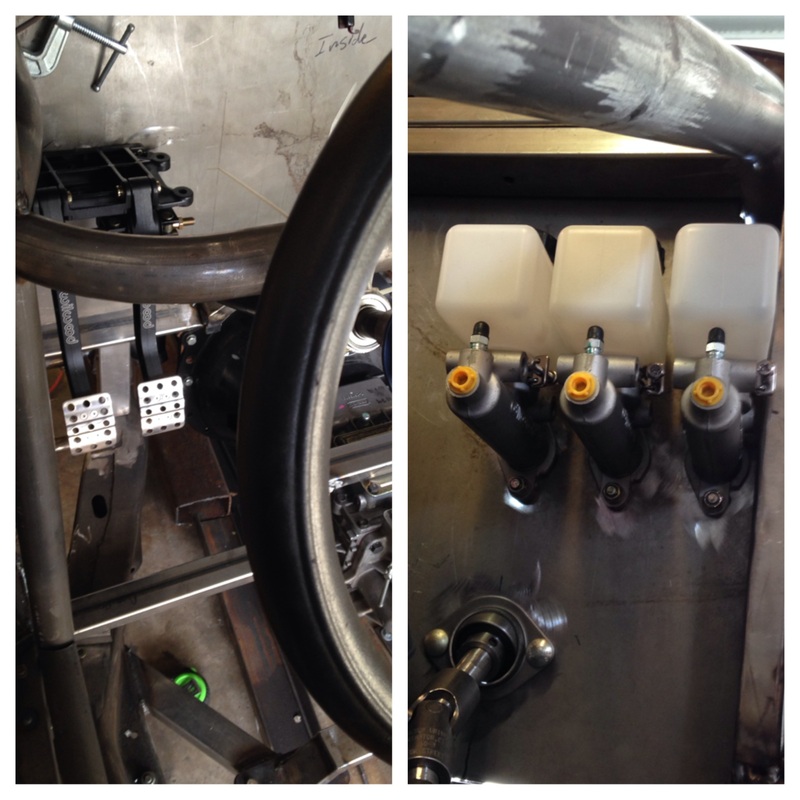
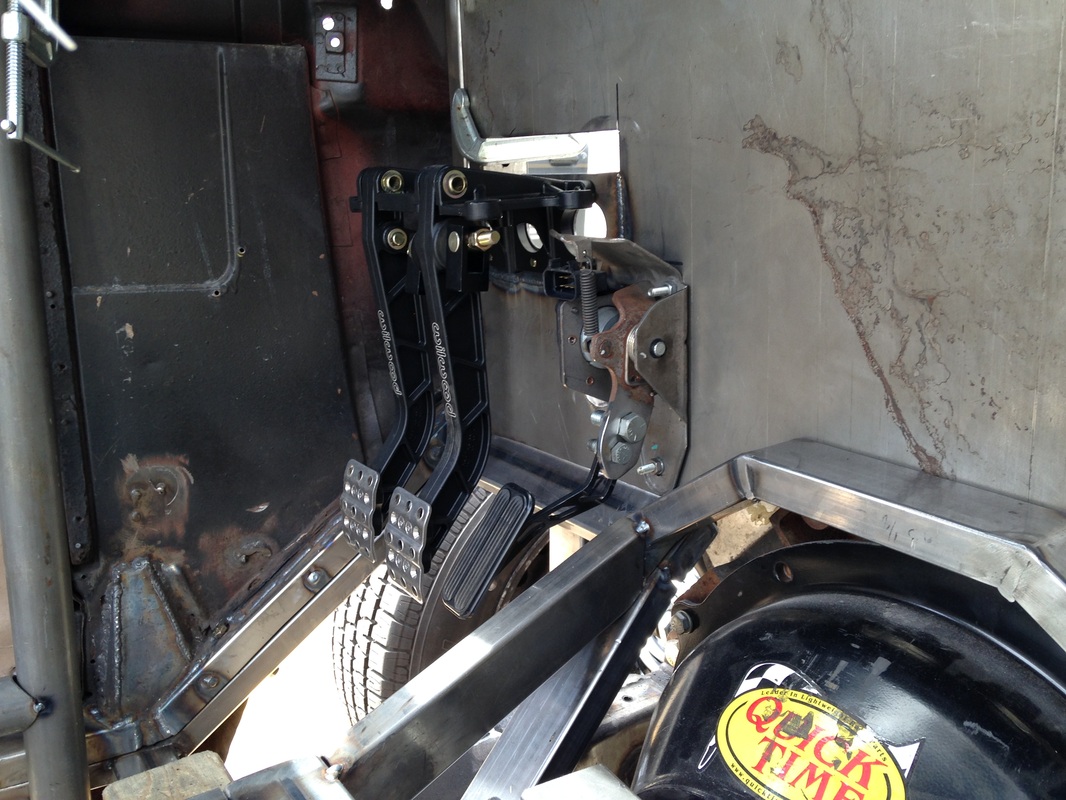
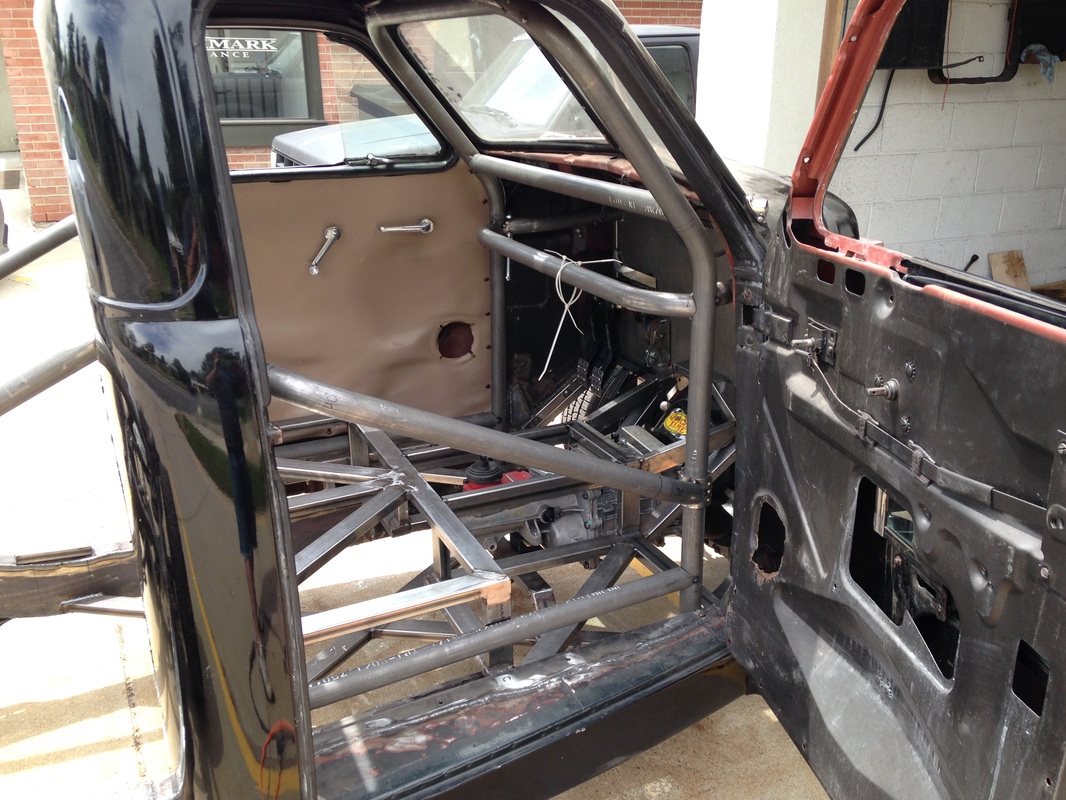
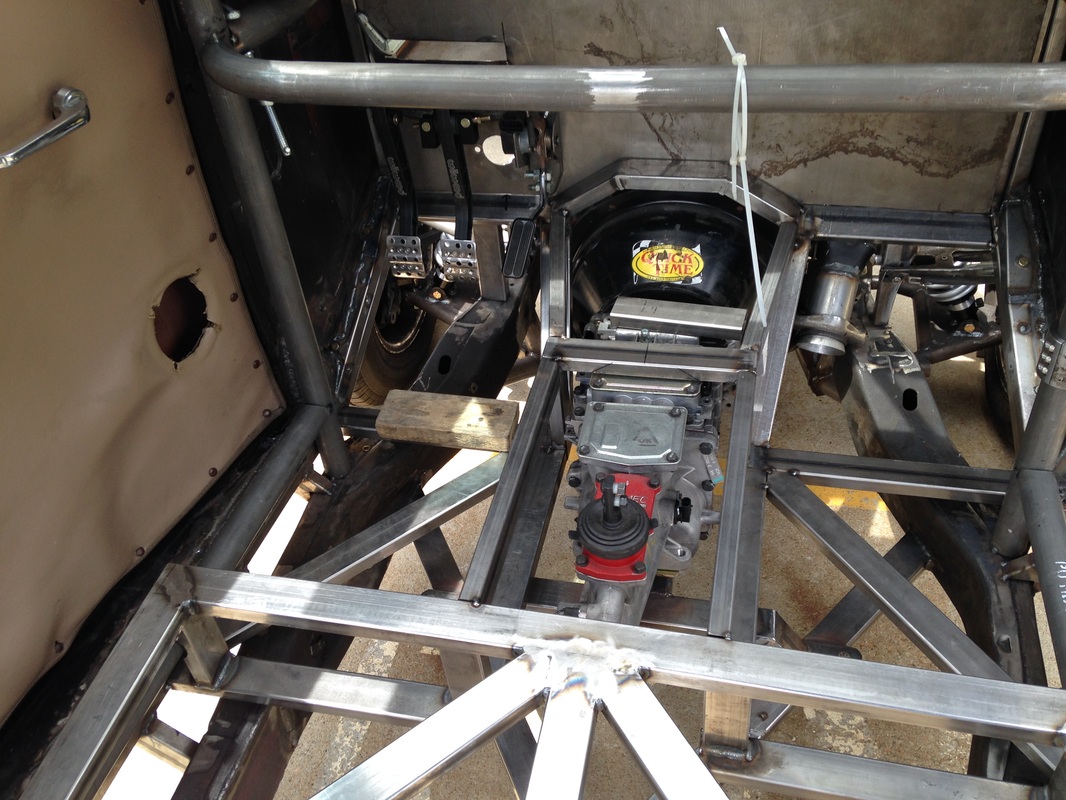
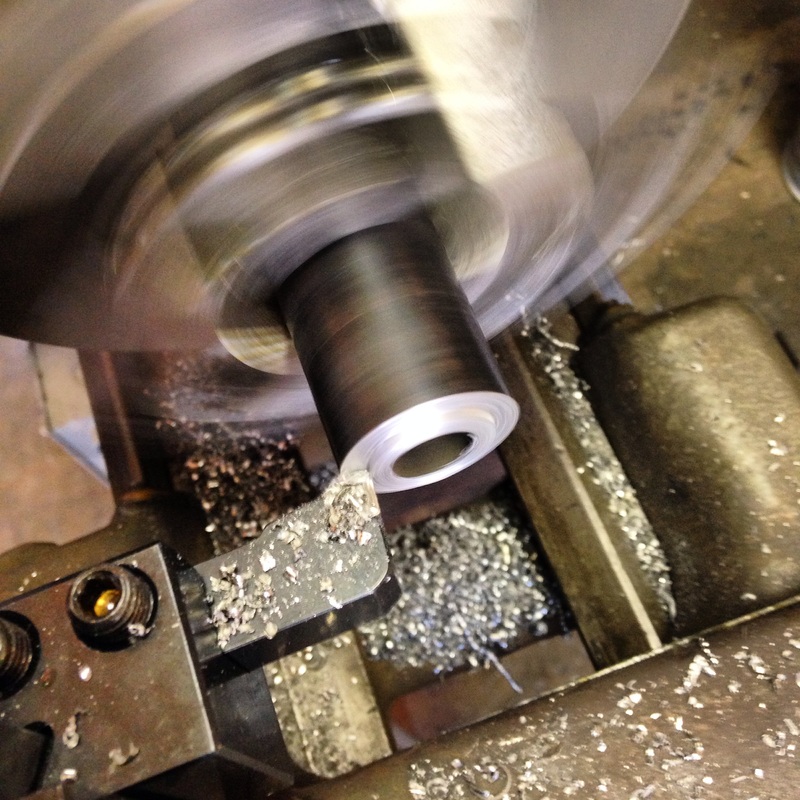
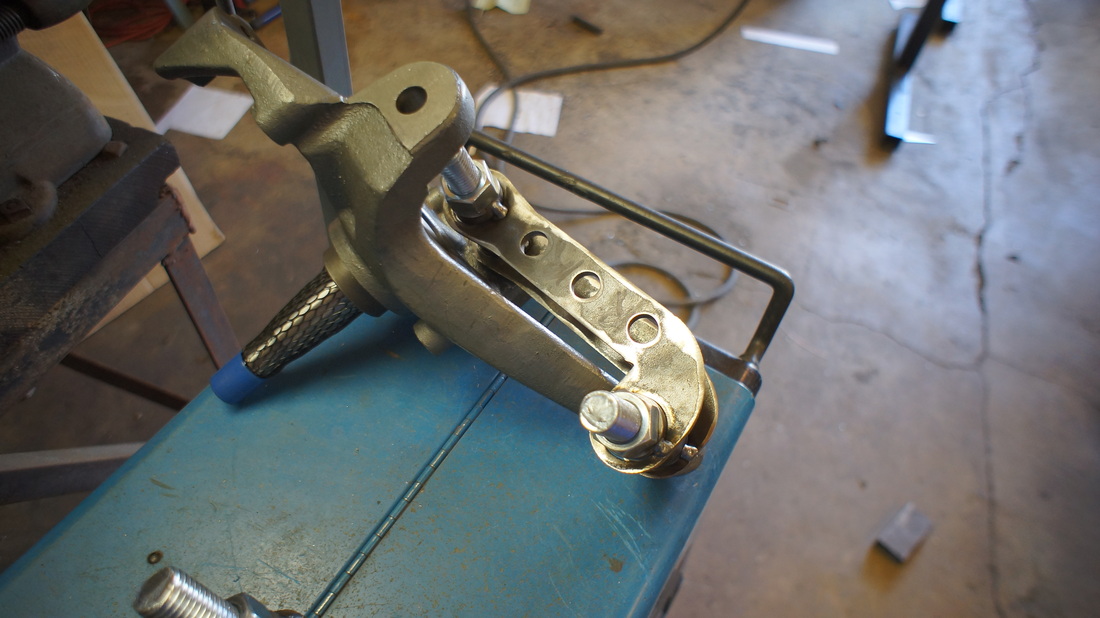
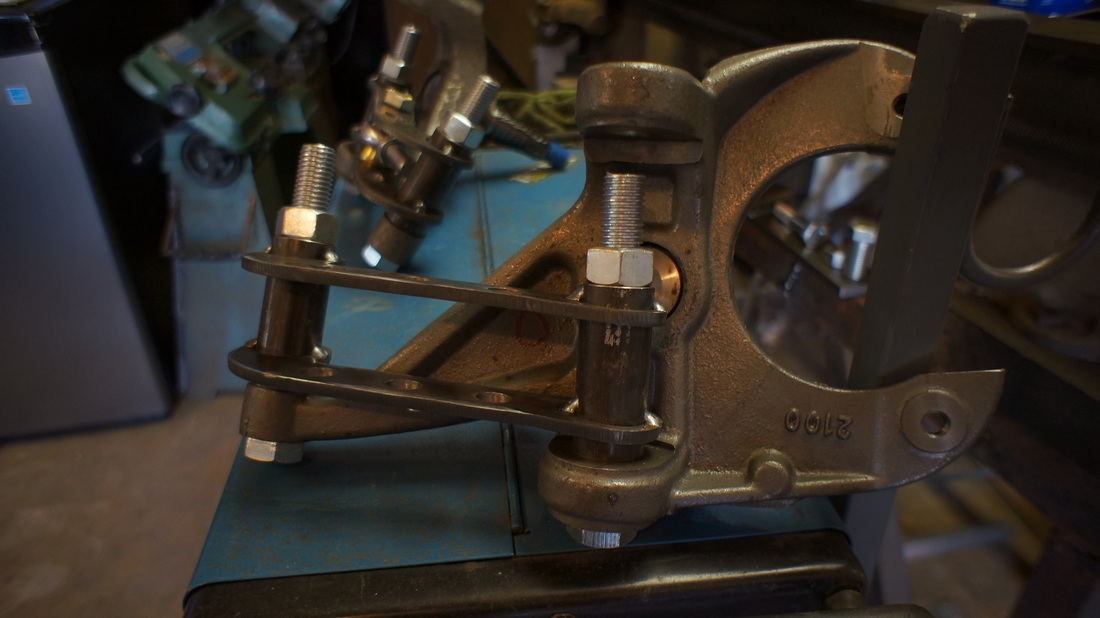
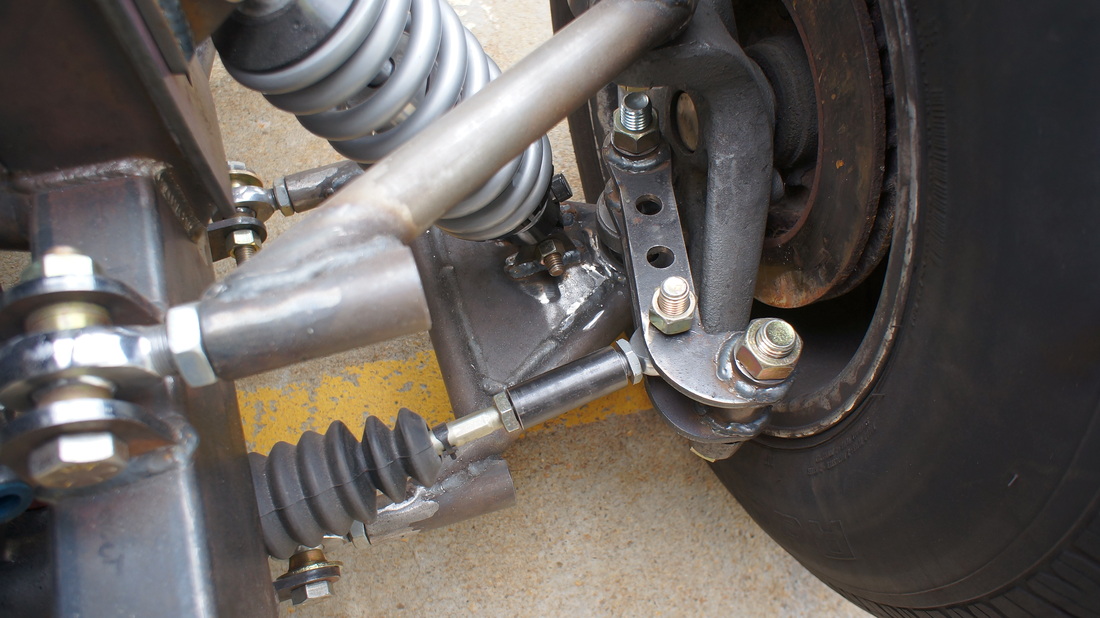
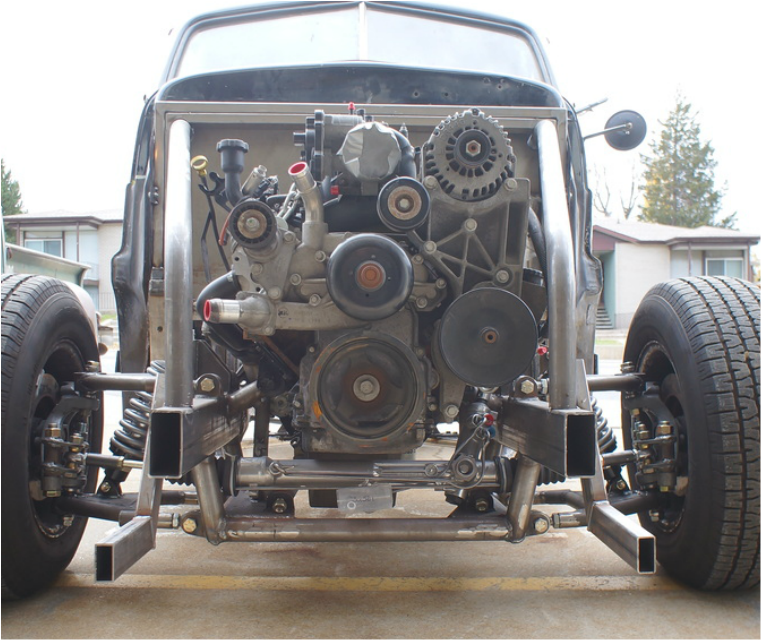
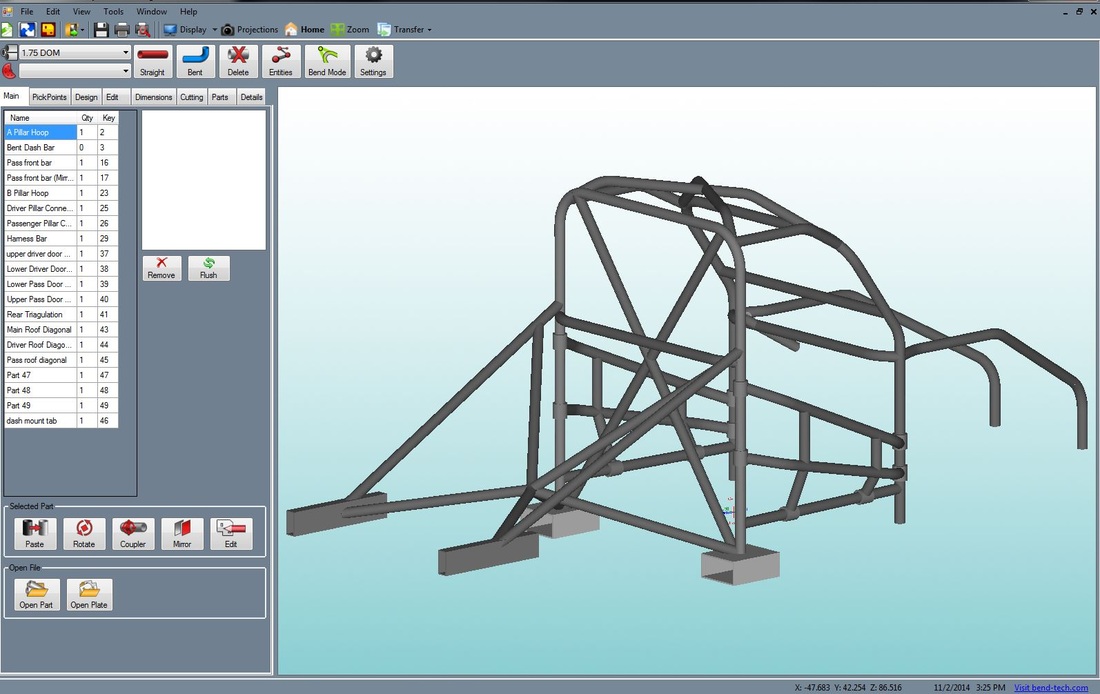
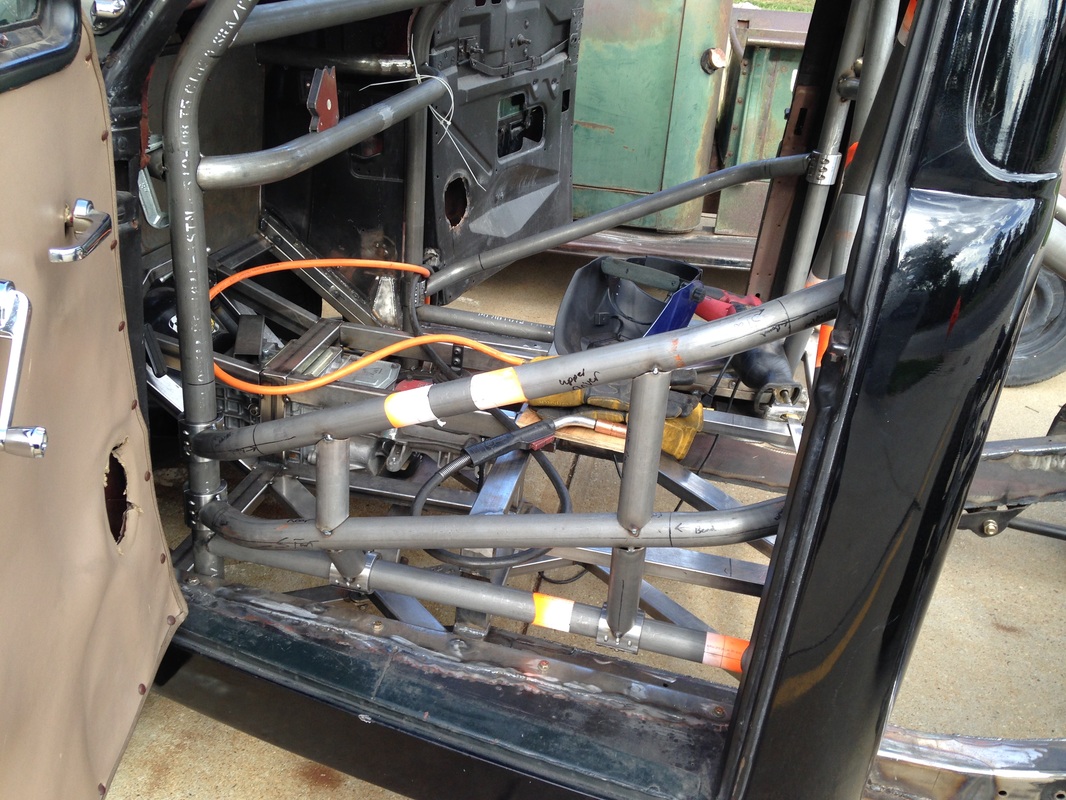
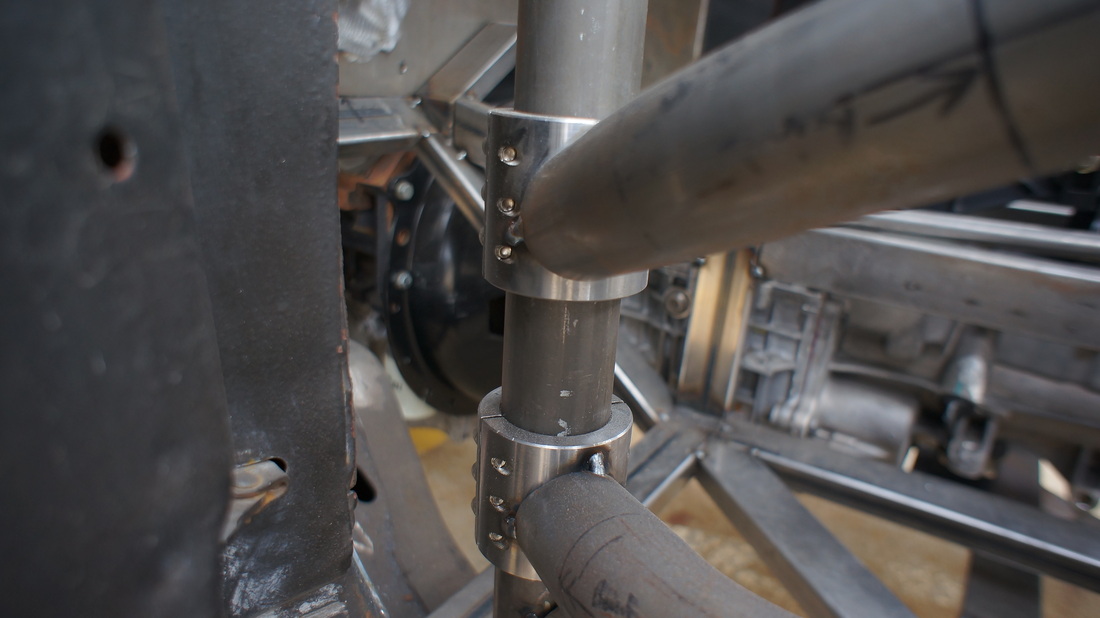
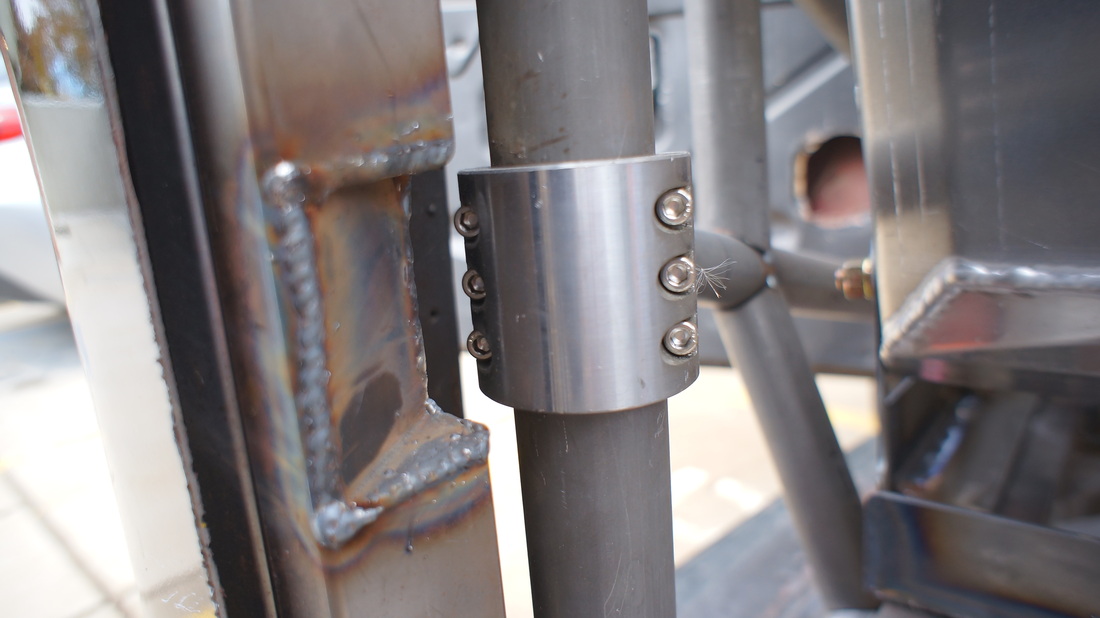
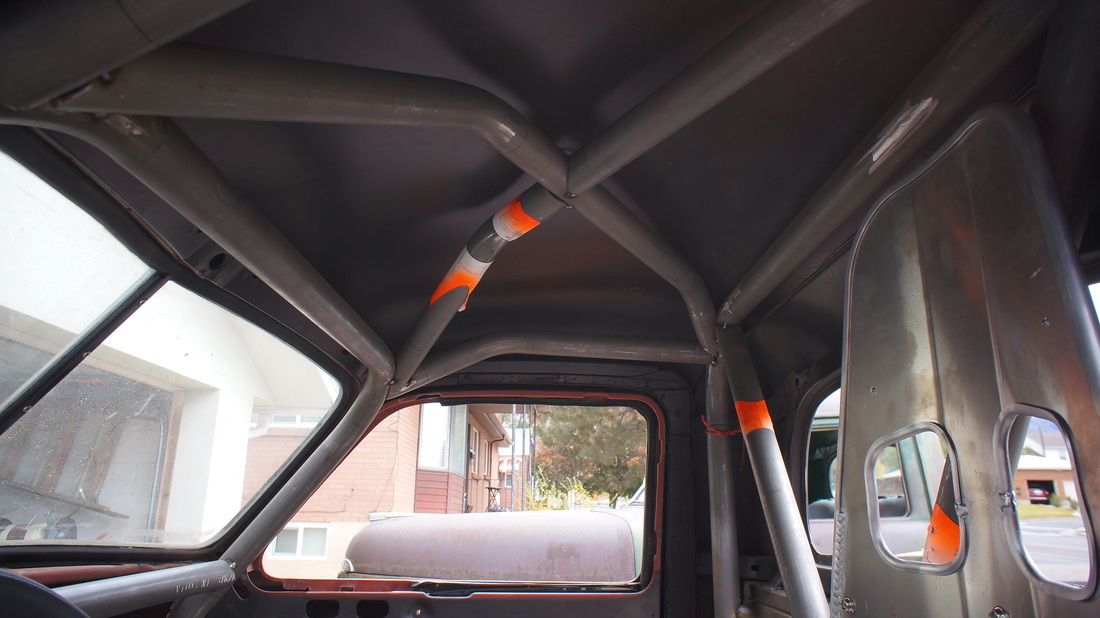
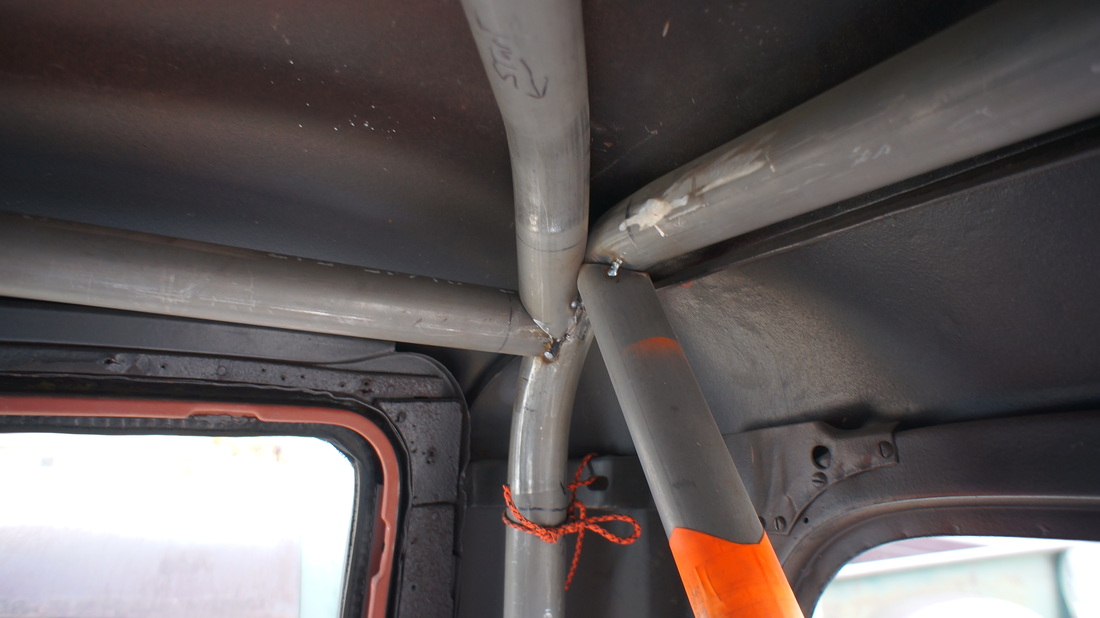
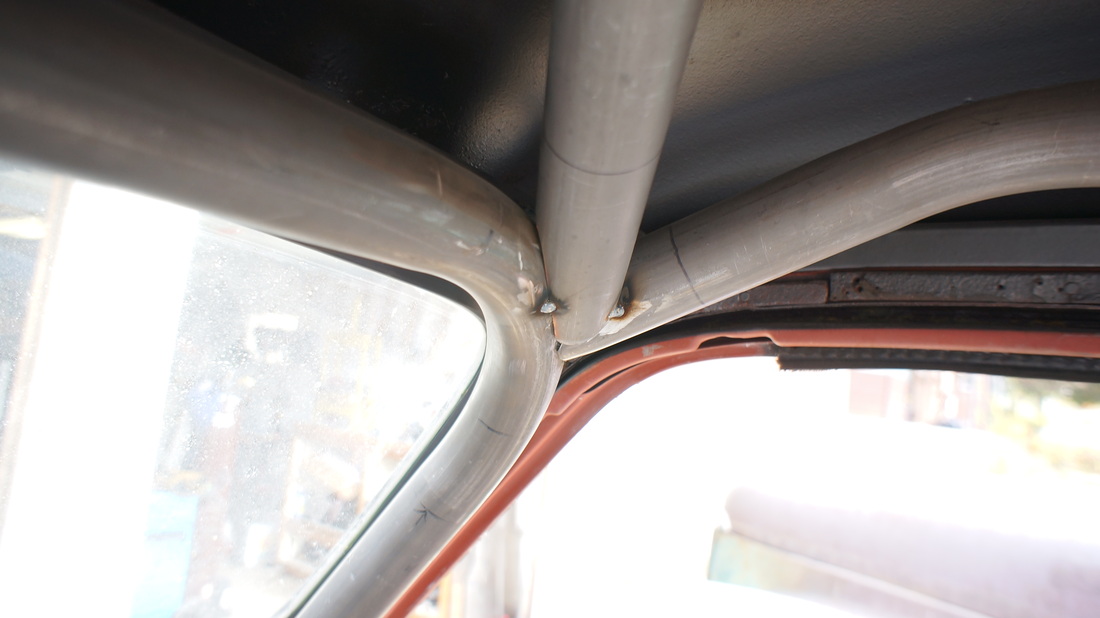
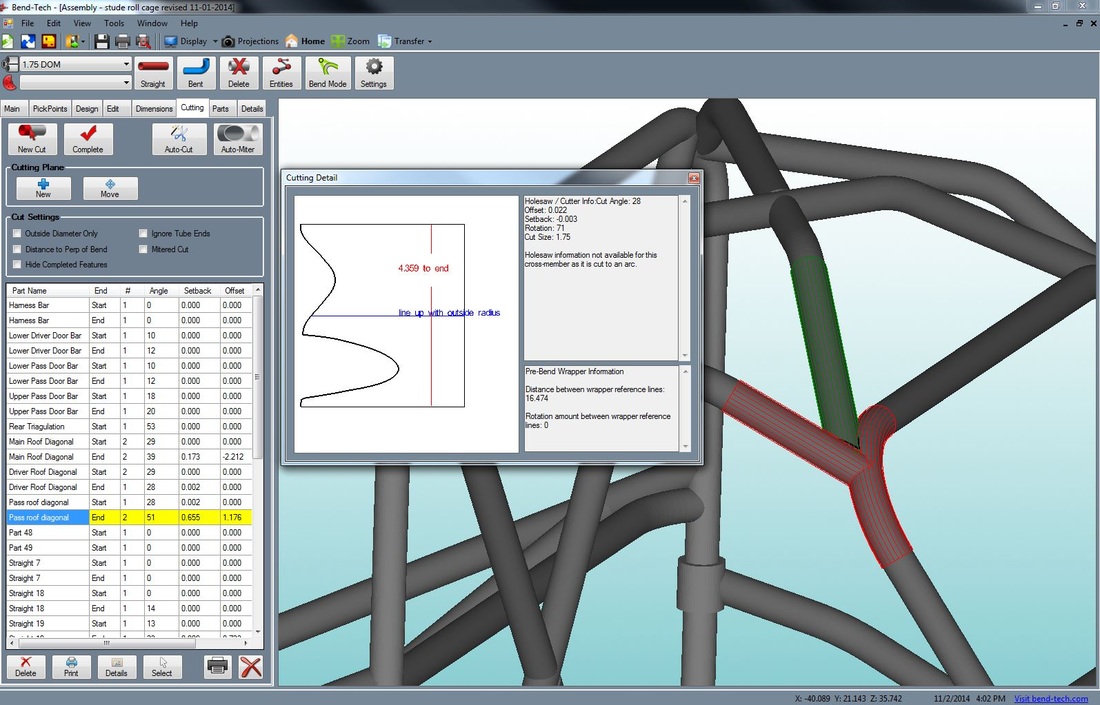
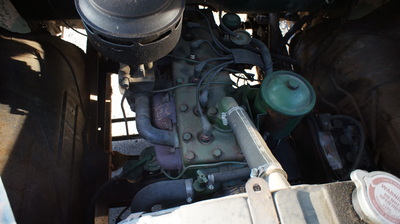
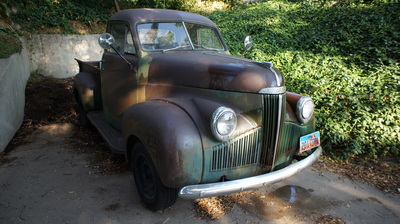
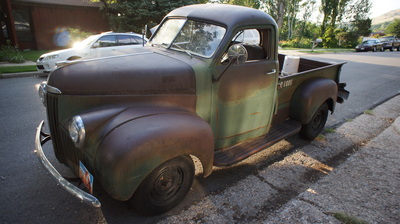
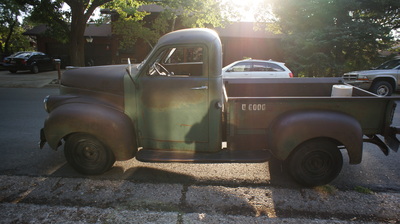
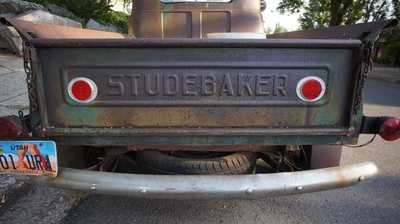
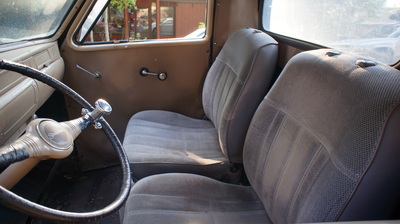
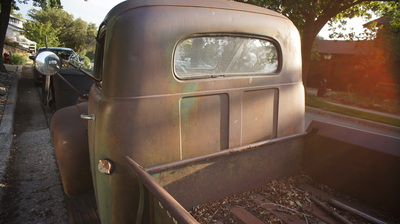
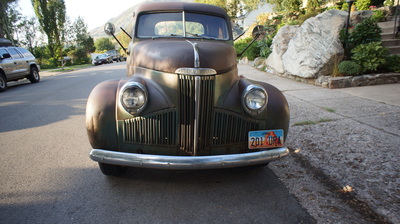
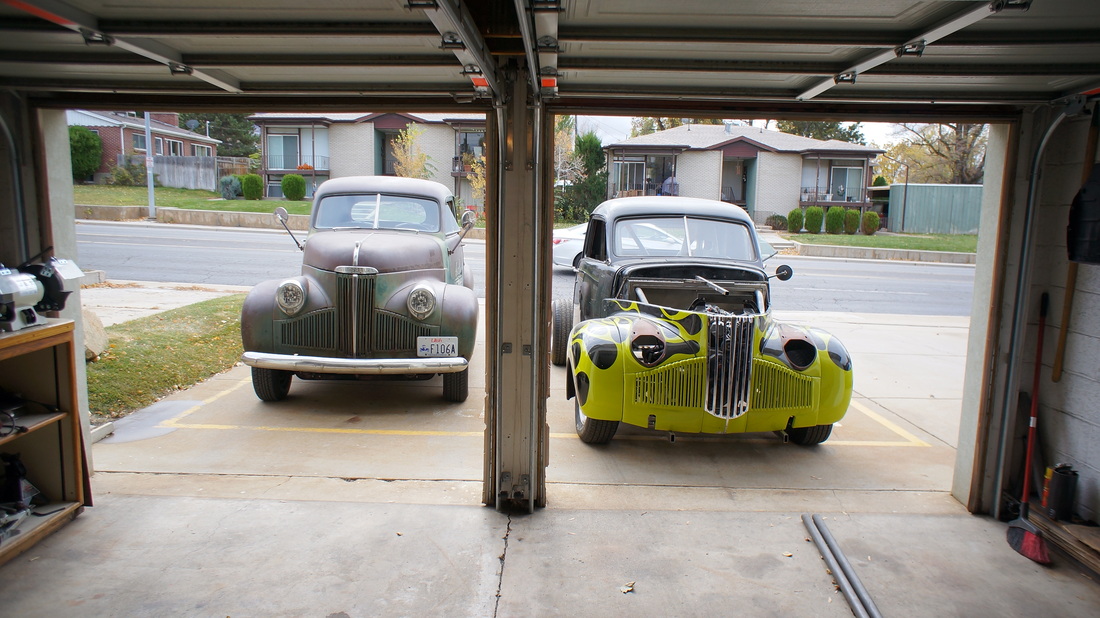
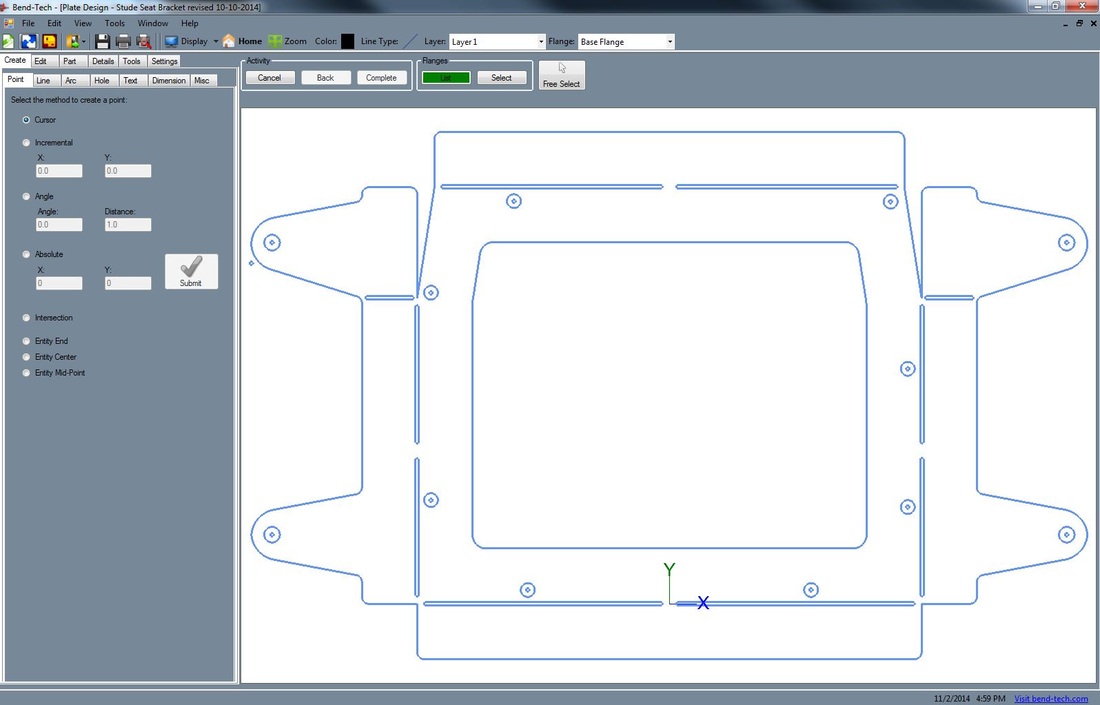
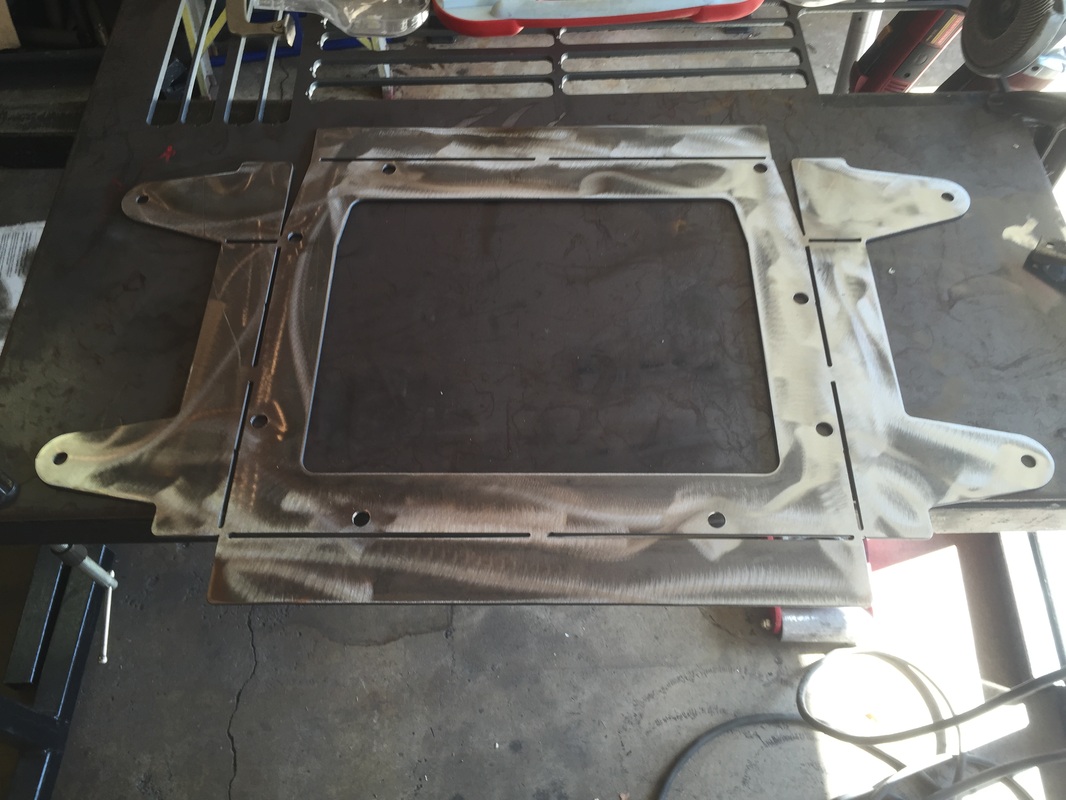
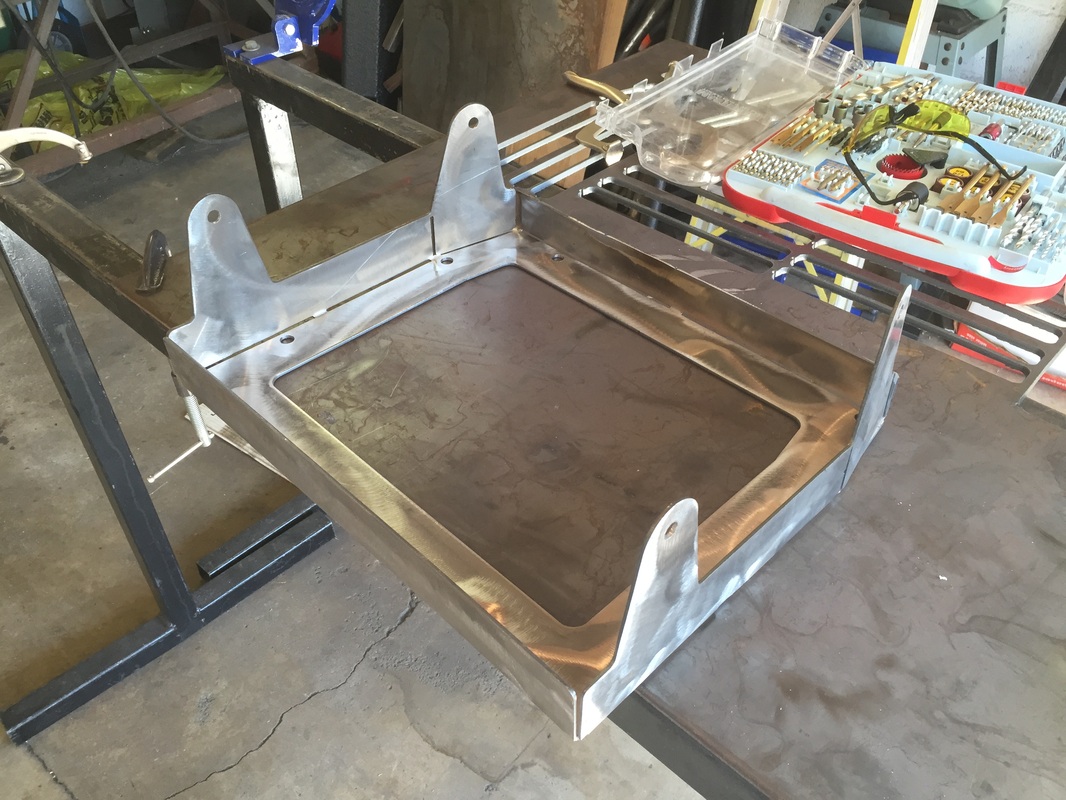
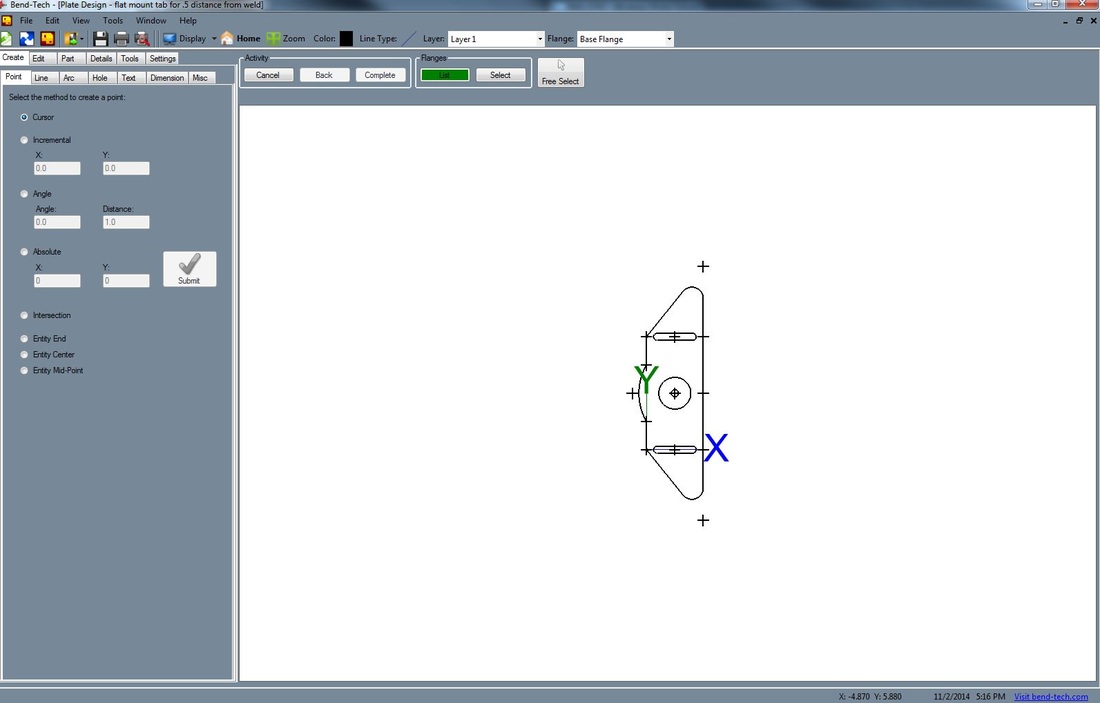
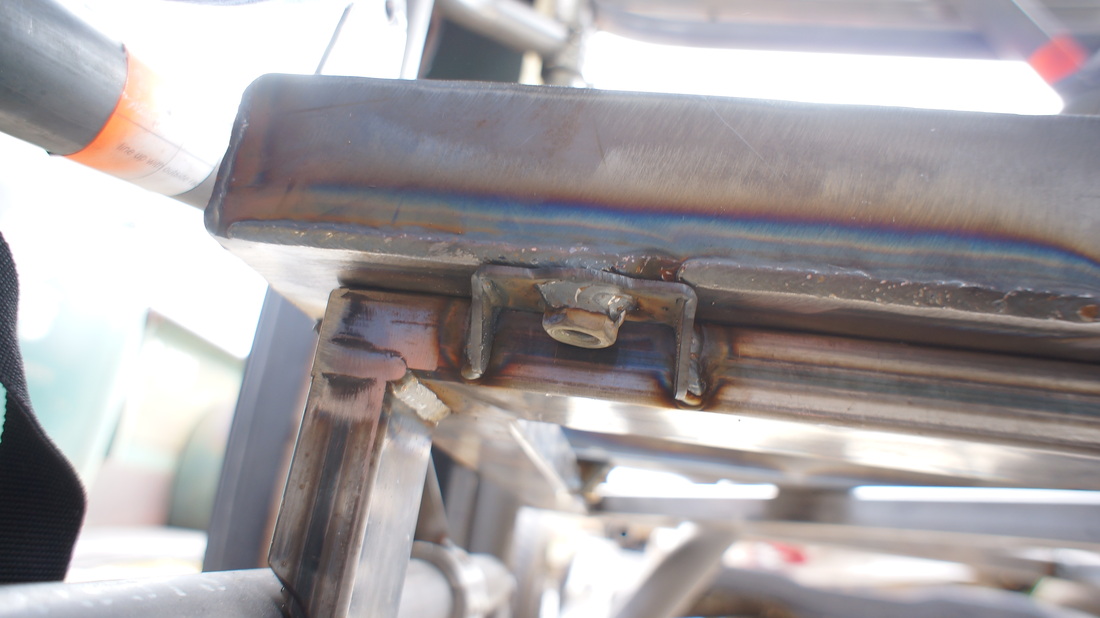
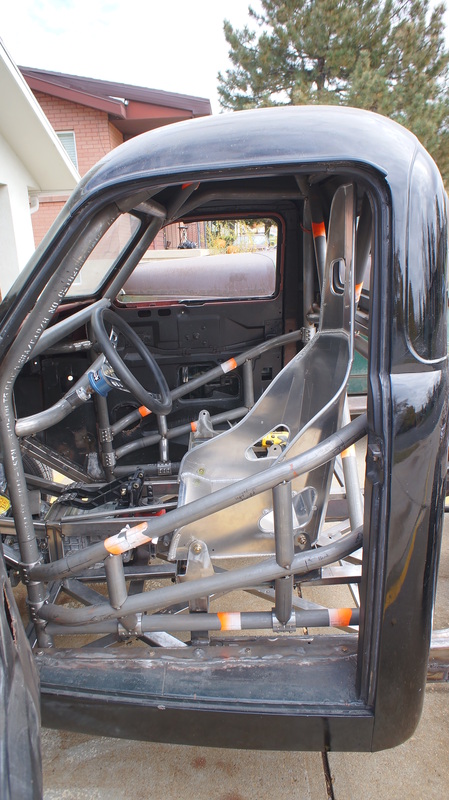
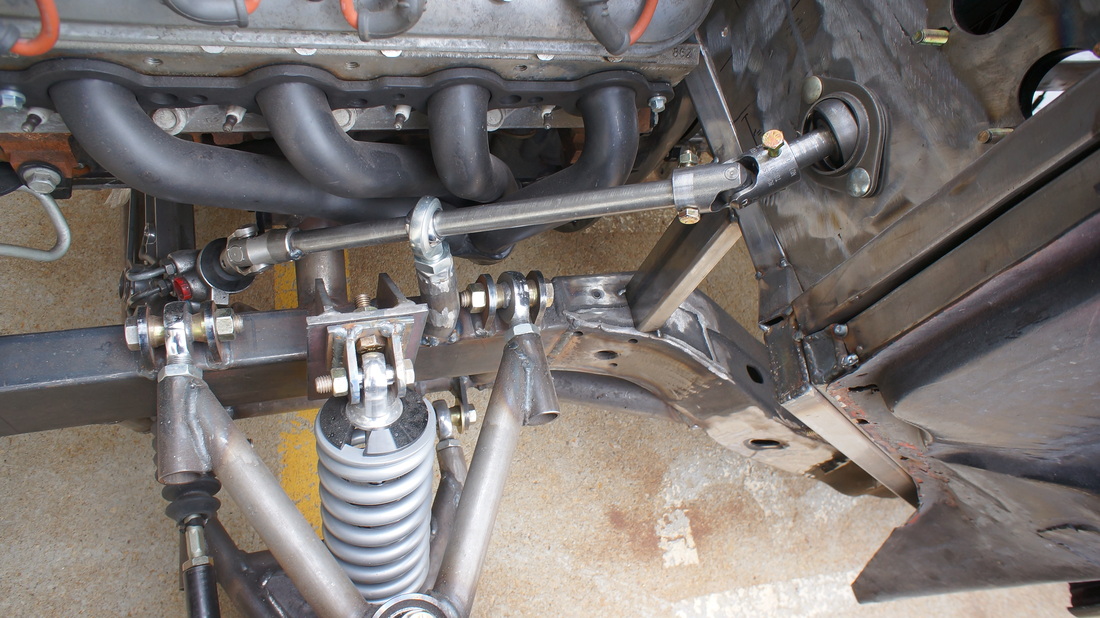
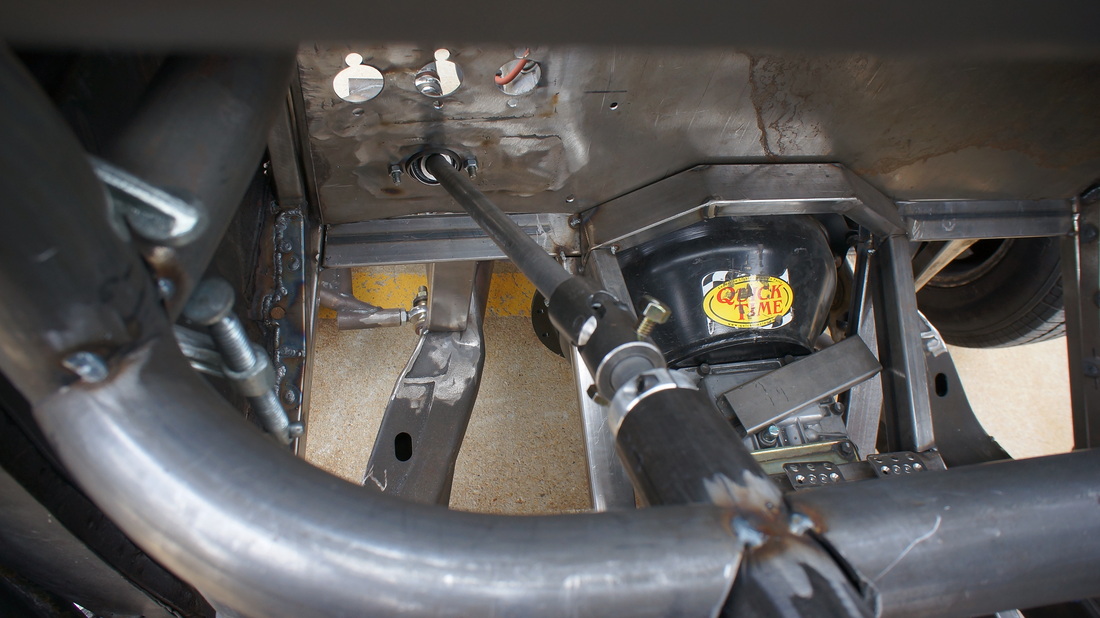
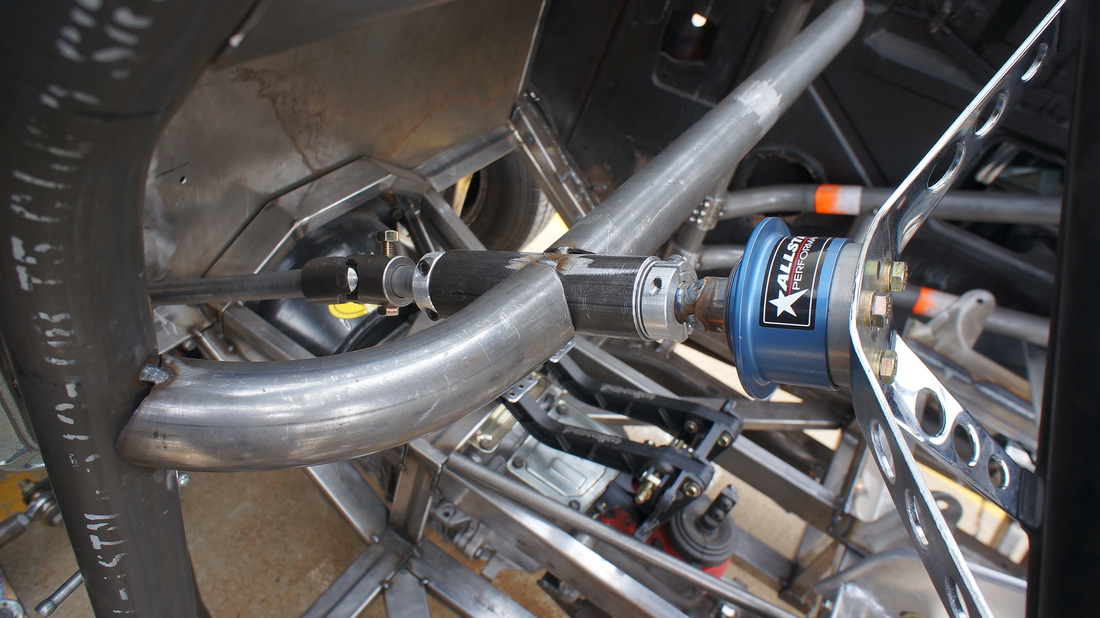
In this post I cover the last 11 months of progress, and the 47 Studebaker drift truck gets a garage mate. A lot has gone on in 2014 with the truck. No, its not done yet but it is closer... Here is what I started doing in January and February of 2014. I quickly scapped this idea for the floor supports for a few reasons. First, the tubing, which I bought at a big discount from a local classified ad was only 18 gauge and after I got it all in I decided i wanted to use something a little thicker to add strength. Second, I didn't like that it was only 1x1 tubing, and didn't match the 2x1 that I had already used for many things. In the end it came out and I remade it, but you will see the remake later on. Early on in 2014 a good friend of mine, the same friend that has a lot of cool equipment like a cnc plasma(seen below), mentioned he had an old South Bend Lathe sitting behind his shop under a tarp. He though I should store it at my garage and use it since no one else was. Even though I do not own it it is a really handy tool to have in the shop and will help with a lot of fab work later on. overall the Lathe is about as old as my truck and it needed a few things to be usable, but after buying a 3 jaw chuck, and a quick change tool post and some freshening up, its ready to run. side note, our local Rotary Club, who puts on an awesome burnout contest(sponsored by Burt Brothers Tires) and car show each year, purchased a cool 56 ford NASCAR replica. They needed a battery box made for it, so I drew something up, had my friend cut it out of 14 guage, and made the box you see above. I thought it turned out pretty good for my first battery box. now that the front suspension was mounted it was time to order up the coilovers. I chose to go with a pair of single adjustable QA-1 units, and I ordered two different springs for each with different spring rates, just to have further adjust-ability. I waited to do the final welding on the shock brackets because I could not find a definitive measurement on how wide the bearing was on either end of the shock. Just in case anyone is wondering it is 1 inch wide on both ends on the QA-1. Another new tool in the garage is a fridge that my mother in law got me for Christmas 2013 \. I am happy to report that it is kept stocked, most of the time, with my favorites to get me through hot summer days, how did I get along without it. I mentioned at the beginning that I was going to re-do the floor supports... In order to do the new way I thought it would be best to start with the firewall side, as it had some of the most complicated angles to work with as far as the floor supports were concerned. You can also see in this picture that i started to cover up the 2x1 channel with 18 gauge sheet metal that I ran along the floor on the perimeter of the cab. by starting with the firewall it also gave me a chance to think about the steering column and connections and the brake and clutch and gas pedals. Ultimately the steering column will get shifted to the drivers side a little more to get the Borgeson steering joints a little further away from the heat of the headers. At this point it is mid June, halfway through 2014 and the revised floor supports are in, and are much stronger. you can see the raised section for the seats which mimics how the original Studebaker floor was. This will be a big plus when it comes to mounting the seat. From here the only change I plan on making to the floor support will be the tunnel part next to the gas pedal. Space is a little too tight there for my size 13 feet so I will nudge that part of the tunnel over to a few inches. You can also see the beginnings of door bars, but more on that in a second. also at this point is when I got the South Bend Lathe up and running. first job on its list was to remake the adjustment sleeves going from the rack to the tie rod end. the original units would have worked, but the hols were not perfectly int he center, and the ends weren't perfectly square because I had cut them with a band saw, and wasn't exactly square. I am very happy with the redone units. And my lathe skills are improving constantly. at the same time I was re-making the tie rod end adjustors I started to work on some brackets for the tie rod that would bolt to the spindle. I ordered in some new 2" drop spindles from Belltech and started fabricating off of them. this proved a little difficult as the planes are about 10 degrees different on the steering arm compared to the lower ball joint point. in order to get them just right I fabricated right on the spindle and cut oval shaped holes int the bracket to accommodate the difference in planes and welded them up. Here they are welded, installed, and the new ride height. at this point the next step was to finish the door bars and re-do some parts and to finish the cab portion of the cage. There were some very complicated bends that needed to be one continuous piece without splices, and there were some notches I was not looking forward too. All of which would produce a lot of waste unless I had some help, so I decided to buy Bend Tech Pro and a sheet metal module to ease the pain of designing brackets in Adobe Illustrator. Along side of my welder and tube bender, this is probably one of the most important tools I use now. I wish I would have had it from the start... It took me an hour or two to get a hang of it, but once I did I was able to plug in what I had already done and design the rest of what I didn't have. It takes all of the guess work out of the fab work and is calibrated to your bender and dies. From here I wanted to redo the roof diagonals, and make the door bars. It was necessary to make the door bars removable because they crossed over the body channel and would get in the way if I wanted to remove the cab. The solution was to use tube clamps at each intersection. The only problem was the allen head bolts on the rear door bar tube clamps couldn't be accessed easily. So some notching was done to the 2x1 tube. The roof bars and rear diagonal brace were re-made as the first version(pre bend tech) did not have notches that fit tightly because they intersected with multiple tubes and on bends. I am much happier with the bend tech versions. Here is the same notch, but in the Bend Tech software. It will print out a nifty paper template(seen above) for each piece which you then cut out and wrap around the tube and trace with a sharpie. All of the cutting templates are laid out and marked on the tube before it is bent, then the notch is cut after bending. I didn't waist any on the new pieces... so awesome. About Mid July at some point between the roof bars and door bars I came across the Stude truck above and decided to buy it. Yeah its a little rusty, but it runs well, and is almost entirely stock, except for the seats and tires. But don't worry, I have an original spring seat waiting to be cleaned up and upholstered, and some skinny n' tall bias ply tires will be going on it soon. The truck is also a 1947 Studebaker M5, It is slightly newer than my other truck, as it has a higher VIN number. after spending its life on a fruit farm in Willard Utah it made its way into the hands of a local mechanic, Larry Downs, who got everything working mechanically as it should after rebuilding the motor. I have named this truck Huebert and have already put about 1500 miles on it without a problem, though with only 3 speeds, and 4.78 gears in the rear all of those miles were done going under 50 MPH. other than the seat and tires, this truck will remain as is until the Drift Stude is finished. Then I will do the rust repair and paint it, but still leave it stock. Also made it into the offical HRH shop truck with the help of my vinyl cutter and some enamel paint. Back to the Drift Stude... Now that the main part of the cage was in it was time to start on mounting a seat. If you followed this from the beginning I originally had a Kirkey Aluminum racing seat, but determined that it had too much of a lay back and the shoulder supports made it too wide so it was sold. I found a mfg called ultrashield that that makes a similar seat, but without the shoulder supports and would also custom make it with a much more stude cab friendly 10 degree layback. after an 8 week waiting period because of the custom order I had my new seat. I drew up the bracket in the Bend Tech sheet metal modual, and since these brackets were going to be out of 1/8 steel I drew in some relief cuts so I could bend them without a press brake. Back to my buddy Nick to have them cut out, and they turned out great. bending them was a breeze and they welded up just fine. They fit the seat as they should, but only because I took a crap load of measurements to make sure they did. To mount the seat brackets I also drew up these tabs that could be bent the same way, with a nut welded to them, and the tab welded to the floor support. They will be covered with the floor sheet metal eventually. Now the drivers seat is in its time to finish the steering linkage, and steering column mount. I mentioned earlier that I was going to move the steering joints away from the header in order to keep them from getting heated up, the end result was only one joint on the outside of the firewall, and one on the inside. the routing still needs some tweaking to clear the pedal assembly, but overall I think this will keep the grease in those joints much happier. Also, now that the fire wall has been modified and welded up about 4 times, I will eventually make a new one once I am done tweaking where everything goes. In order to get the column where I wanted it, i had to notch the dash bar and fit it right in the middle. Bend tech was a big help again to get the notches right at the correct angle. tube for the column is a 1x5/8 tube that I machined out a little to fit some flange bearings for the 3/4 inch tube that connects it all together. from there I tacked some of the joints to the 3/4 tubing, and cross drilled others for a 5/15 grade 8 bolt, so if needed the entire thing can be removed. I am so glad that I can use the steering wheel to put the truck back in the garage rather than kick the tires to steer them.
This brings the Drift Stude project up to date as of 11/02/2014. More on Huebert the other 47 Stude and more drift Stude progress over the winter.
1 Comment
|
Download the
following Designs used in this build: Archives
February 2018
|
