|
Well, 9 months has passed since my last post... you'd think the drift truck would be done by now wouldn't you? Nope, not even close but thats the nature of a project where new things are being learned as you go, and you factor in family, friends, trips, home, money and other distractions. Things can take a while. Speaking of distractions...some time after my last update I decided I needed a go kart and I had big plans of making it a remote controllable cart so I could give my toddler daughter rides, where she thought she was driving, but in reality I was in control. at the same time i thought it would be cool to buy a cart that would work for dad(me) as well. I ended up finding a sweet deal on an older shifter kart which was a PTK 125cc shifter kart chassis. it also came with a Honda CR 125 motor that was in pieces and needed to be rebuilt. This kart is really a competition shifter kart that had a bunch of magnesium hub parts and had front and rear hydraulic brakes, shift linkage, clutch controls, etc... basically the go-kart I always lusted after. 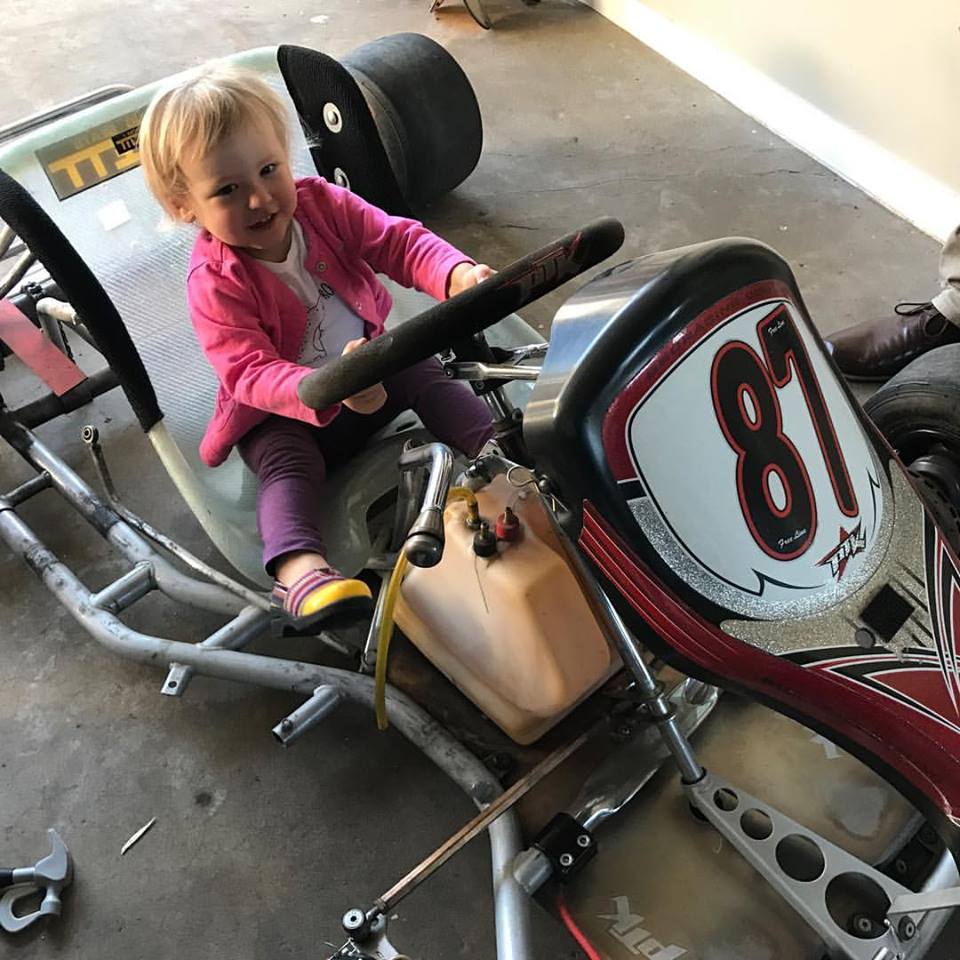 Here is the kart a few days after the purchase. I got the kart and motor for $400. In reality I knew that throwing a 125cc two stroke in there to begin with would be terrifying for my daughter if I stuck to the original RC kart plan... so I opted to shelve the motor for a few years and go after a 4 stroke harbor freight motor for it. I, like many before me, chose the Predator 212cc motor and on during a harbor freight sale i picked up a brand new one for $99. After another $150 in other parts including a clutch set, motor mounts, sprockets, sprocket hub, and chain, I had the motor mounted some small issues fixed and the kart ready to drive. 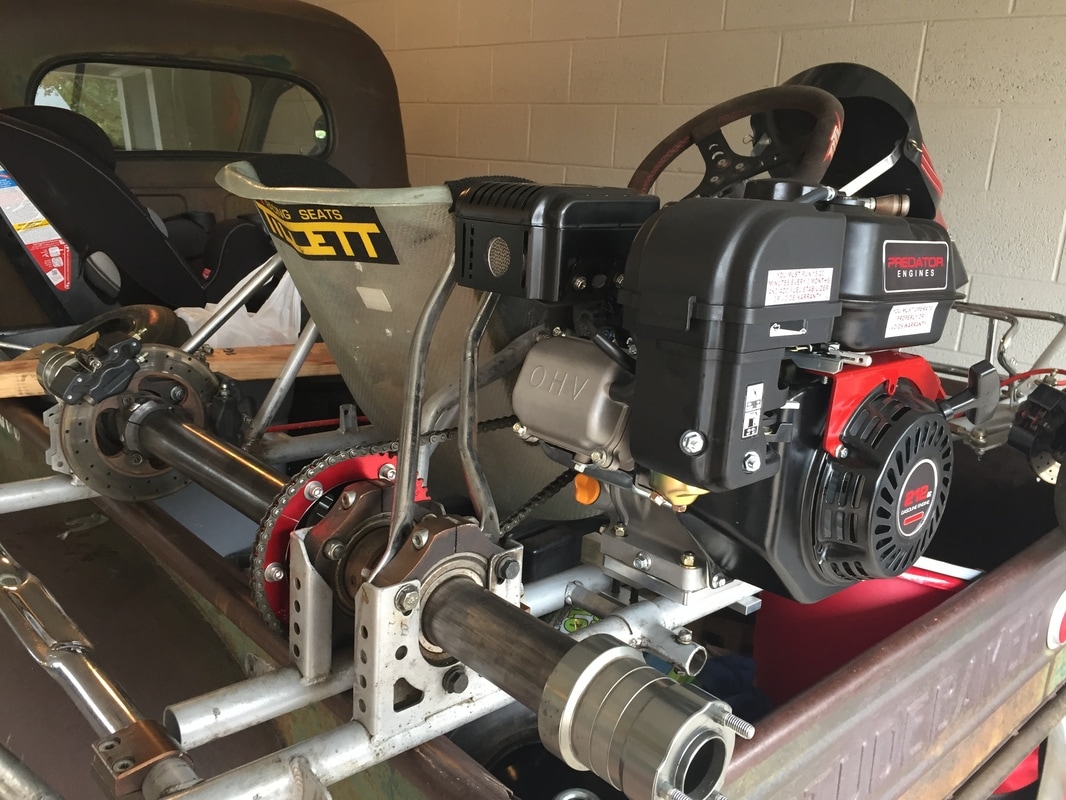 Here is right after I got the motor mounted. Ultimately the motor mount brackets hung down a little too far and were ripped off on the second test run. Seriously! I went one way in the kart and the motor went the opposite way skidding across the pavement after they caught a lip in a cement gutter in the middle of church parking lot. I used the same basic design but used tube clamps instead of flat aluminum to clamp the mount plate to the frame after. this resulted in about 2 extra cm of ground clearance. The predator motor was completely fine except for some road rash on the gas tank. Sadly my daughter was terrified of the go kart and I came to my senses about focusing on the drift truck project and didn't try and do the Remote Control upgrades. I took it around to my family and every had a good go in the kart and then it was listed for sale. I made about $300 profit even after buying all the new parts. Above you can see the go-kart gallery in all of its glory, even a shot of my dad who is 6'2". id say it fit pretty well. on a side note with the predator motor and a fairly large gear/sprocket reduction of about 5 to 1 this kart got up to about 30 mph. If I had stuck the CR125 motor in there the top speed with a 3 to 1 drive reduction would have put the top speed at about 110 mph... After the truck is done I think I will try and find some other karts to fix up and sell for a profit and maybe another shifter kart. 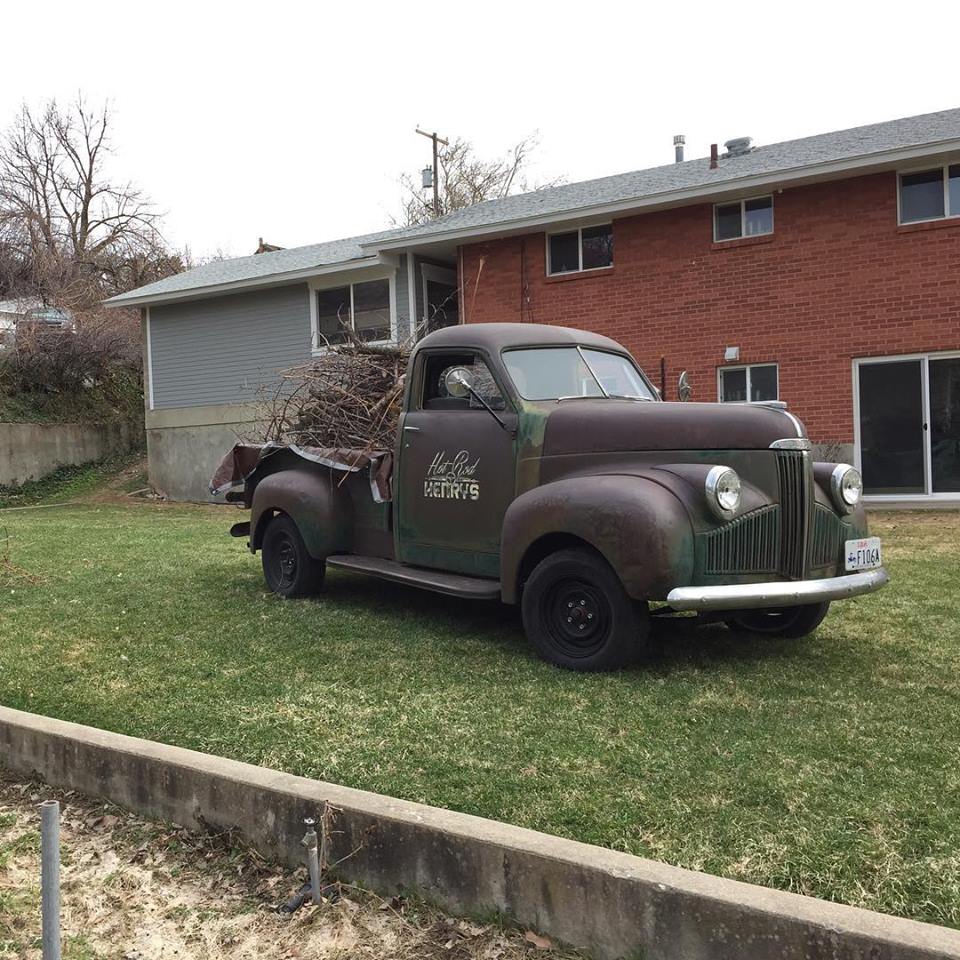 Now going into winter 2016 I have to take a step back to Nov 2015 for a moment and mention that my wife and I bought an older home on a sizable lot in Centerville UT after selling our condo we had purchased in 2008. Since about 2006 the truck and shop has always been located in a little two car garage behind my day jobs office building since we did not have a garage at our condo. With the new home came a two car garage, and enough land to build a sizable shop(but thats in the long term 15 year plan). My wife and I had been using the two car garage to park 1 daily driver car and the second spot for the rusty Stude pickup. over the summer of 2016 it became apparent that I was going over to the shop to work on the truck less and less because I wanted to spend time with my daughter and wife at our house, and I couldn't really bring my daughter along to play in the driveway at the shop because it was located on a very busy 4 lane road. My wife ultimately made the suggestion that we move the truck and tools over to our home and she would park outside and we could put the rusty stude in the old shop space. after a few discussions it was determined that would work well, and I could work in the garage during nap times or bed times for our daughter, or during the day and she could join and play in the yard or driveway without fearing for her safety. as a bonus not having the shop on a really busy street would lead to less strangers stopping by and chatting for hours on end and asking me to fix their crap... it was going to be great. 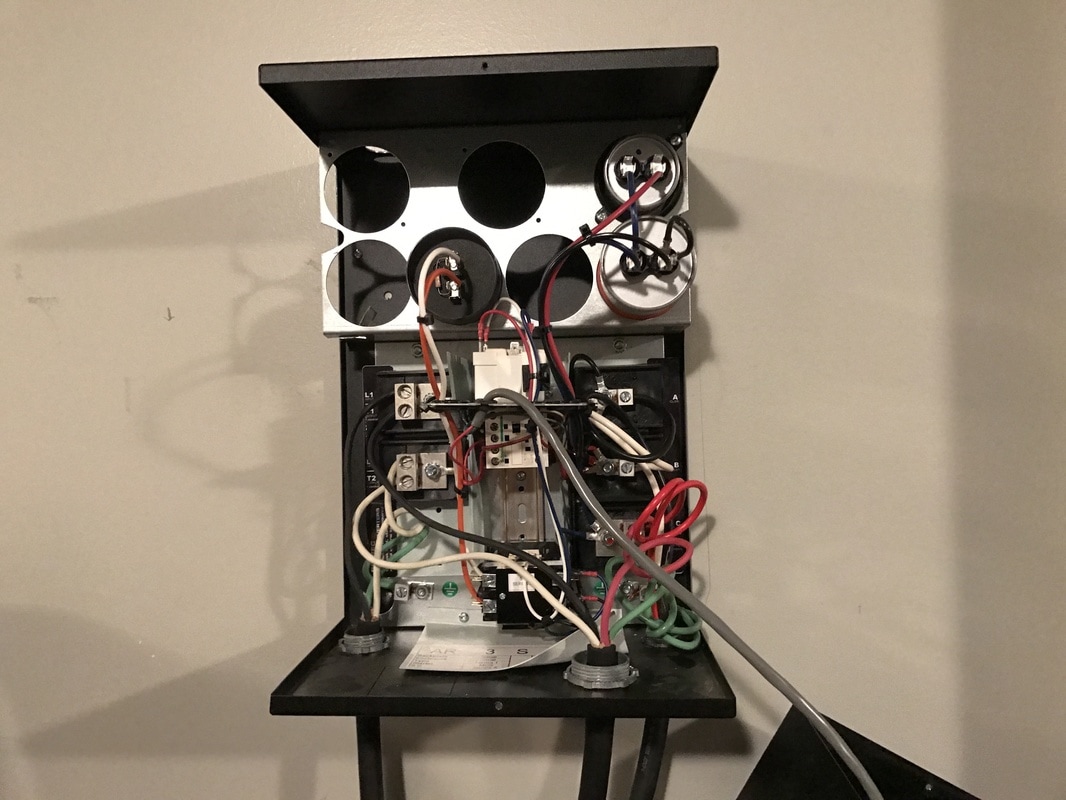 The only downside was that we would have to spend a bit of money to have the garage wired up for the 220 volts needed to run the air compressor, lathe, and welder. as well as new electric garage heater to make it more winter project friendly. above is the phase converter I purchased to run the new to me south bend 13" lathe mentioned in the last post. I paid a coworkers electrician husband to help me get the garage wired for the new power. ultimately we had to do a service upgrade from 100 amp service to 150 amp service, which meant getting a building permit to move the electrical mast and meter to the side of the house instead of in the breezeway between the garage and house. Overall it took a few weeks but by mid December it was all done and it was time to start moving stuff in. 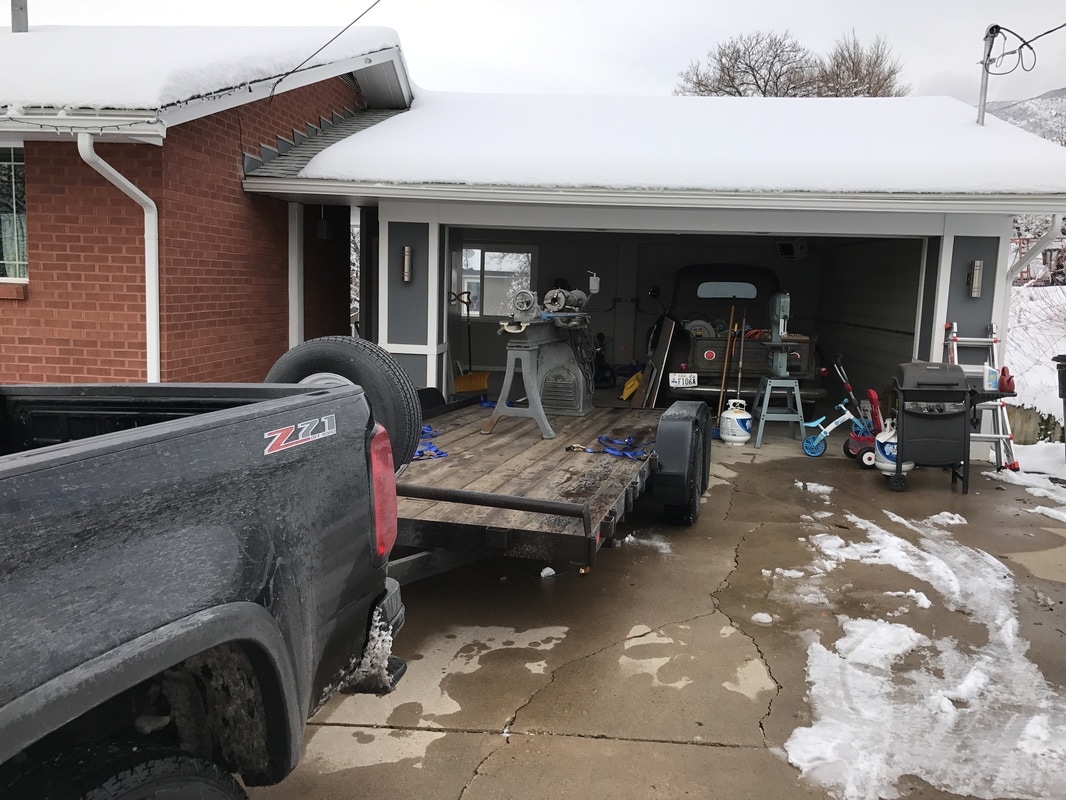 I decided it would be best to move the hardest stuff first, so in went the 13" lathe at a total weight about about 1700lbs i was able to move it myself with a cherry picker, but it wore me out and beat me up. The next time I will call a buddy and maybe rent some lifting equipment... 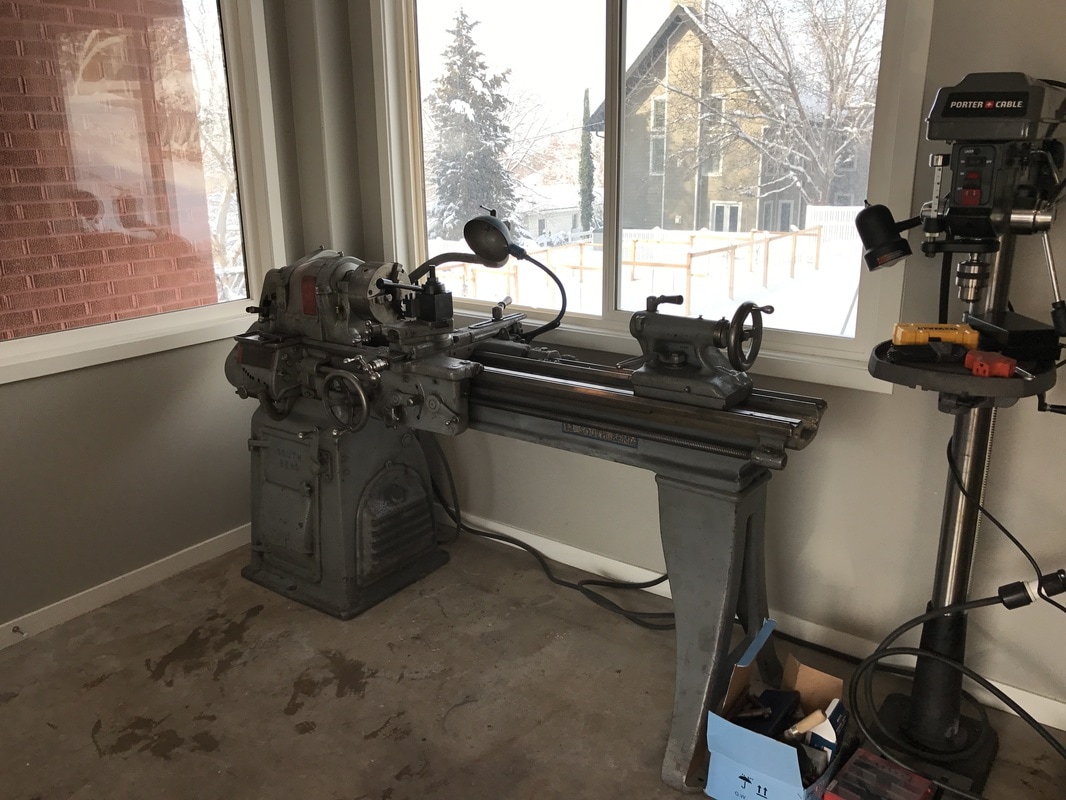 Here it is in its new home, next to the drill press. with two big windows in the corner to distract while machining. only thing left to do is to get some leveling feet, but for now its good. I should also mention I bought a quick change tool post for it and machined a t-nut at my friends shop to fit it up. it is a CXA size that used 3/4 tool bit holders. I also purchased a #3mt drill chuck and live center for the tail stock. and a new rubber/nylon belt as the old leather belt was slipping too much and was at the end of its adjustment. 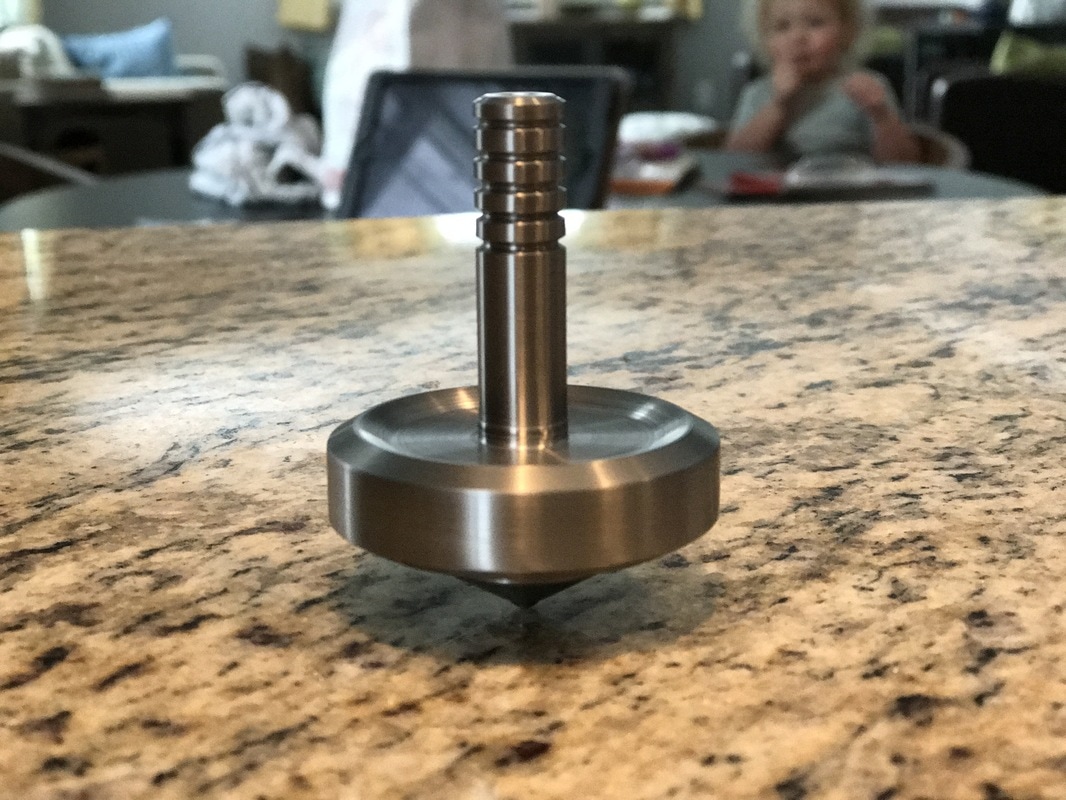 The first ever project done on my new lathe was making the spinning top above. this beast can spin for close to 11 minutes if spun up with a string. i used a hardened ball bearing pressed into the bottom to help give it a nice contact point rather than machining it to a point. I have never made a top before, but it turned out pretty good, ill have to make a few more. 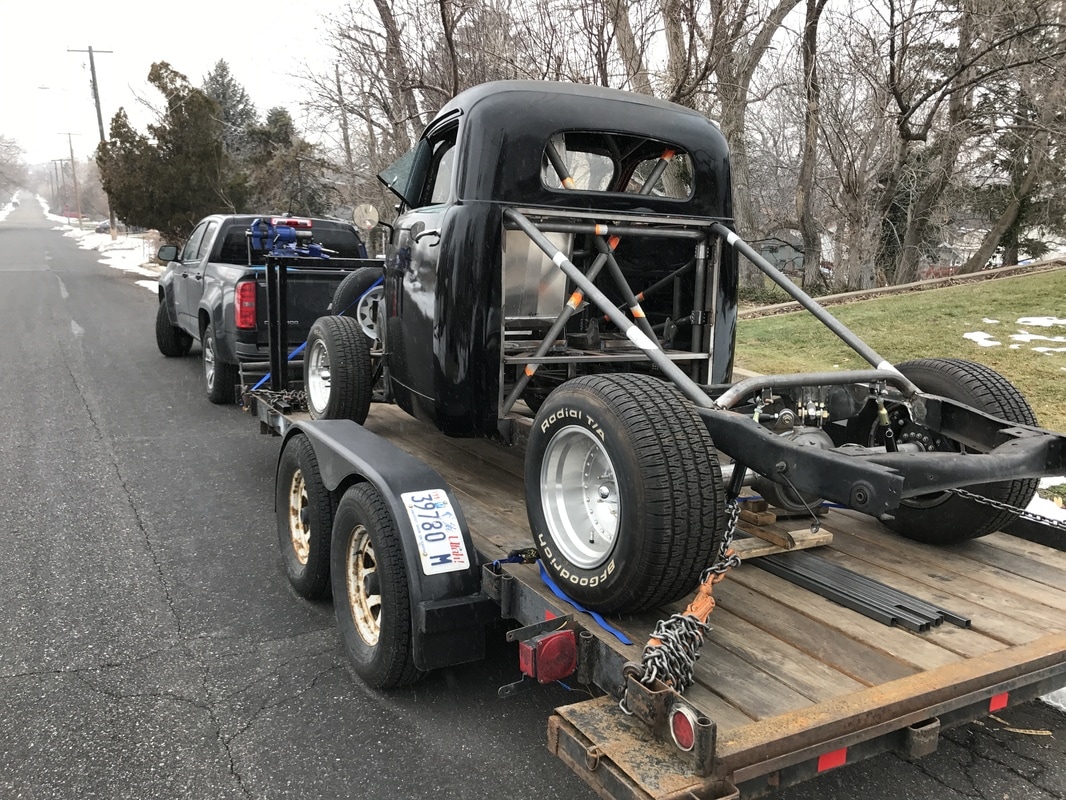 by the time I got around to moving the truck Christmas had some and gone and January had settled in. this marked the first time in about 4.5 year the black stude had moved more than 10 feet. Also worth mentioning is that back in aug of 2016 I traded in my high milage commuter Mazda 3 for a 2016 Chevy Colorado with the 2.8 liter diesel engine. I absolutely love having a daily driven truck and I get about 28 mpg when i am not towing and about 18 mpg when i am towing. it made moving the shop a breeze. 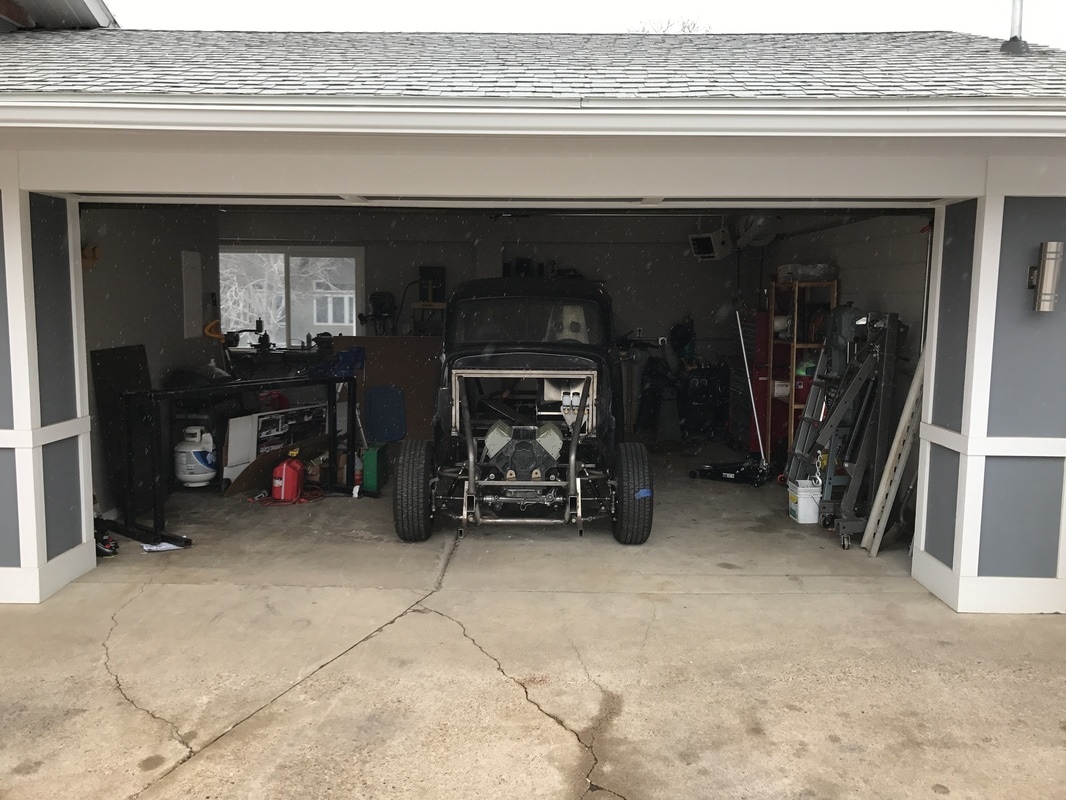 Here it is tucked in just as it started to snow. having only one truck in there will leave lots of room on the sides to put equipment, workbenches, and leave plenty work around. That new garage heater in the back corner was already making me pretty happy with the new setup as I got to organizing. 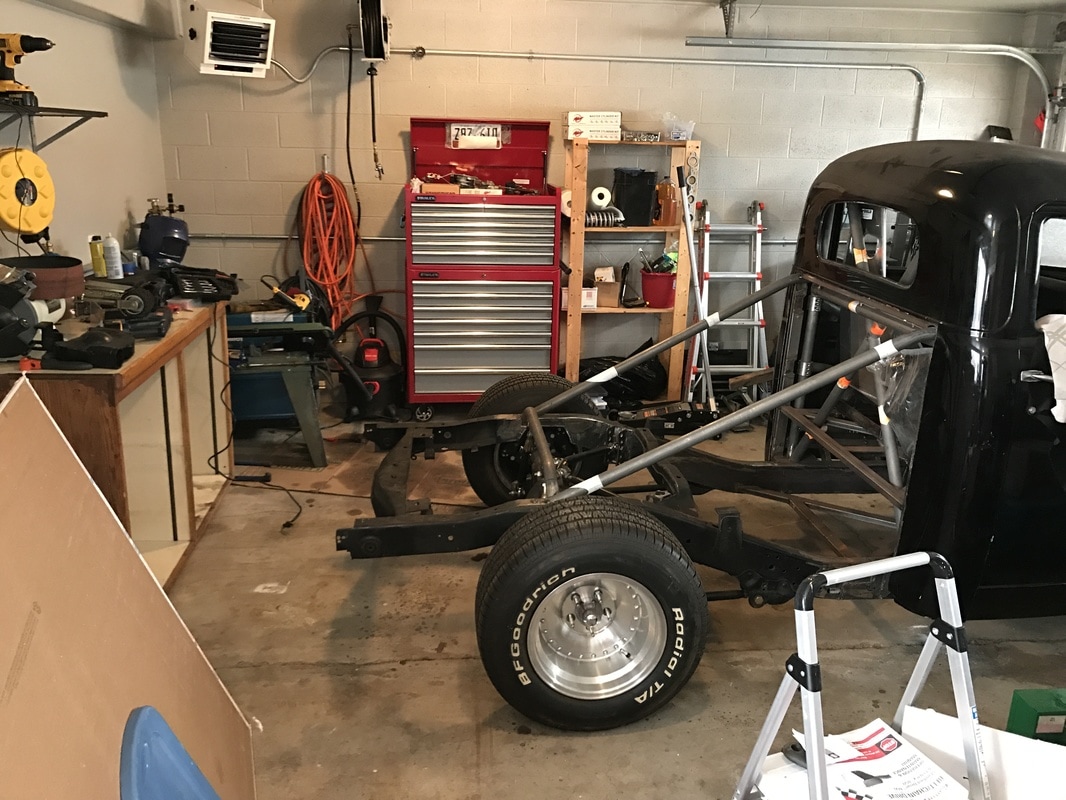 This is after a bit more organizing showing that even with a work bench behind the truck and the garage door closed it leaves about 3 feet of walking space. I also installed a shelf to put speakers on, a 50ft electrical cord reel, and a 50 foot air hose reel. 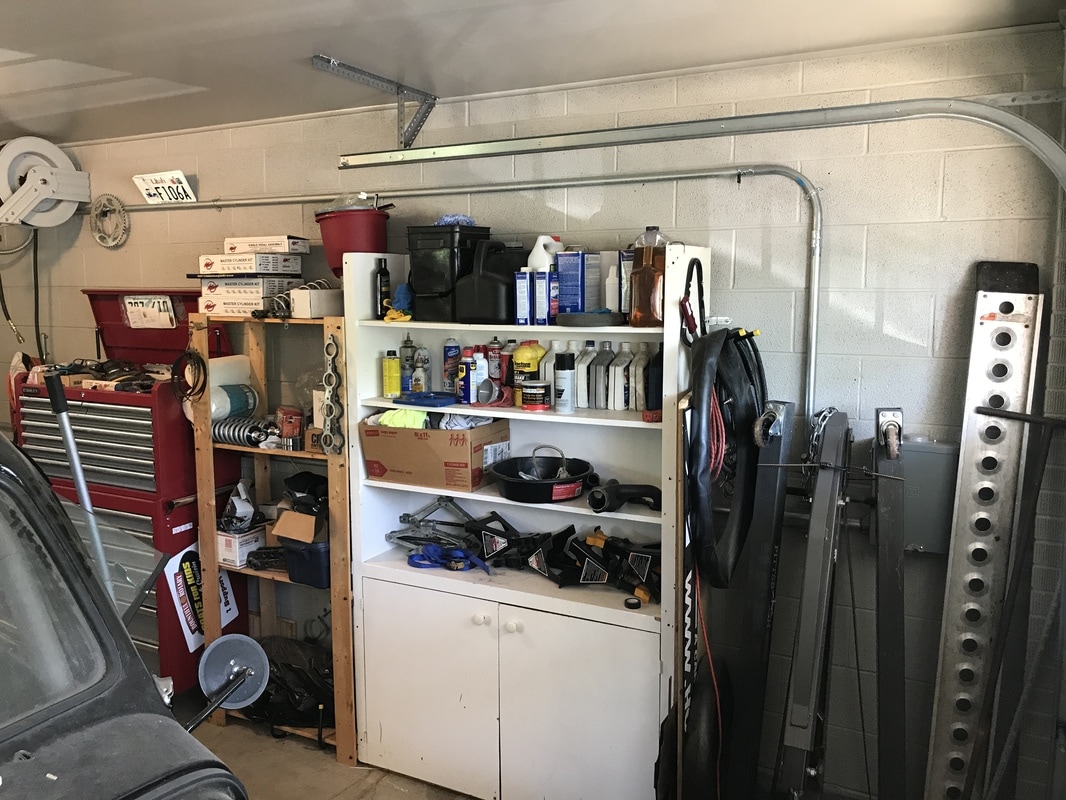 I moved up an old cupboard shelf thing from the downstairs shop to use as extra storage. and it worked out nicely, and left some room for some used pallet racking in the downstairs shop to hold bins of parts and other odds and ends. All of the metal tubing and sheet metal is being stored in a yard shed in the backyard along with some of the body panels for the truck. 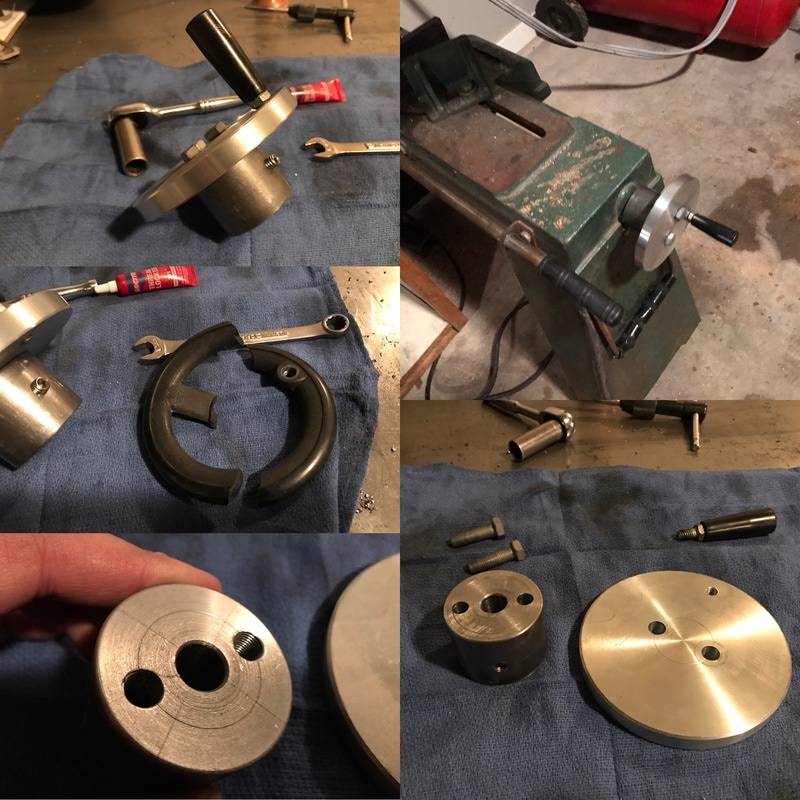 During the move I accidentally tipped over my horizontal band saw. The only damage done was to the plastic clamp wheel. A quick search through the scrap bucket, and some machining later I had a new bullet proof clamping wheel. it was a good excuse to use my new set of Shars high speed steel taps. 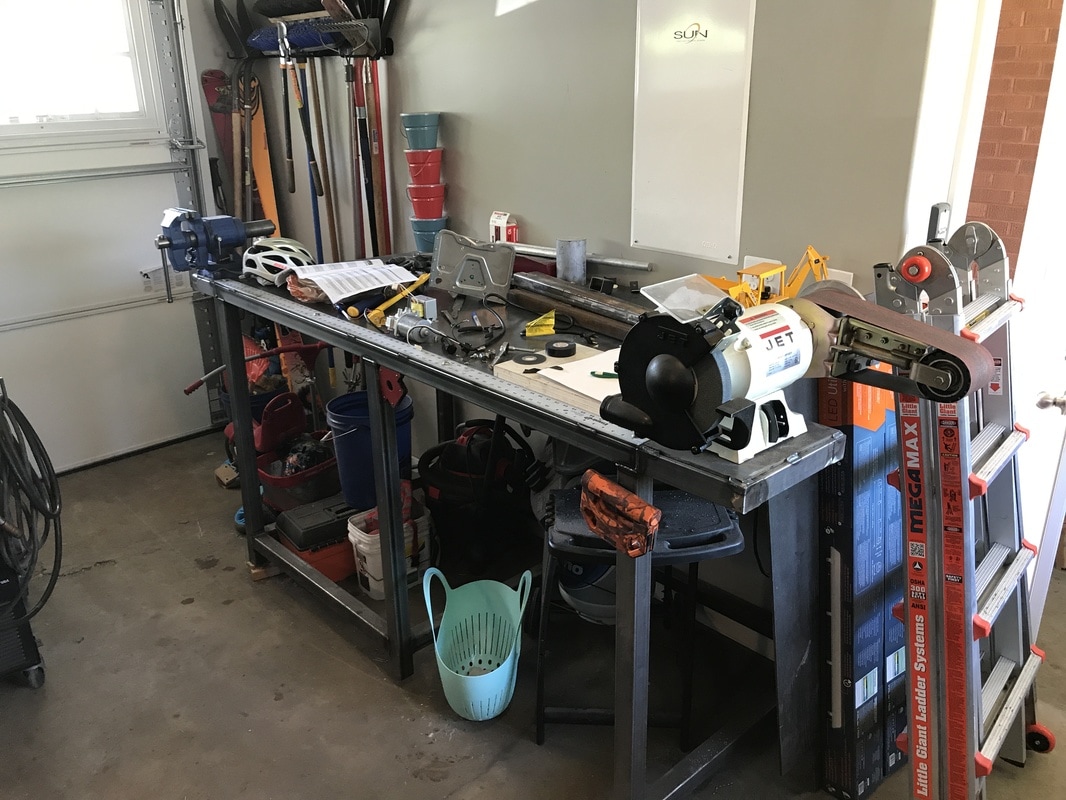 I also built another workbench/welding table. This one would be a 4'x6' table that sat about 40" high. I started building it in Feb and Finished it to the point that it is usable, though i do plan on adding some shelving on one half and left the other half open for a stool that will eventually get made. I also added to side platforms, one for the vice and the other for the bench grinder/belt grinder. I also bolted a 6' metal ruler to top in order to have a handy spot to measure from while fabricating. It still needs some rubber feet and some lockable casters in the even I need to move it. I also wired in a 110 v, wall plug receptacle with 4 available spots right above the table for easy power for grinders or drills etc... here it is in all its messy glory as Try and work through a garage door motor issue. 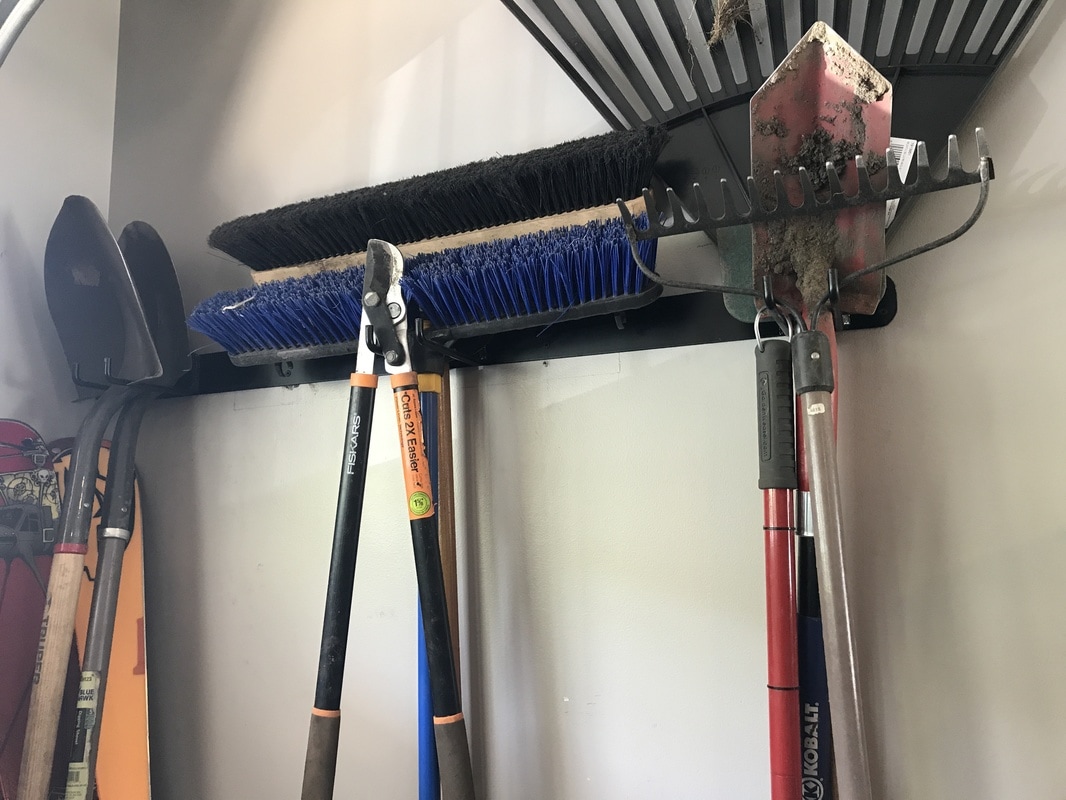 One other project needing to be done to get the garage ready to go was to organize some of the yard tools that needed to be stored up there for easy access. I used a couple of 5/16 rod, bent on my press brake and a piece of 1/8 steel to make this. it holds a lot of weight and is screwed to the studs in the wall. 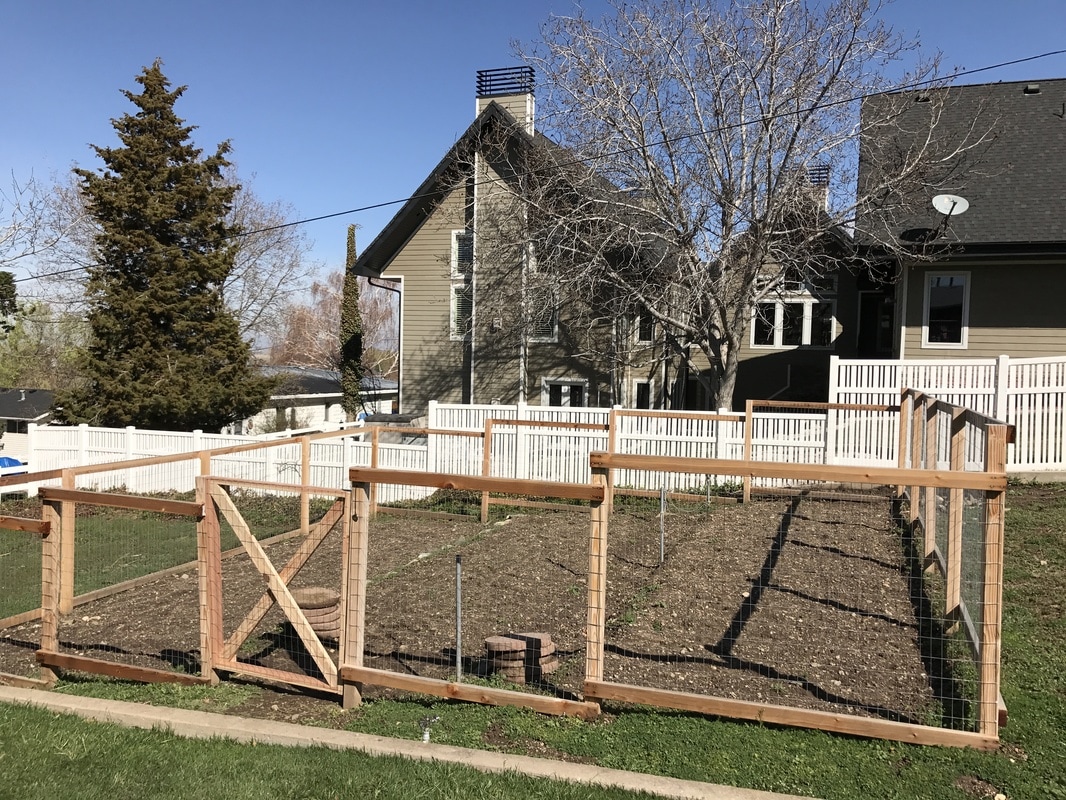 Normally I wouldn't post a picture of non truck and or garage projects, but after Feb. ended March warmed up pretty fast and it was onto yard projects instead of garage projects. the first one on the list was to finish the gate on the garden fence so the deer wouldn't eat our garden as soon as it was planted. Worth noting that this was my first ever fence job and while it wasn't perfect i was please with the results. 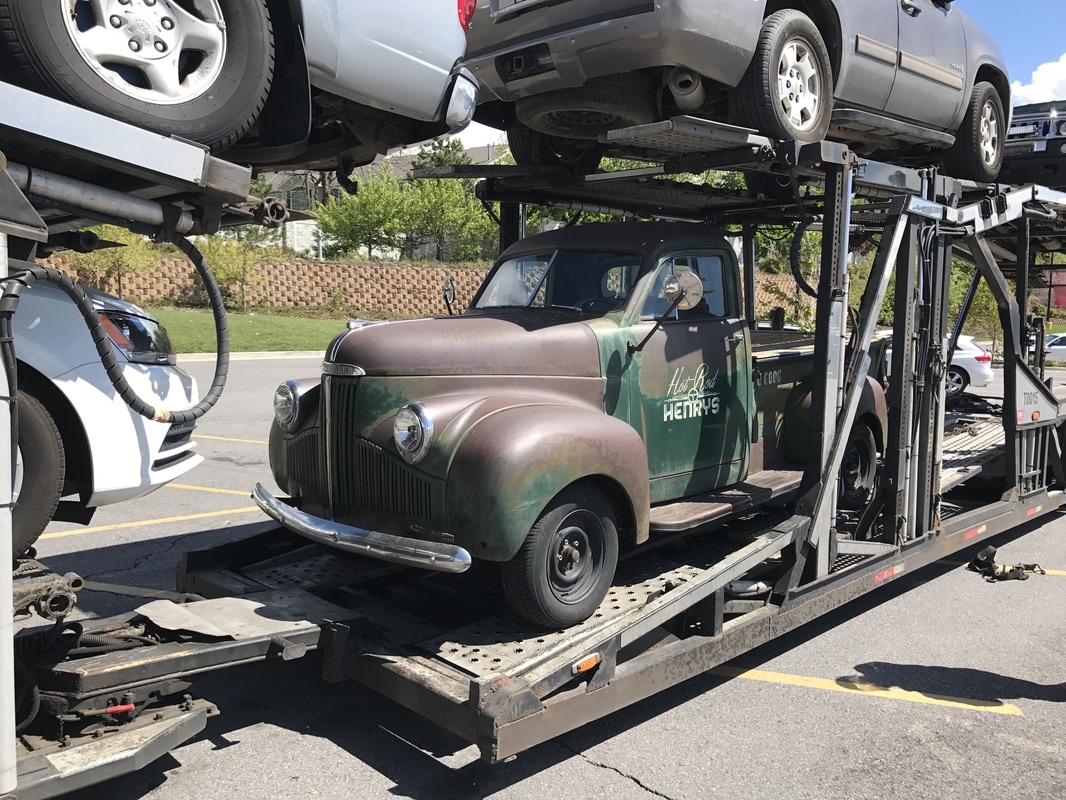 In April I decided that it would be best if I sold Huebert. three main reasons factored into this decision. first I was driving Huebert less and less now that I had the Colorado. two it was a distraction like the go kart that would take time, resources, and money to fix every once in a while. and Three the market for vintage trucks is pretty good right now and I could make a healthy profit and pay off some credit cards which would free up money for the drift truck. I Sold Huebert on ebay to a buyer in NY in early April, and after payment from the buyer cleared, the truck was loaded up on a transport truck on 04/27/2017. What a good truck and also it turned out to be a very lucrative investment all said and done. 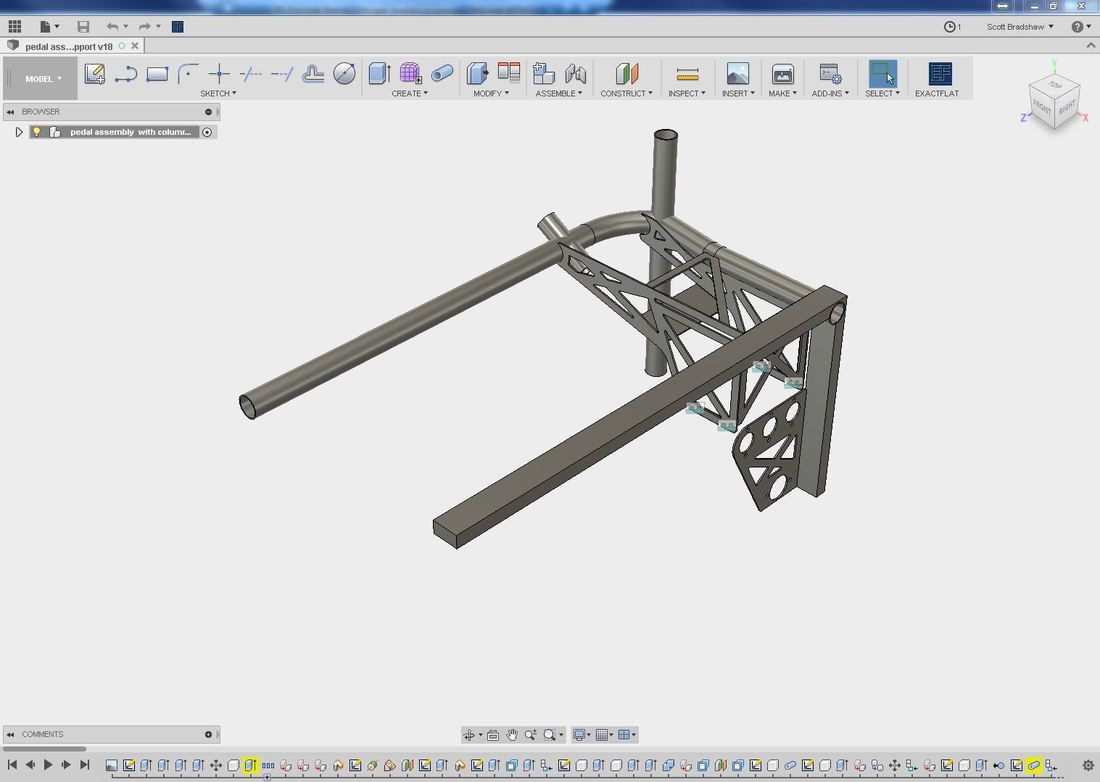 After I got Huebert sold and the garage in working order it was time to jump back in on the truck project when time would allow. now that the steering rack was in the right place it was time to work on redoing the steering linkage. since the linkage/column has to wide its way through the pedal box I would also need to mount the pedal assembly more permanently. i took some quick measurements off the truck and started designing in Fusion 360 to get it all braced and bracketed. I cut a few poster board mock ups to test the fit and need to make some adjustments, but haven't quite gotten to the adjustments yet...
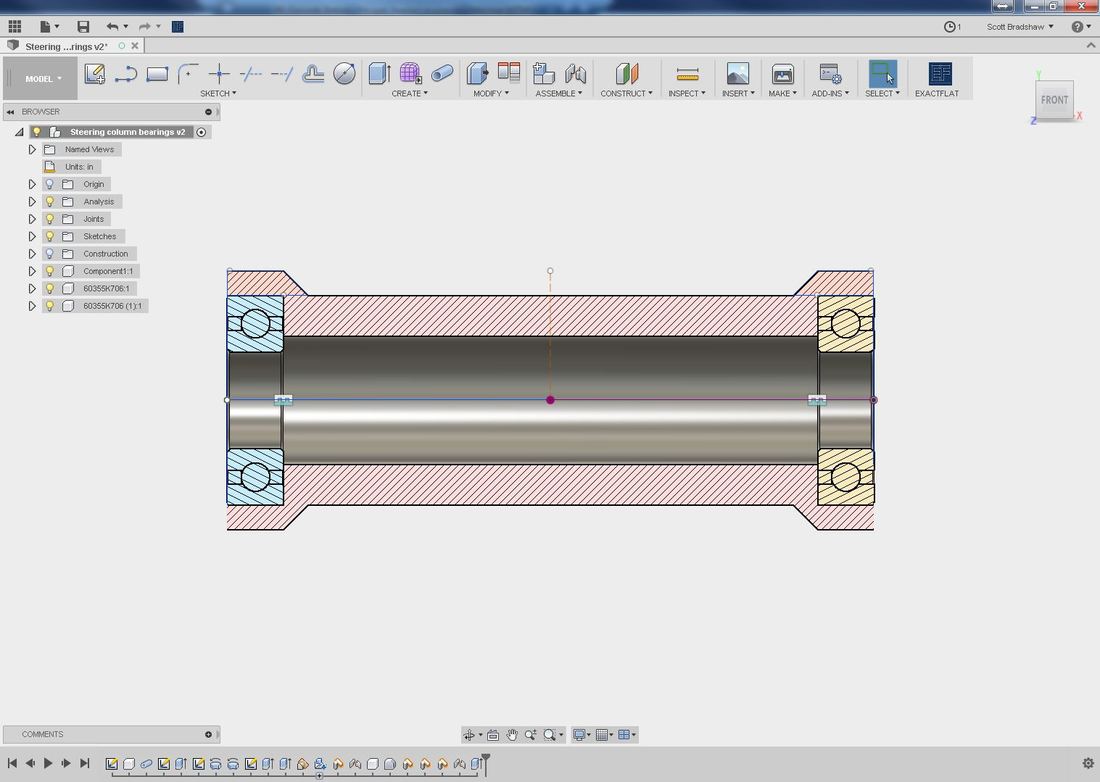
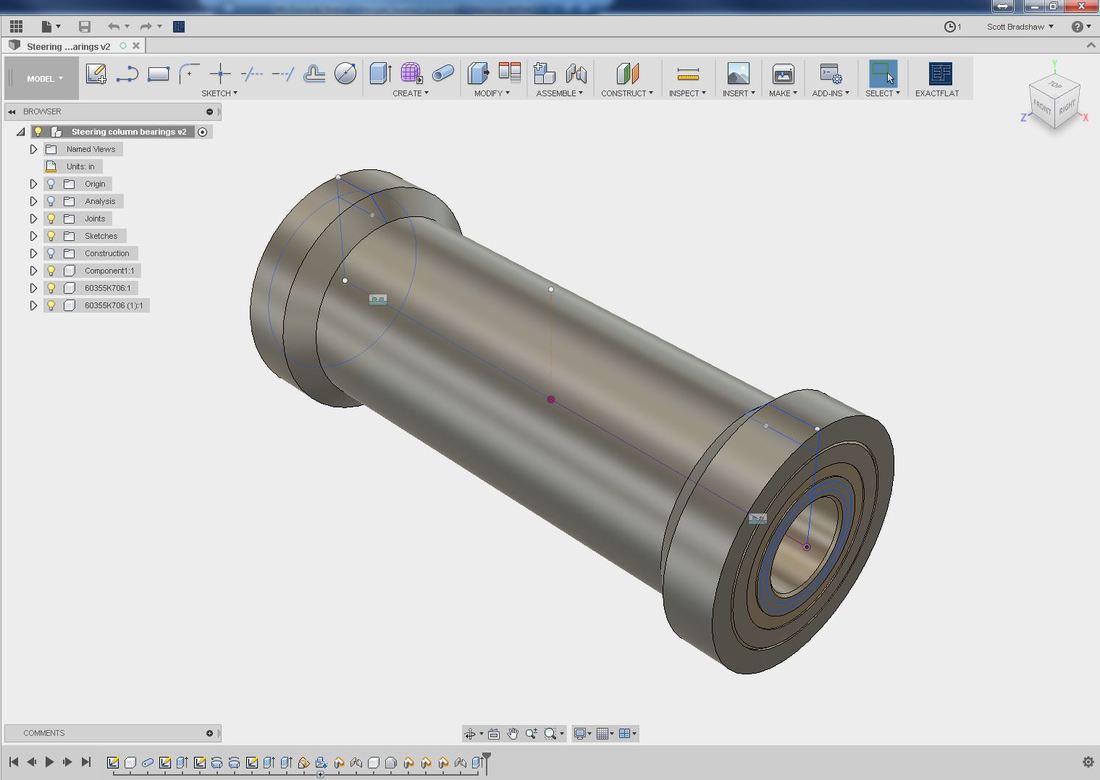
I also started working on a new steering column housing. the first one I did was not what a really wanted and the cheapo bearings were too sloppy. I decided to get some nicer bearings and machine my own column housing for them. this meant I had to purchase a boring bar for the lathe... but it was money well spend and the whole thing turned out really well, considering I am an amateur hobby machinist with very little skill.  Here is the finished product. All machined out a solid piece of steel rod. I forgot to mention I bought a 3/4" and 1" morse taper drill bit for the tail stock of the lathe to help with removing material from the center before switching to the boring bar.
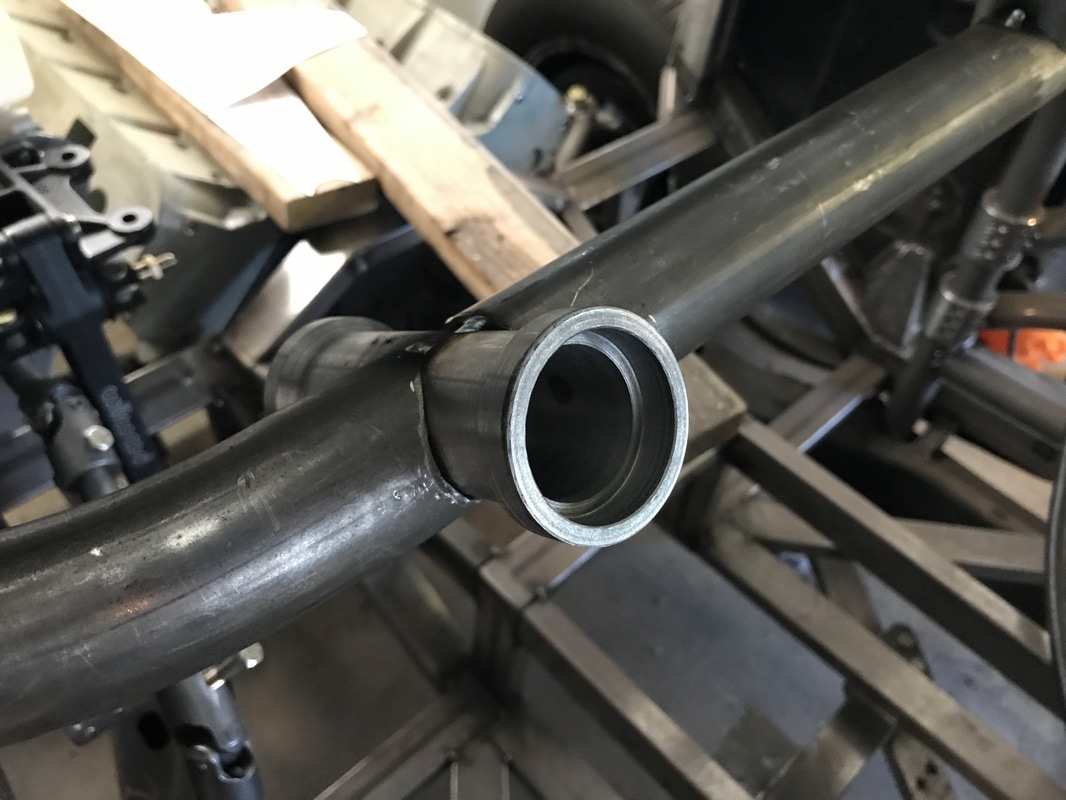
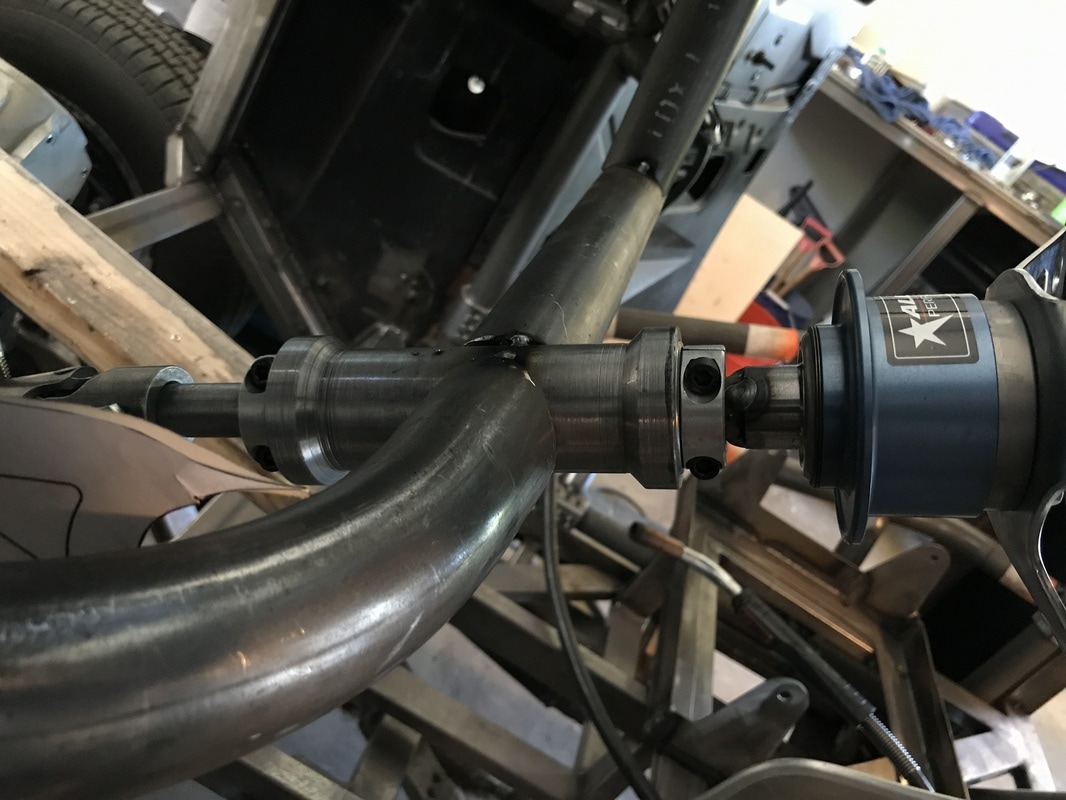
here it is tacked in place, and then assembled. 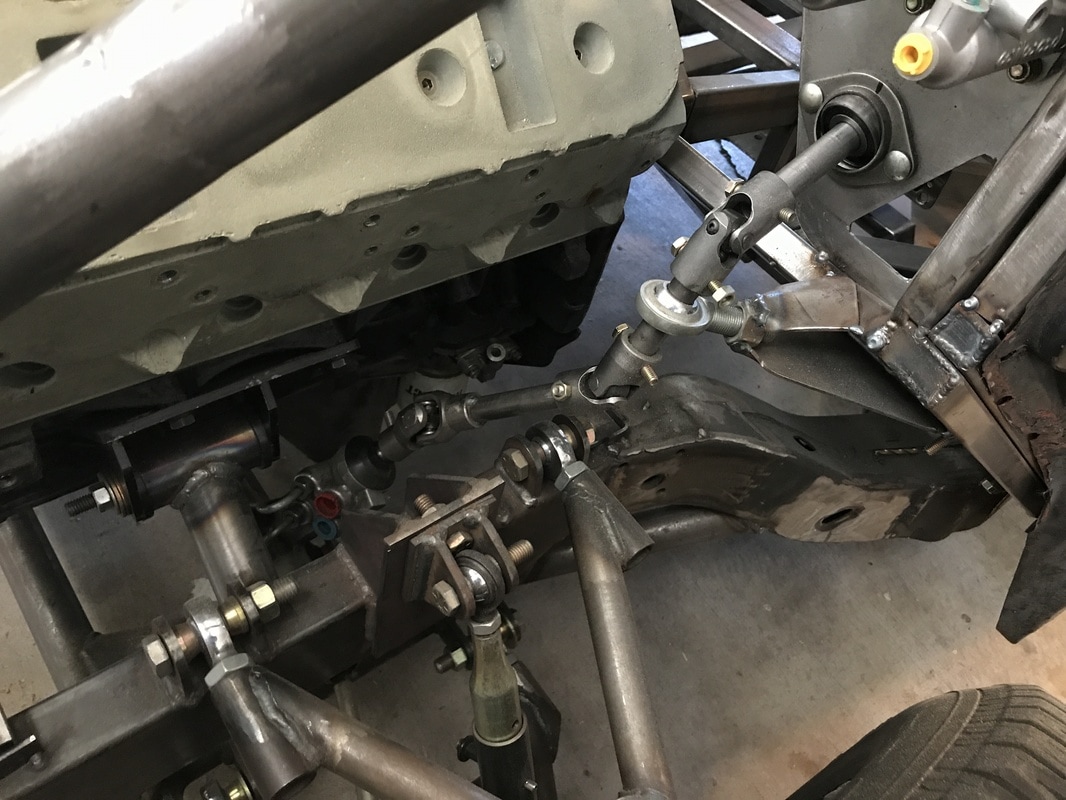 now the column is all sorted it was time figure out a way to eliminate a steering joint or two in order to keep the steering wheel play down. in order to do this, while still maintaining enough room for some headers in the near future I figured i would need to redesign the firewall bracket that holds the pedal assembly. As you can see there are too many joints, what a headache.  Here is an angle showing another joint to help direct it through the pedals and through the firewall. that one joint will stay, but i will try and eliminate 1 or two that are outside the firewall. 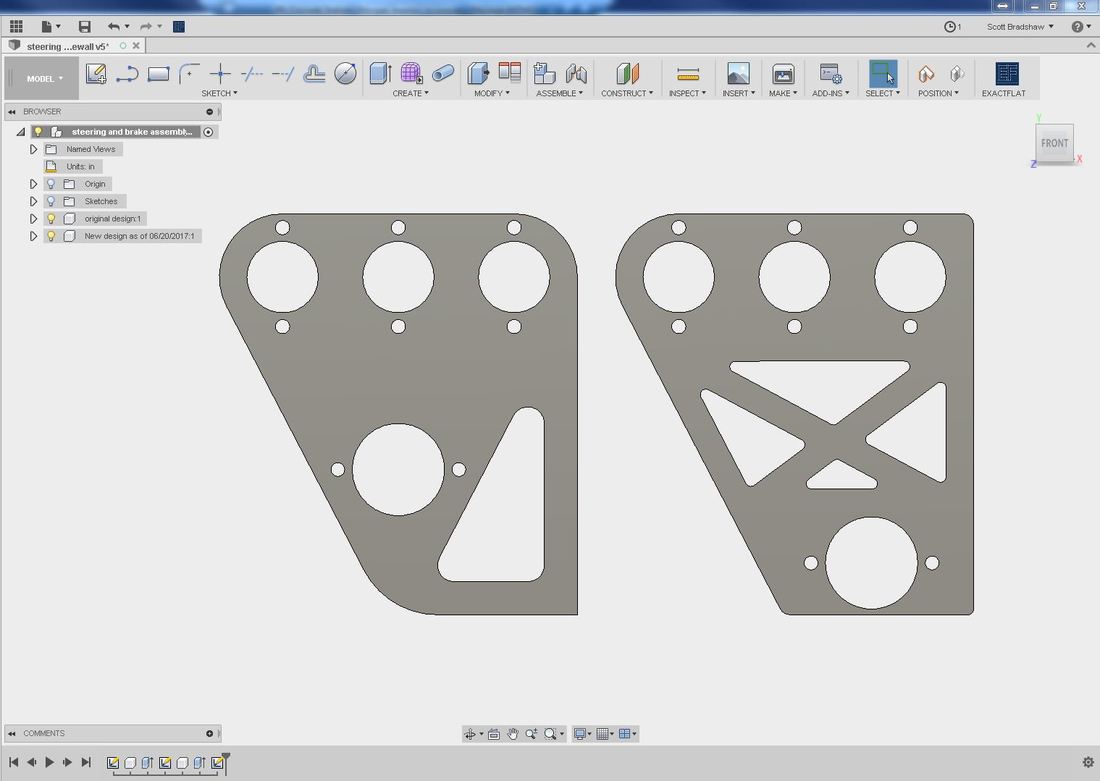 The plan of attack to eliminate some of the joints is to move the point at which the steering exits the firewall down and towards the drivers side a little more. The left hand bracket above is the how it is in the picture above and the right hand side represents the one that has yet to be cut out and tested. In my mind it should work, but we won't know for sure until a mock up one is made. and as we headed into June 2017 I had a pressing issue... my back. Shoveling all of the snow we had this year kind of wore out my back and I thew it out in the spring which put me out of commission for about a week and a half. I decided I would try and make my backs life a little easier by building a motorcycle lift stand, so I didn't have to lift the bike onto a set height stand after every ride. of course I wanted to build something so I designed it first, then got the thing built. 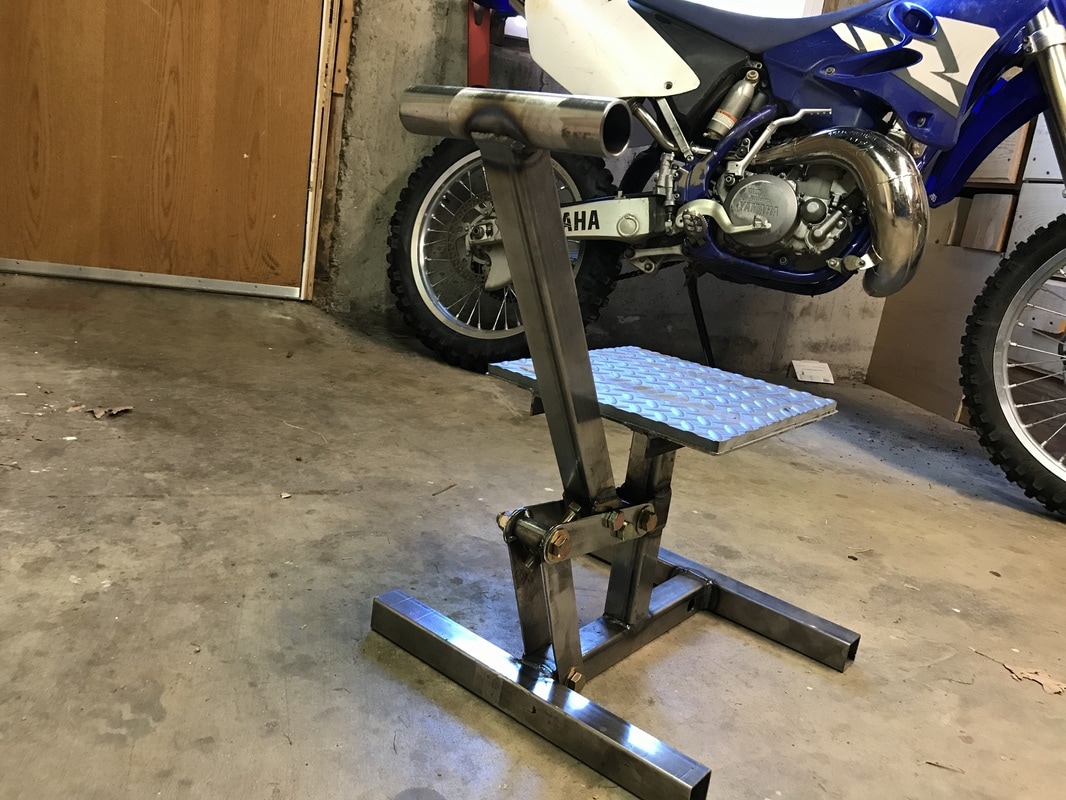 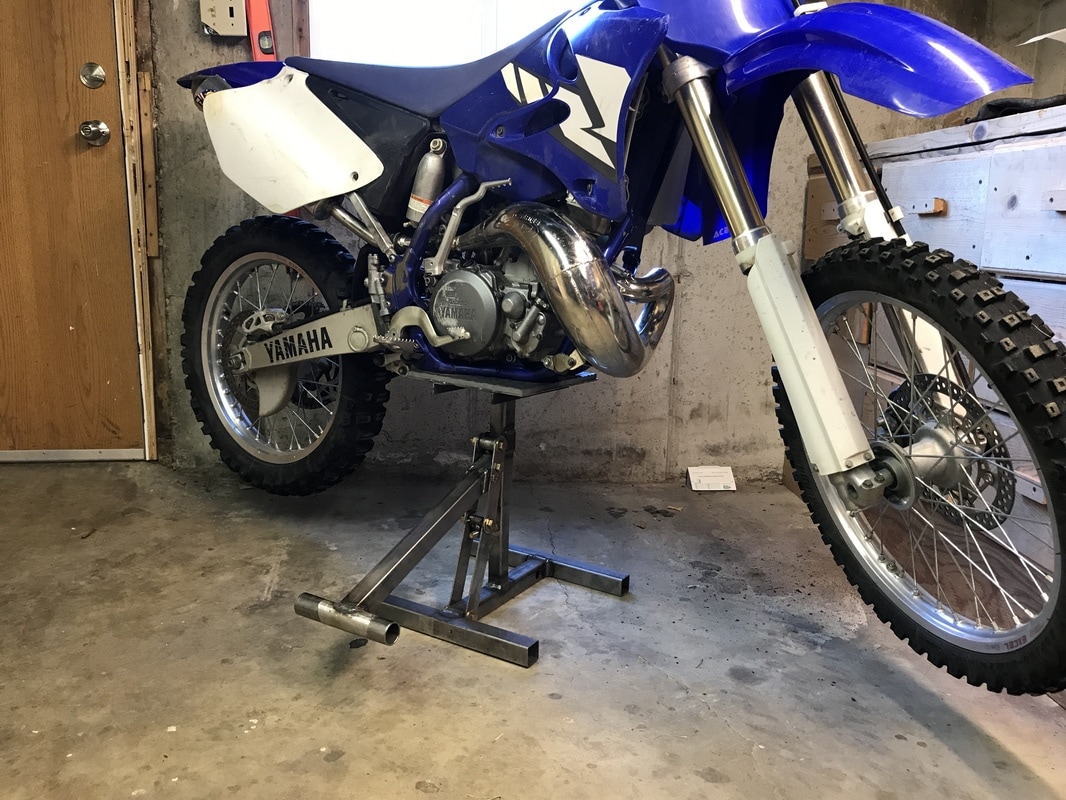 The stand turned out great and my back has been thanking me ever since. It also puts it up a little bit higher than the old set height stand. For anyone interested you can download the Fustion 360 file of the motorcycle stand over in my library of design files. there was bit of trial and error in the design so there are some extra pieces in the overall design which you can choose to add, hide, delete, change, or whatever.
For now that brings the truck and other garage projects up to date as of 06/30/2017. I am making it a goal to post more often now that the truck and shop is now at my home. Thanks for reading!
1 Comment
|