|
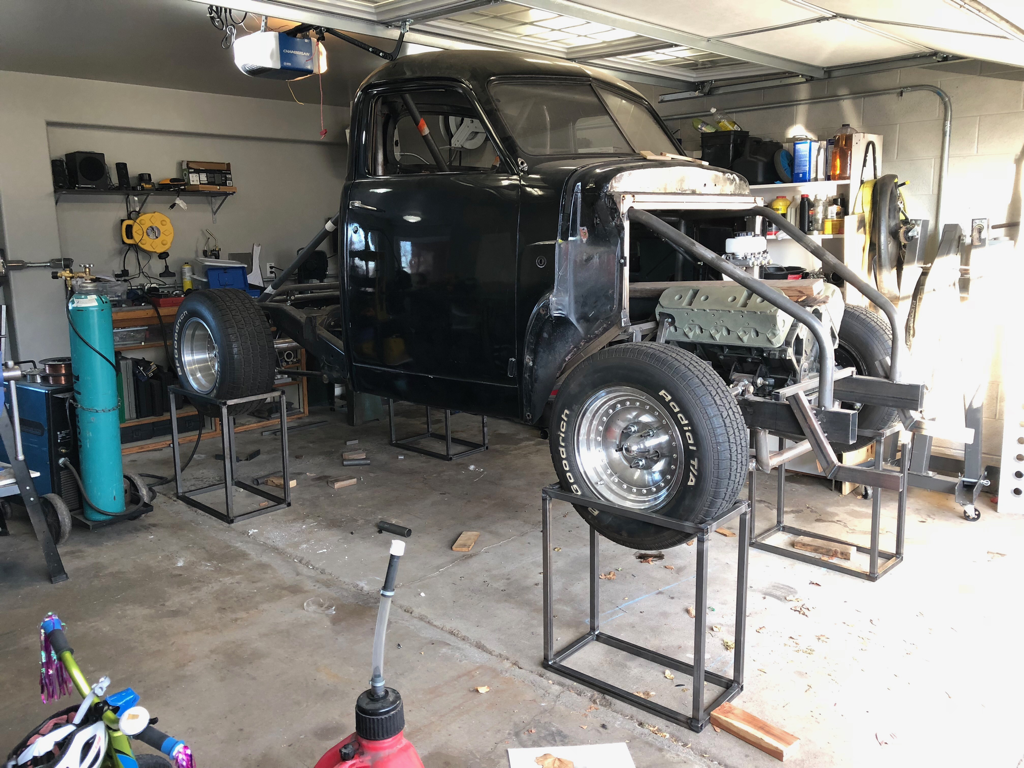
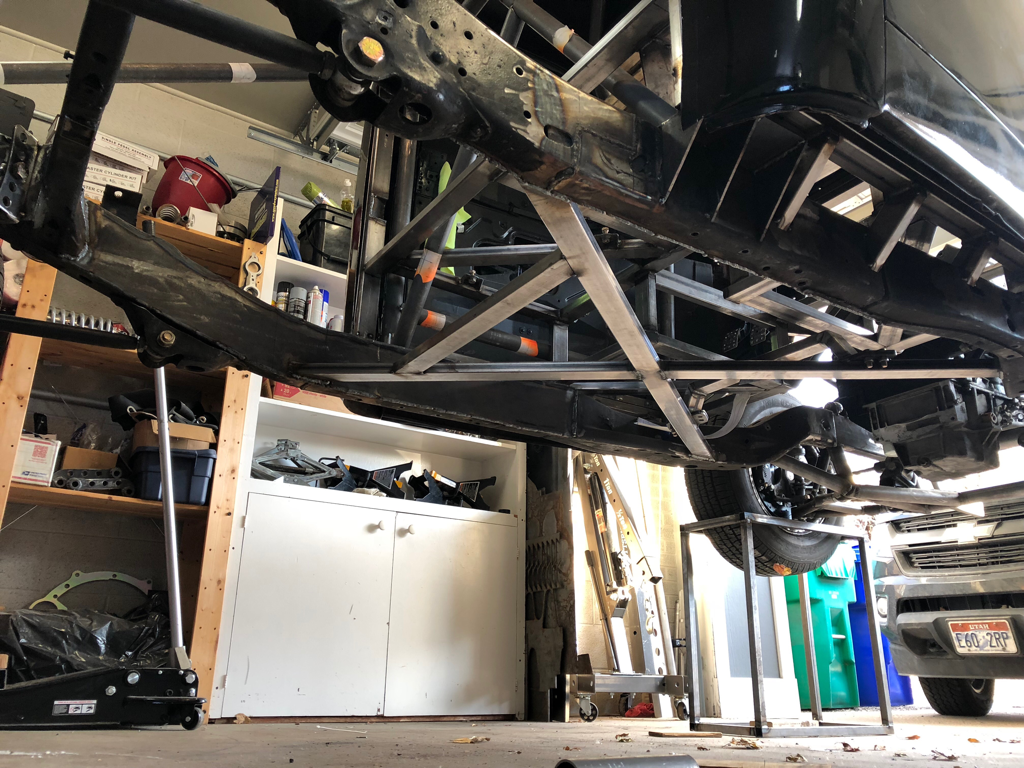
January was a fairly productive month... it all started with some good old fashioned christmas money, which I promptly spent on a new garage door opener as the old one gave up the ghost a few months back, and I was getting really tired of opening the garage manually. I even did a couple of upgrades compared to the old one and got a WiFi enabled one along with key pad entry. Sadly I did not get any videos or pictures of it, though you can see traces of the install in the video below. I am also happy to report that I made some great progress on the small aluminum box. Above it part two, see part 1 here. In part 1 I squared up the sides pieces, and made the internal bulkhead thing. Part 2 is all about the hinges, and lid. The DRO on the mill definately came in handy as the hinges had to mate perfectly with the top. You will also see I did some layout before hand on a lot of the pieces. This wasn’t necessary but it really helped give me confidence in my manual machining ability as it served for a visual check on the actual part. I also did some power tapping again, sadly I do not have spiral taps in this thread size so the standard ones had to do. The good news is that its aluminum and its soft, so it wasn’t really an issue and no taps were harmed. The fit up of the lid to the hinges was very satisfying and made me feel really good about my skills. The fit was nice and snug, and i opted to file each hinge silightly to allow for a slightly looser fit. As of writing this post on 02/06/2018 the box is actually finished as of last night, but you will have to wait for February’s post to see it. Toward the end of January I managed to get out to the garage for an entire Sunday and I made some progress on the Drift Stude... well sort of. If you remember my last post I mentioned that I was putting in some revised body mounts. These mounts are going to require some upside down welding, which I hate with a passion, so I thought I would lift the entire car up to make it as comfortable as possible. Jack stands just weren’t going to make it comfortable enough so I whipped up these square tube blocks. These make it so I can get the chassis, up about 26 inches off the ground. It will also help with a couple of upcoming projects which will include changing out the transmission crossmember, and chassis x brace seen above. I plan to replace it with round DOM tube to match the cage tubing. And I think it will also serve my back well when it comes time to build the headers. even though it took up the whole Sunday to cut all the tube, weld them together and then get the engine hoist out to lift the truck up high enough I am really happy with the progress. It is worth noting that the blocks are fairy sturdy but they do wobble a small amount side to side. So I will be adding some triangular bracing in Feb to stiffen them up a hair. In the video above I only show one being welded because in reality it took almost 3/4 the day just to do all the welding. Honestly I got really lazy and some of the welds look like crap... but hey I’ll save the pretty welds for the truck parts.
Even though it is only 02/06/2018 as of writing I am already excited about the Feb post that will be done the beginning of March. That post will include some very cool updates to the motorized wheel barrow, the finished aluminum box, and more actual studebaker work. Thanks for reading
0 Comments
Leave a Reply. |
Download the
following Designs used in this build: Archives
February 2018
|


