|
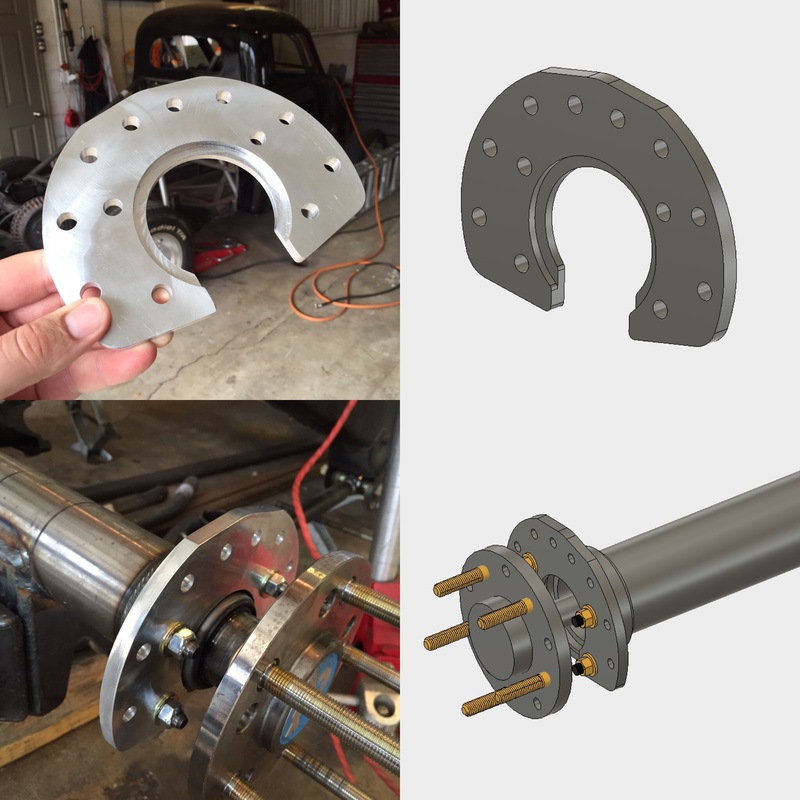
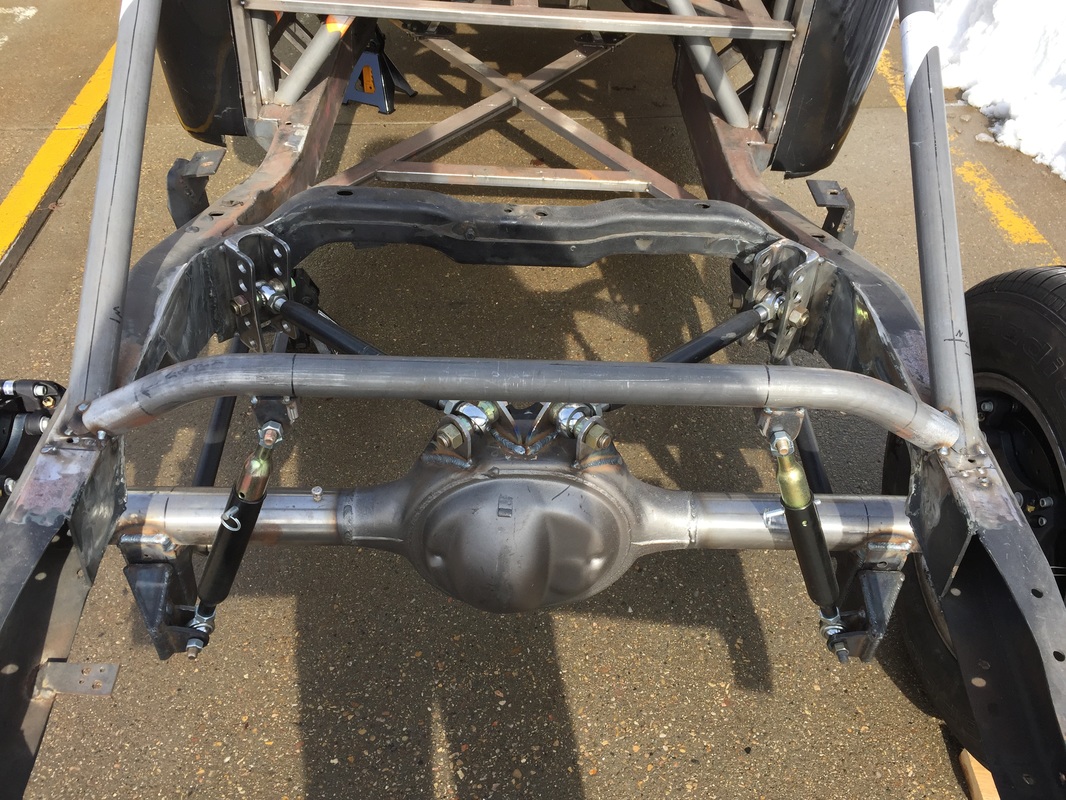
The progress on the Drift Stude build has slowed to a craw, but I am happy to report that it is still moving along a little bit at a time. In Nov 2015 my wife and I bought a new home after selling our condo, and money of course does not grow on trees, so this and other projects had to get put on the back burner. Luckily I had and still have a small stock pile of parts that will end up in the stude so I can keep moving along for a few more months while I save for other parts. First on the list was to get the brake brackets made based on my cad designs: I had Saunders Machine Works do the machining on the bracket above for me after designing the entire rear brake bracket setup in Fusion 360. The owner of Saunders Machine Works, John Suanders, also runs a pretty successful YouTube channel NYC CNC where he does a lot of CAD tutorials using fusion 360, and other machining oriented videos. Overall very informative and entertaining. check out the YouTube channel here and his business website here. He did an awesome job on the brackets, and they were reasonable on price and he was able to cut them based off of the fusion 360 file I sent him. The whole thing couldn't have been more painless. I would highly recommend him if you need anything made! while the brake brackets were being machined I knocked out the upper rear coil over mounts. Overall a pretty simple design but a pain the but to execute...
2 Comments
I haven't had a whole lot of time in the garage over the past few weeks, but I have been able to sneak in some design time here and there at home. One awesome thing I have discovered is a program called Autodesk, Fusion 360. This program is a 3D Cad/Cam program, much like solid works, but in my opinion better. Here's what I love about it: First the biggest thing is the price. The program is free for hobbyist, enthusiasts, startups and students... don't believe me go to their webpage HERE, it says it right at the top. And good news for people that don't fall into those categories it is only $25 a month if you pay by the year($300 per year) So that makes it way way way more affordable than Solid Works. The second thing I love is that it is pretty easy to learn. I have no engineering background, just a few years of manual fabrication experience under my belt, and I was able to get the hang of it within a couple of 2 hours sessions messing around with it and going through some of the excellent tutorials. Plus there is a wealth of videos on Youtube. The third thing I love is the other mobile tools that you can use along with it, like this viewer below. You can rotate the part, zoom in, zoom out, turn on and off different design components. I also think you can download the design right from the viewer, but I am not positive on that as I am writing this... if not I will have a version of it in the library of designs. The software is just plain cool.
The design below is for the Dual Brake Caliper setup. I can't seem to find a bolt on dual caliper brake option for a ford 9 other than drag racing brakes, of which the rotors are way to thin and won't hold up to the abuse I will be giving them, So I thought for my first official design I would use Fusion 360 to do all the design work and make sure my design will work with all the parts I want to use. check it out.
Here is the rear lower coil over bracket for further inspection. Seriously go download this program and go design something!
It has been almost a full year since my last build post, and for that I apologize. Since December 2014 my life has been a bit of a whirlwind. My wife gave birth to our first child mid December and since then my time in the garage has been limited. But little by little I can sneak away and get in there. I have even found time to re-vamp this website a bit. You will notice that I have removed all the content that wasn't associated with the builds in my garage and I have added a library of designs used in the this build and others. The reason behind adding my designs is so people can use them in their own designs or create their own stuff using my designs to help generate their own ideas. I would have loved to have something like this from the beginning of this project, so hopefully it helps someone... Now onto what I have completed over the last 9 months:
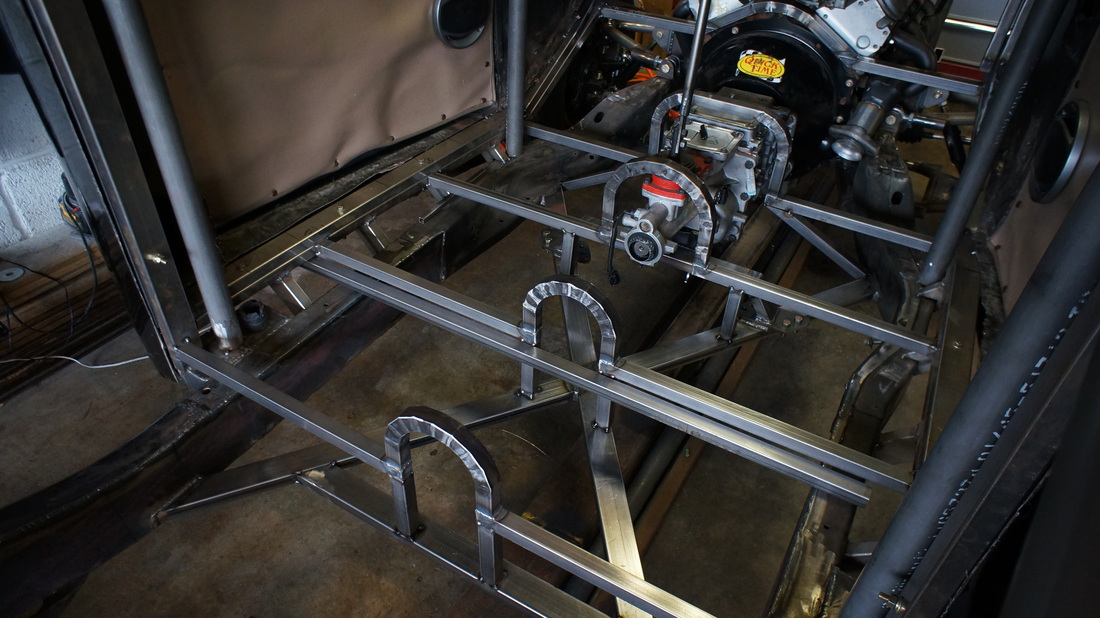
In this post I cover the last 11 months of progress, and the 47 Studebaker drift truck gets a garage mate. A lot has gone on in 2014 with the truck. No, its not done yet but it is closer... Here is what I started doing in January and February of 2014. I quickly scapped this idea for the floor supports for a few reasons. First, the tubing, which I bought at a big discount from a local classified ad was only 18 gauge and after I got it all in I decided i wanted to use something a little thicker to add strength. Second, I didn't like that it was only 1x1 tubing, and didn't match the 2x1 that I had already used for many things. In the end it came out and I remade it, but you will see the remake later on.
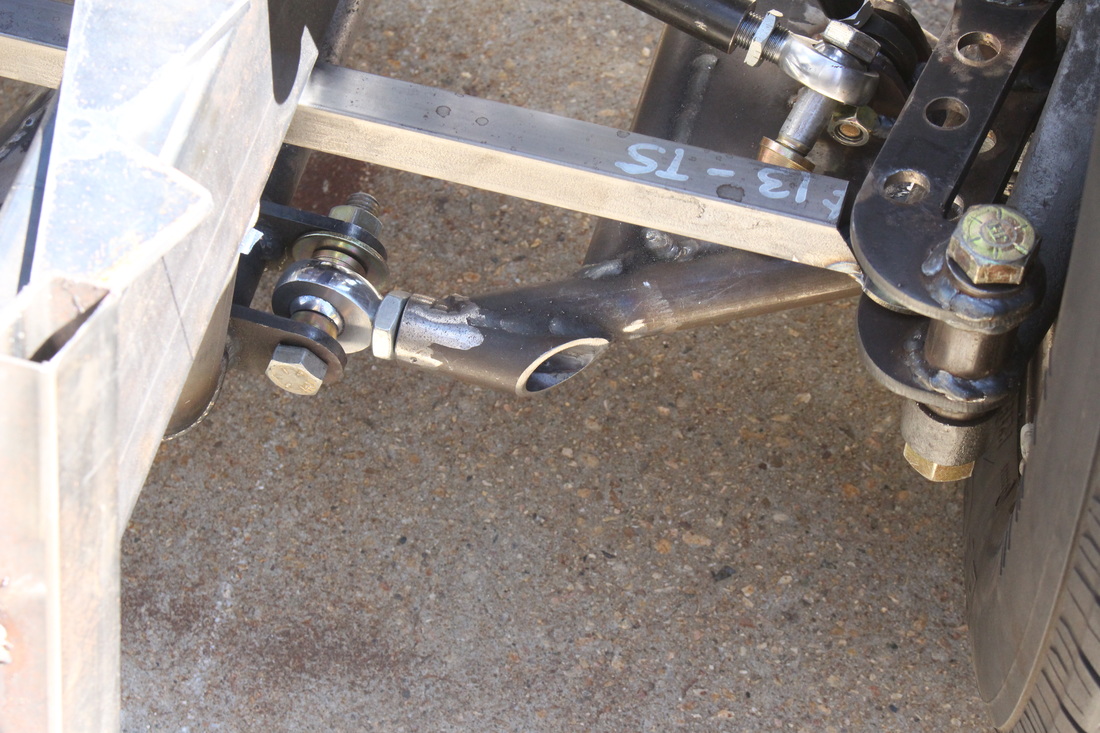
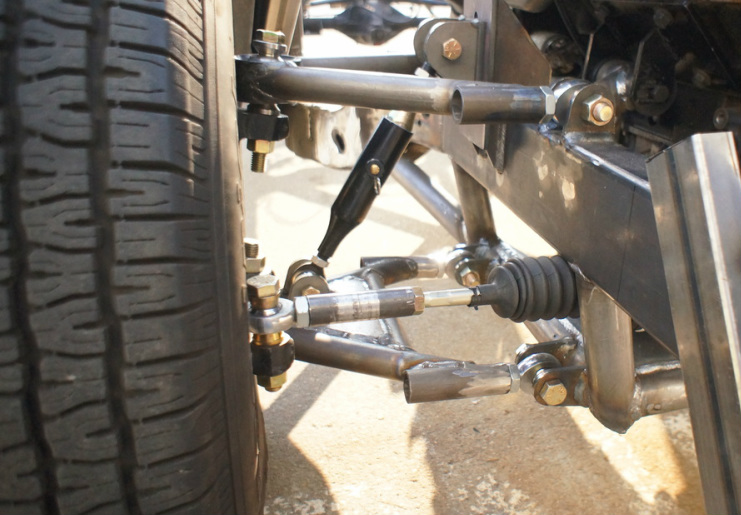
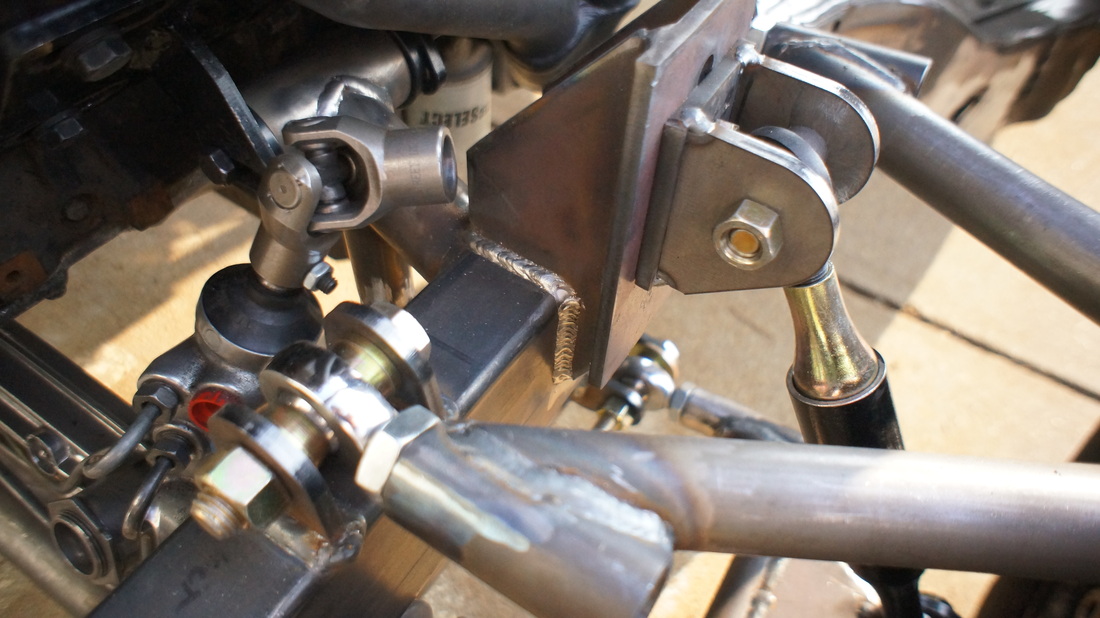
So... right after my last drift Studebaker update I was planning on uploading the second part but had a major malfunction in my external hard drive, which had over a Terabyte of pictures and videos. All of the pictures I had planned on using in that second post were lost. So I will attempt to give you the final part to that update with different pictures, but also update you on the progress this weekend. In the last post I left you with the arms mounted to my new front sub-frame, but mentioned that I would have to shorten the upper arm and move it inward. here is the final arm set up, still parallel but the geometry from the spindle corrected.
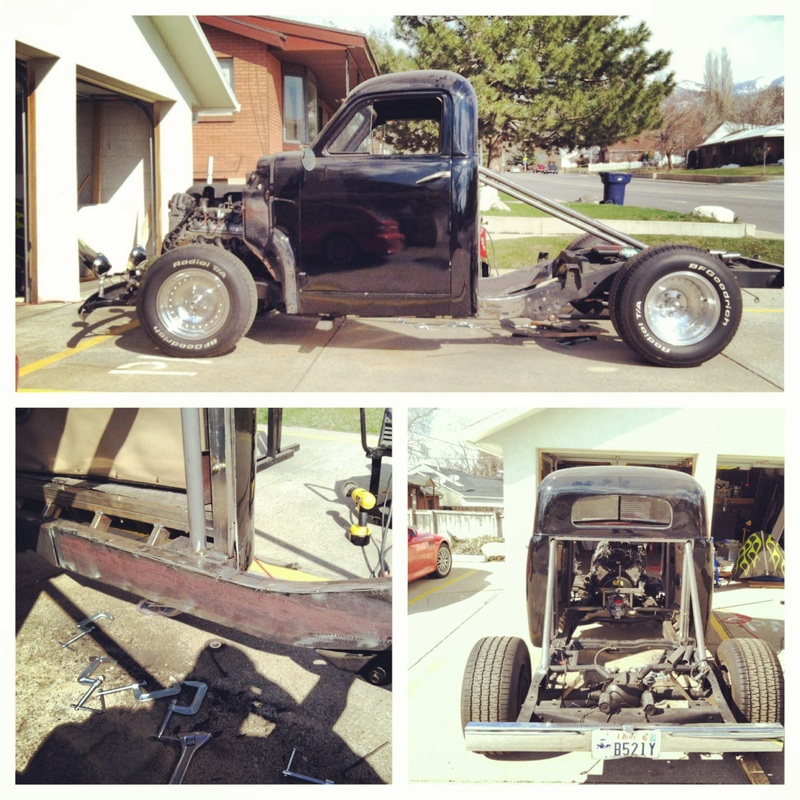
So in my last update, clear back in April this year, I left you here: I had just cut and shorted the frame, welded in the boxing plates and some chassis bracing, and then fit the rear parts of the roll cage. Oh yeah and I had cut my finger on my saw... The next thing on the to do list was to sort out the front sections of the roll bar, going from the main windshield hoop, out of the firewall and down to the frame. I wanted to do these in one section of tubing, which meant to clear everything properly had to bend each side in 3 different spots, on 3 different axes. Happy to report I only wasted one section of tube here.
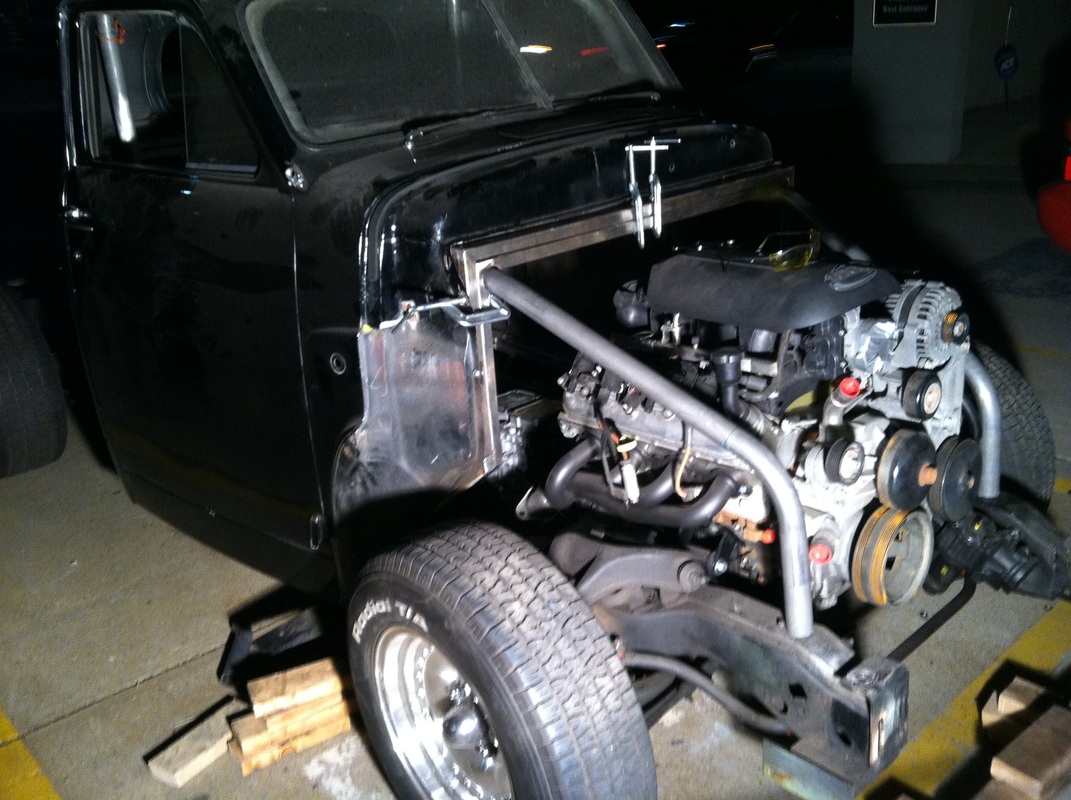
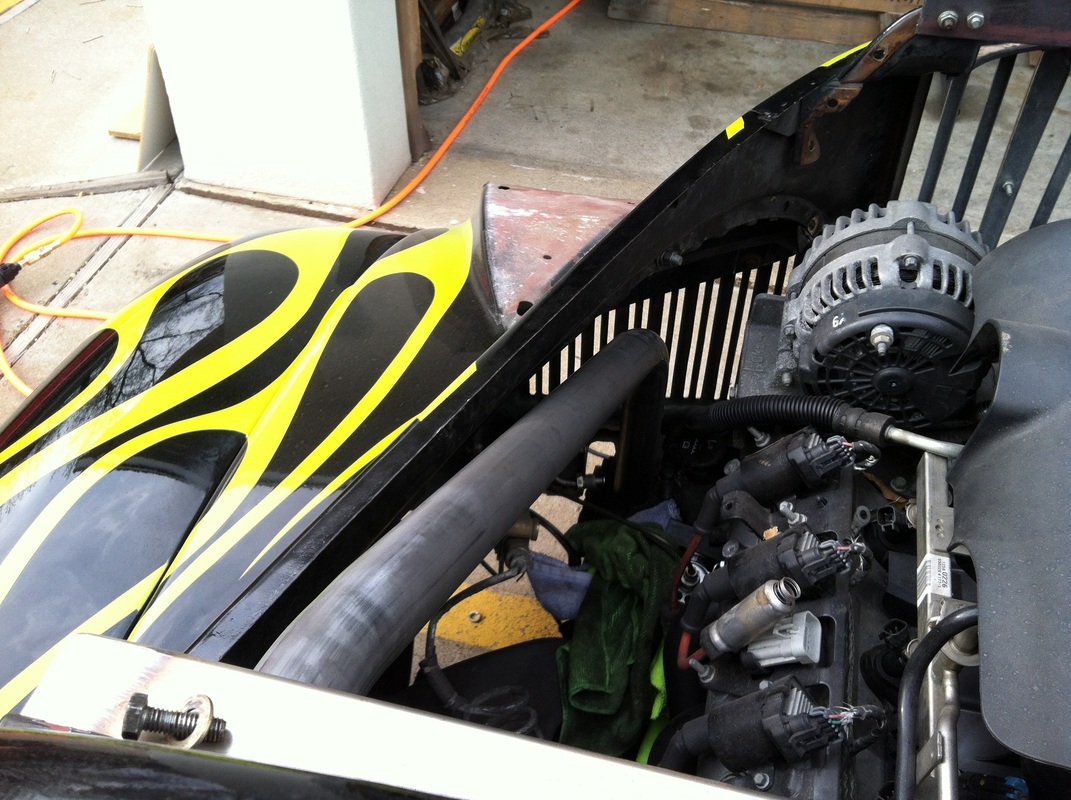
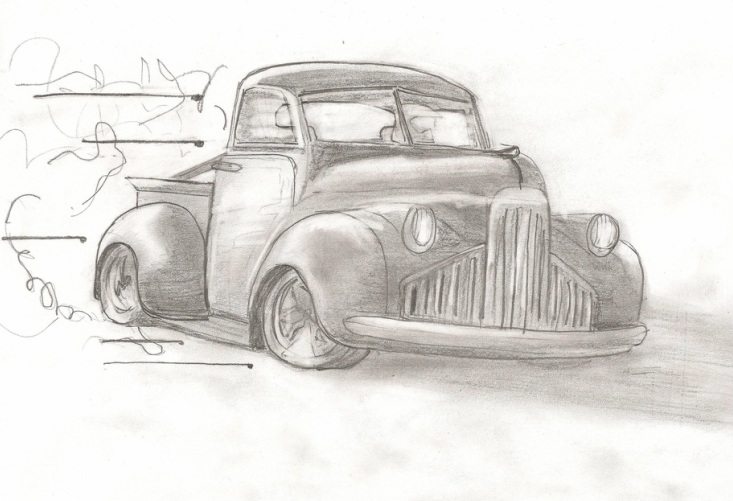 I finally have some significant progress to report on the Stude. Over the past few winter months, I really haven't been working too much on the truck. Its was too damn cold. But the last month and a half I have been able to get some. Over the winter my little brother Ike drew me the picture above, a future drift Stude. Notice the roll cage peaking out the back and the shorter appearance... 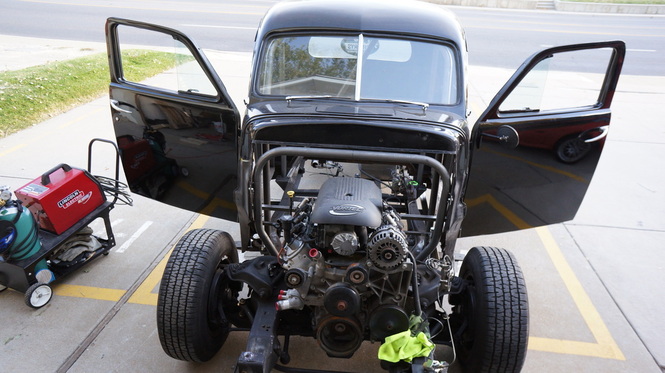 Here is a much needed update on my drift Hot Rod project, it has been a few weeks since the last update and a lot has happened since then. For Starters I paid for my new engine this week. It came from a local wrecking yard and is out of a 2005 Chevy Tahoe. It is the 5.3 Liter, and has 310 hp and 325 lb ft of torque at the crank. This one has 83,000 miles on it, and was the lowest mileage engine I could find locally within my budget. Future plans include a nice clean up, new valve springs, a mild cam, and a tune. I plan on buying the HP Tuning professional software package so I can tune this, and any other Chevy, Ford, or Mopar for that matter. Saturday, 09/15/2012. Today was an exciting day as far as the project goes... It was a day I was really looking forward to for two reasons. First, a bunch of my old friends, some of which I don't see on a regular basis, were coming over to help on the truck and help me overdose on hamburgers, hot dogs, and Mountain Dew. And second, because it was time to bend the front main and rear main roll cage hoop. No doubt it was going to be an awesome day. 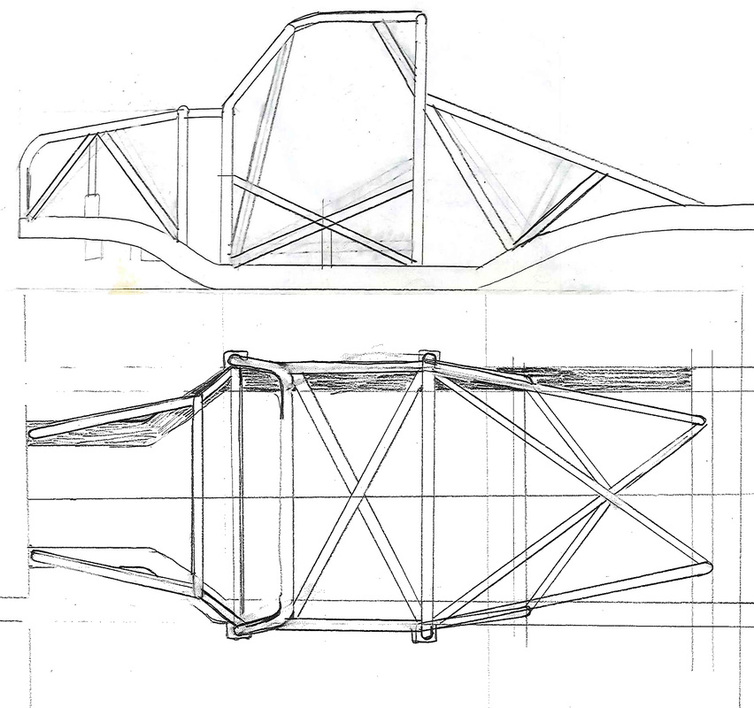 I went over the drawings with everyone, so we were on the same page as far as the master plan goes, which included the drawings above. nothing special nothing exact just a basic, simple, hand drawn plan. Yeah, this will be easy I thought... *disclaimer, none of us had ever bent any tubes before. 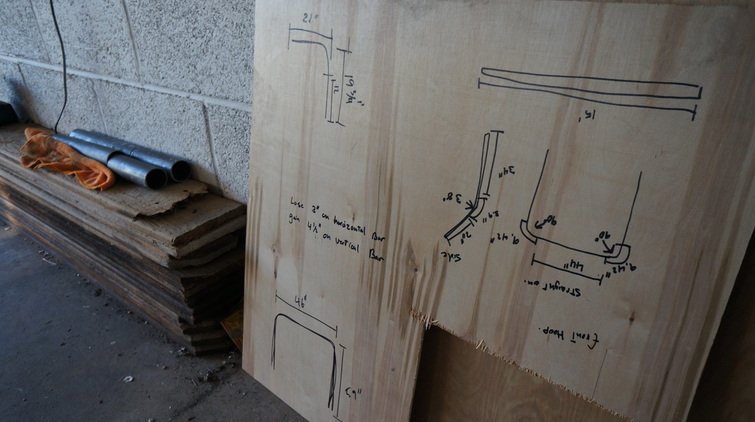 To add to my own delusions that this would be easy I started writing down measurements to use in some calculations. Measuring is good, and measuring two or three times is even better that much I know. The bends we were about to try were nothing but simple bends, 90's on the rear hoop, with 46 in spread between the vertical legs. The front, just slightly less simple. two 90's, then two 38 degree bends to match the windshield line of the cab, 43 inch spread on the legs there. 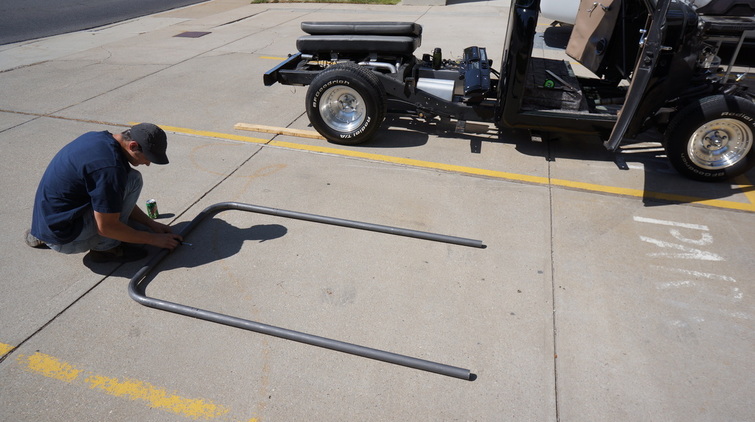 Chase was the first to arrive and we got right to work doing a test bend to see how much the tubing changes in length throughout a bend. After the test bend we found that we lose about 3 inches of width on the horizontal tube, and add about 4 inches to the vertical tube. This is very important when trying to get the width of the hoop correct. First two bends done and looking good. Our confidence levels rose to dangerous heights now. Chase is above hooking up a clamp and angle guage so we could do the next two bends on the front hoop at an exact 90 to the first to bends. I was able to get out and work on the truck quite a bit today, but not before I had the chance to visit my friend Nics shop in Woods Cross UT, to inspire me for the days work. He is an amazing fabricator, and usually spends his time making rock crawling buggies. It just so happens that he had one at his shop that morning and I crawled around it for a half hour looking at all the different tubing bends and ways that they had made things. Even though it was built for a completely different purpose compared to what I have planned, it still was inspiring. Javelin man Josh Scholz came out to help with the days activities, and he was a big asset, helping me muscle the bed off and getting down and dirty with the days work. Its always more fun to work with a buddy. 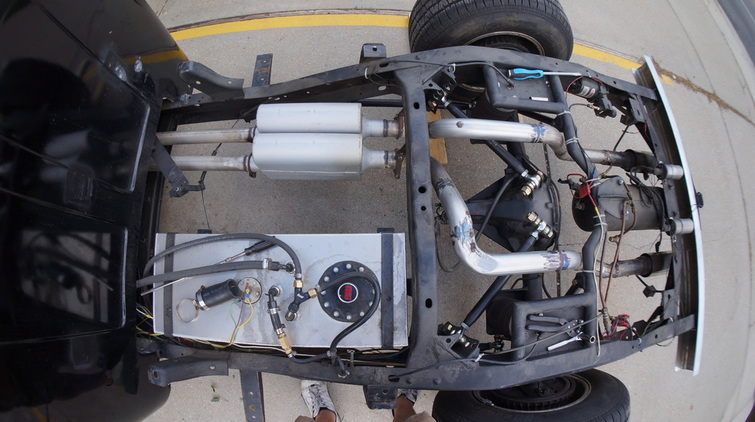 Here is how it looked once we got the bed off the frame. Aside from some coil over shocks, lack of air suspension parts, and some tubing for the chassis, this will remain unchanged. 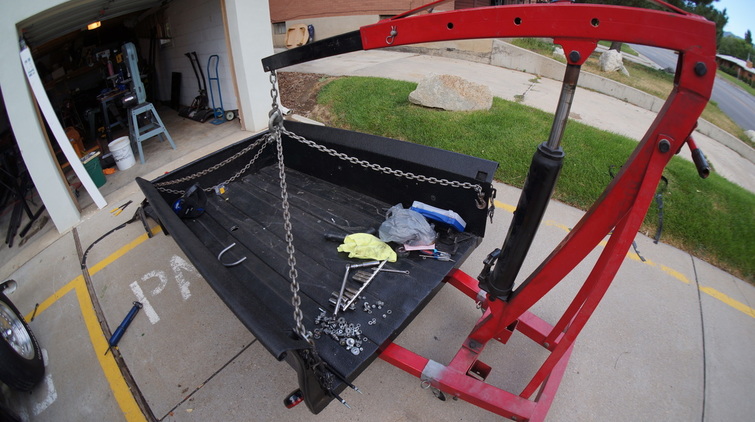 Engine hoists come in handy when it comes to lifting heavy objects, even truck beds. |
Download the
following Designs used in this build: Archives
February 2018
|
